Lesson 3: Adjusting Distances
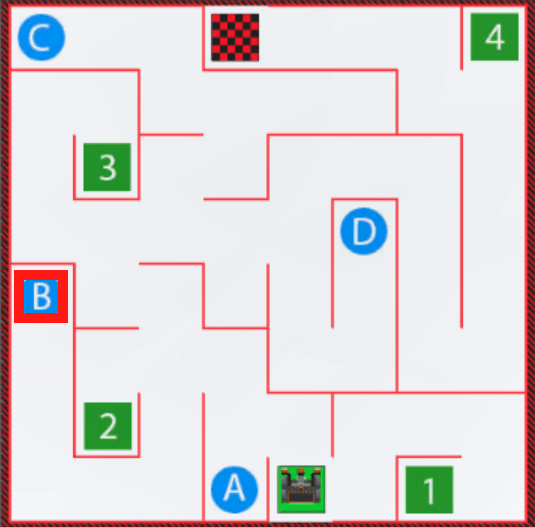
In the previous Lesson, you used the Distance Sensor and comparison operators for the VR Robot to drive from start to the number ‘1’ on the Wall Maze Playground. In this Lesson, you will learn how to monitor the values from sensors in the Dashboard, and have the VR Robot drive from start to the letter ‘B’ on the Wall Maze Playground.
Learning Outcomes
- Identify that the Dashboard can be used to monitor data from the Distance Sensor.
- Identify how to change parameters in a project to use the Distance Sensor data to navigate the VR Robot through the Wall Maze Playground.
Driving to the Letter 'B'
There are several ways to navigate to the letter 'B' in the Wall Maze. To begin, let's look at what the most direct path to letter 'B' would be. 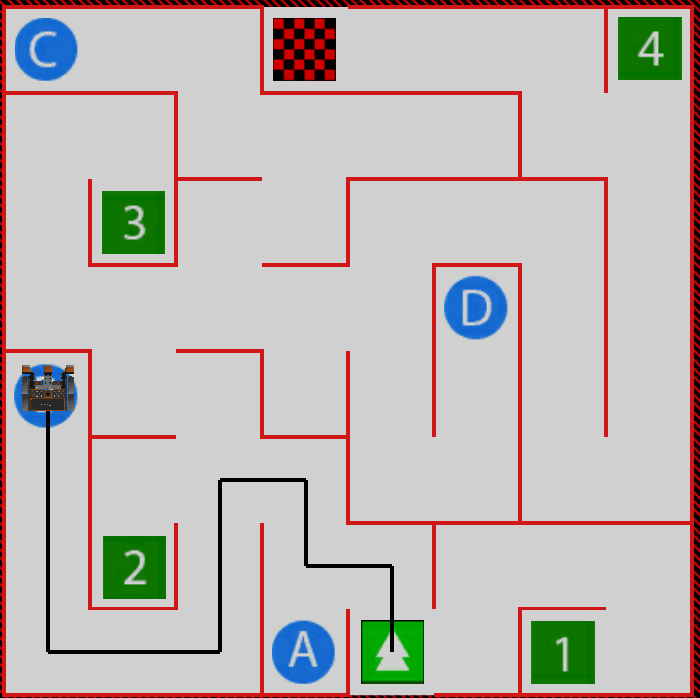
Start a New Project
- Start a new text project and select the Wall Maze Playground when prompted.
- Name the project Unit5Lesson3.

Drive to the Letter ‘B’
-
To begin, the first few movements of our VR Robot are similar to what we have done in the previous Lesson. Build the following project to get started on the path:
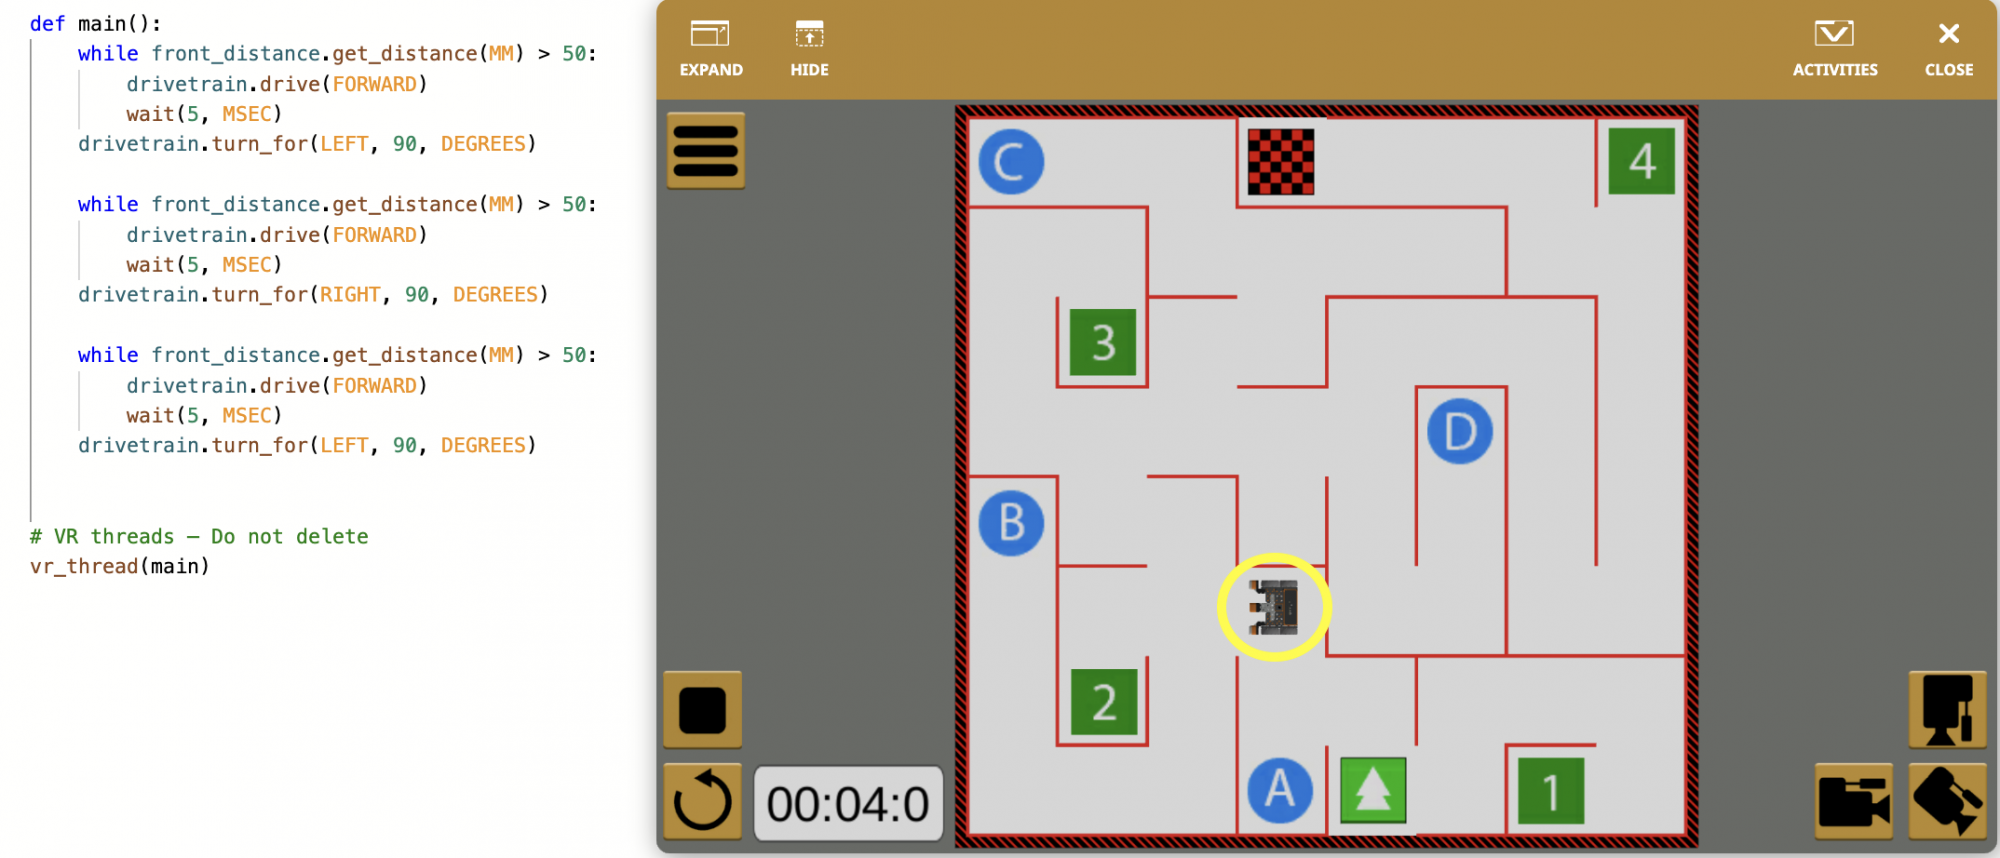
def main(): while front_distance.get_distance(MM) > 50: drivetrain.drive(FORWARD) wait(5, MSEC) drivetrain.turn_for(LEFT, 90, DEGREES) while front_distance.get_distance(MM) > 50: drivetrain.drive(FORWARD) wait(5, MSEC) drivetrain.turn_for(RIGHT, 90, DEGREES) while front_distance.get_distance(MM) > 50: drivetrain.drive(FORWARD) wait(5, MSEC) drivetrain.turn_for(LEFT, 90, DEGREES) - Open the Playground Window if it is not already open. Be sure the Wall Maze Playground opens, and run the project.
- Notice where the VR Robot stops at this point in the project. It is facing left, the correct direction to continue driving to the letter 'B'.
Figuring out the Desired Turning Location
The VR Robot is now facing the correct direction to continue to the next part of the path. However, if we used the same distance value from the Distance Sensor to continue on, as we did in the previous Lesson, the VR Robot would follow this path. 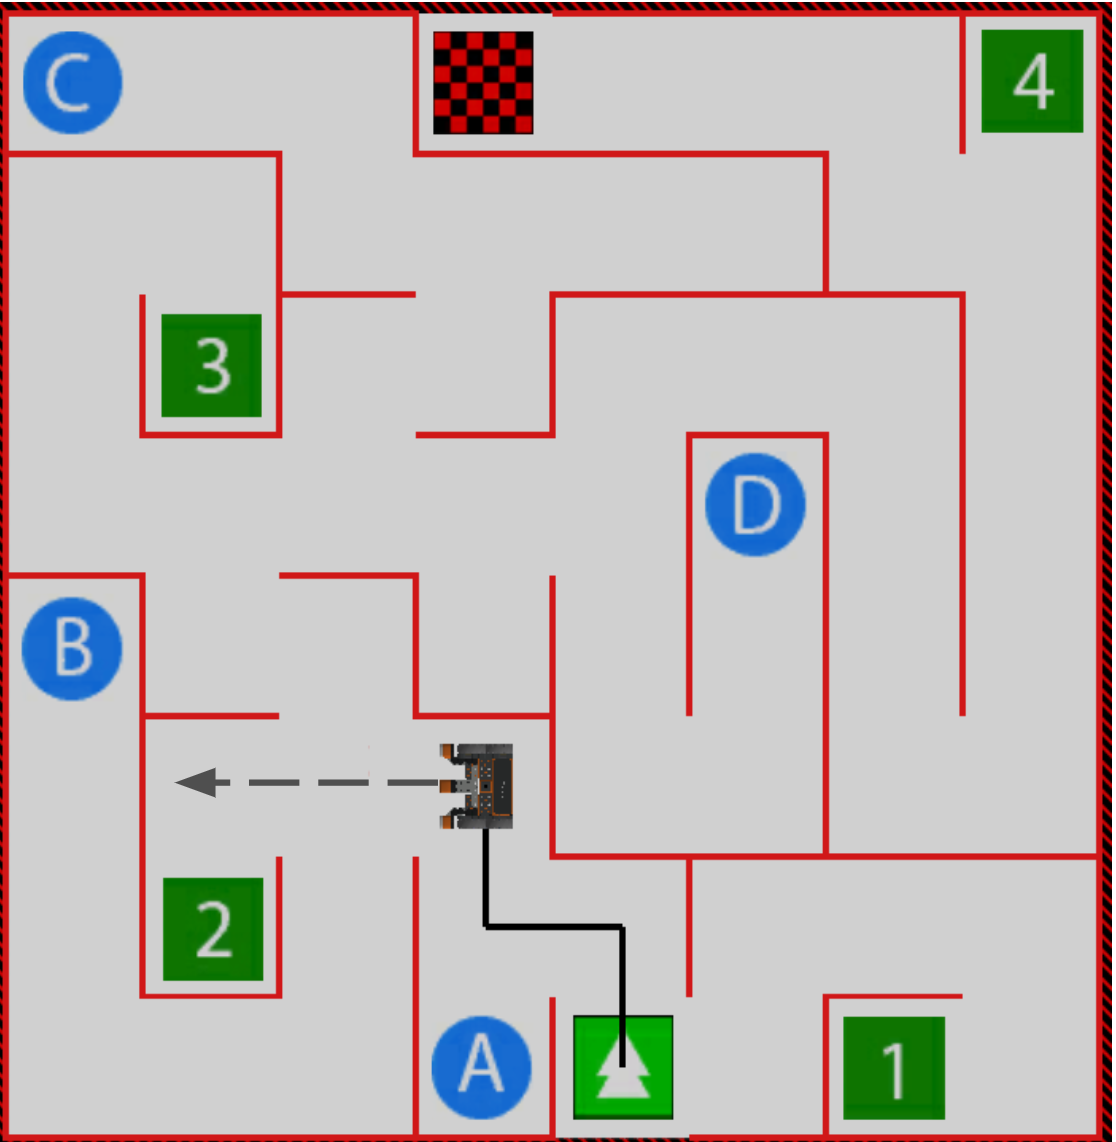
We could reverse and use Drivetrain commands, like we did in the previous Unit with the Bumper Sensor, to reach the desired turning point. That could look like this: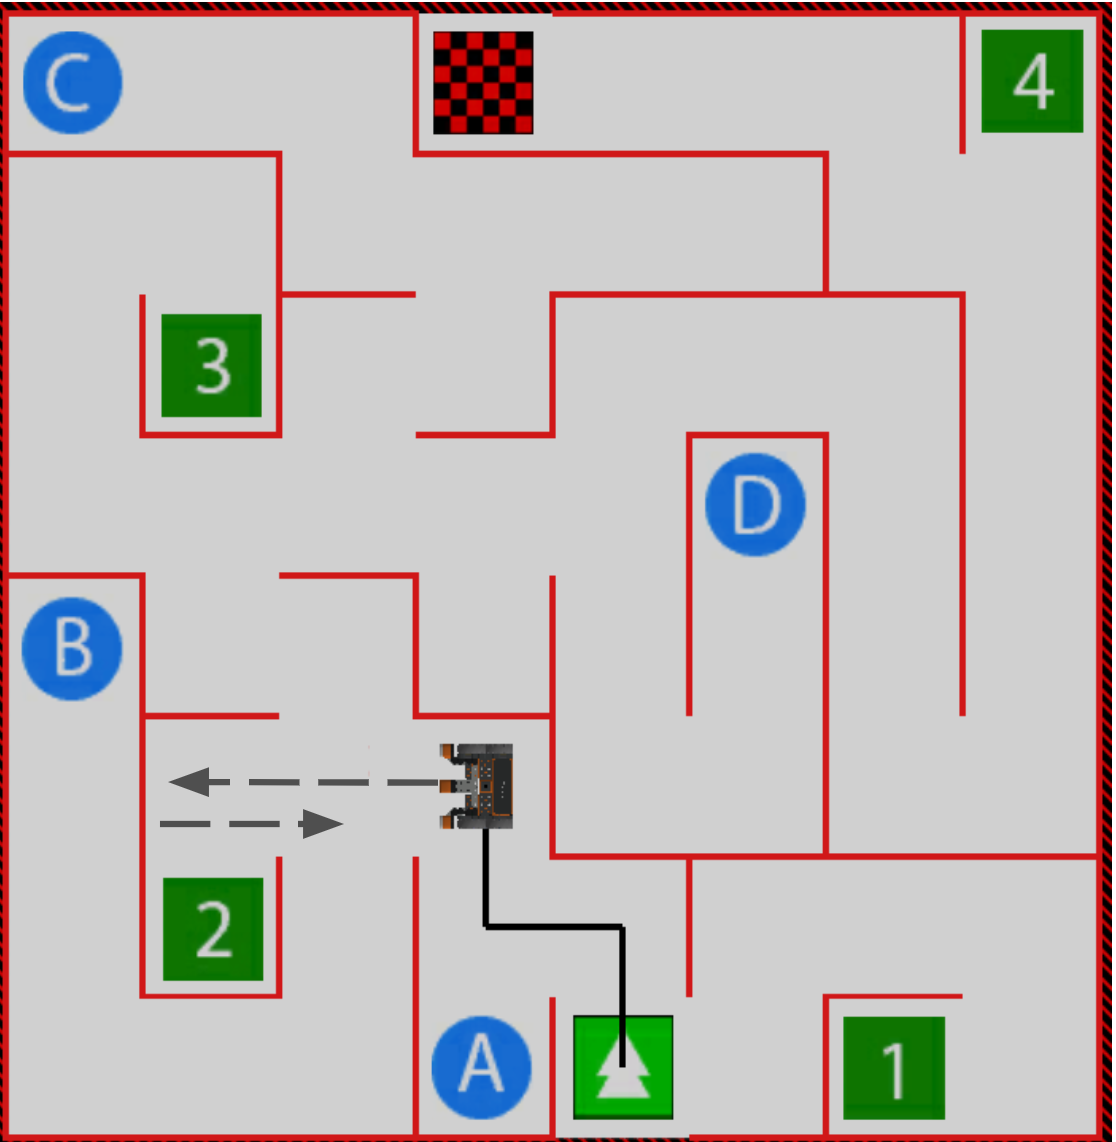
However, the Distance Sensor can be used to allow the VR Robot to make turns at any distance away from a wall. At this turn, the VR Robot is further away from the wall than other turns. We can adjust the distance value in the comparison operator, to enable the VR Robot to turn at a further distance from the wall, to make our project, and the VR Robot's path, more efficient.
Select the Next button to continue with the rest of this Lesson.