
Lesson 3: Turning the VR Robot
Now that you have knocked over the first castle in the Castle Crasher Playground, you will need the VR Robot to turn to knock over another. This Lesson will walk you through the steps to turn the VR Robot and knock over two buildings on the Castle Crasher Playground.
Learning Outcomes
- Identify how to use the turn_for command to turn the VR Robot right or left.
- Identify how to use the turn_to_heading command to turn the VR Robot to a given clockwise heading.
Rename the Project
- If the previous lesson’s code is not already loaded, load the Unit2Lesson2 project.
- Rename the project by selecting the project name box.

- Enter the new project name Unit2Lesson3, and select “Save.”

Turn Right or Left
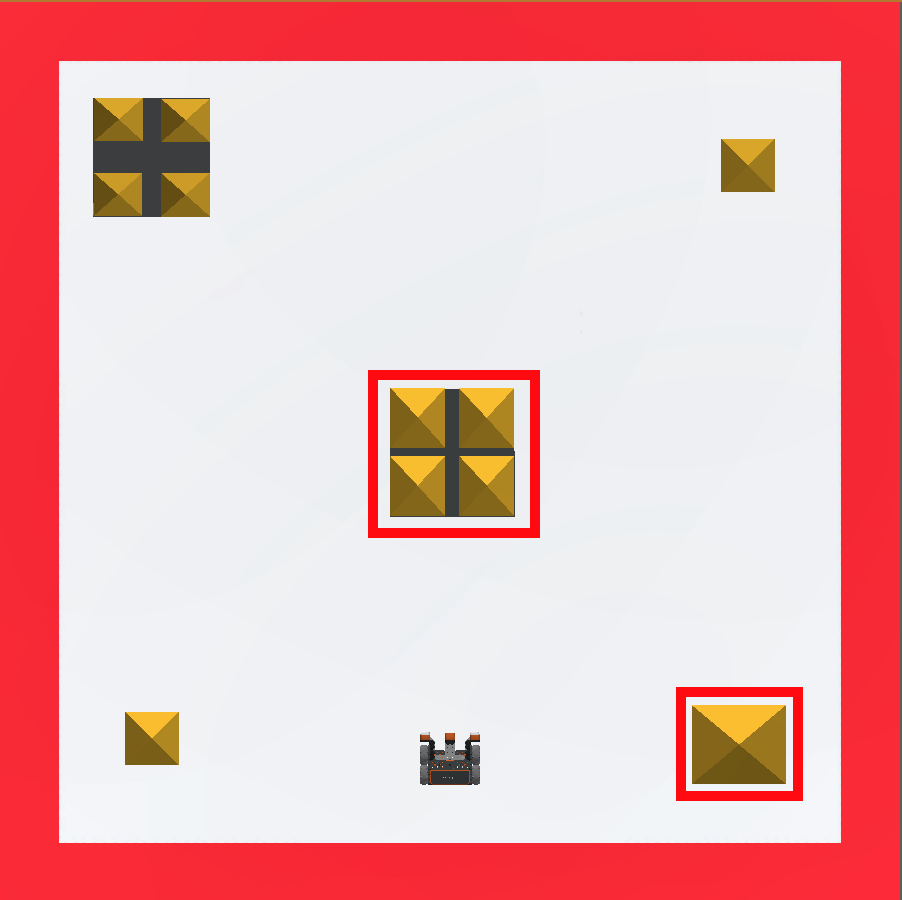
The turn_for command rotates the VR Robot a given number of degrees. This example will have the VR Robot drive forward to knock over the center building, reverse back to the start, then turn and knock over the building in the bottom right corner on the Castle Crasher Playground.
For Your Information
To make a VR Robot turn at different speeds, the turn velocity can be increased or decreased using the set_turn_velocity command. The set_turn_velocity command accepts a range from 0 - 100 for the velocity parameter. The default velocity is 50%. Changing velocity will apply to any subsequent Drivetrain commands.
drivetrain.set_turn_velocity(50, PERCENT)-
Drag in or type a turn_for command beneath the drive_for command. Set the parameters of the turn_for command to turn right 90 degrees. This project has the set_drive_velocity and set_turn_velocity commands added and set to 100%. Your project should look like this:
# Add project code in "main" def main(): drivetrain.set_drive_velocity(100, PERCENT) drivetrain.set_turn_velocity(100, PERCENT) drivetrain.drive_for(FORWARD, 800, MM) drivetrain.drive_for(REVERSE, 800, MM) drivetrain.turn_for(RIGHT, 90, DEGREES) -
Drag in or type the drive_for command below the turn_for command. Set the parameters of the drive_for command to drive forward 700 millimeters (mm). Your project should look like this:
# Add project code in "main" def main(): drivetrain.set_drive_velocity(100, PERCENT) drivetrain.set_turn_velocity(100, PERCENT) drivetrain.drive_for(FORWARD, 800, MM) drivetrain.drive_for(REVERSE, 800, MM) drivetrain.turn_for(RIGHT, 90, DEGREES) drivetrain.drive_for(FORWARD, 700, MM) - Select the “Open Playground” button to launch the Castle Crasher Playground if it is not already open.

- Select the “Start” button to test the project.

-
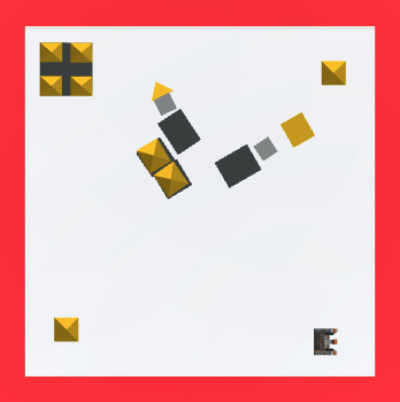
Watch the VR Robot drive forward and collide with the center building before reversing back to the start. The VR Robot will then turn right 90 degrees and drive forward to collide with the building at the bottom right corner of the Castle Crasher Playground.
Select the Next button to continue with the rest of this Lesson.