Play
Part 1 - Step by Step
- InstructInstruct students that they will explore how to wirelessly connect their Code Base robot to their device. To begin, each group should have a device, VEXcode GO software, and a built Code Base robot.

VEXcode GO - ModelModel how to launch VEXcode GO on a device and the steps to connect a device to the Code Base robot.
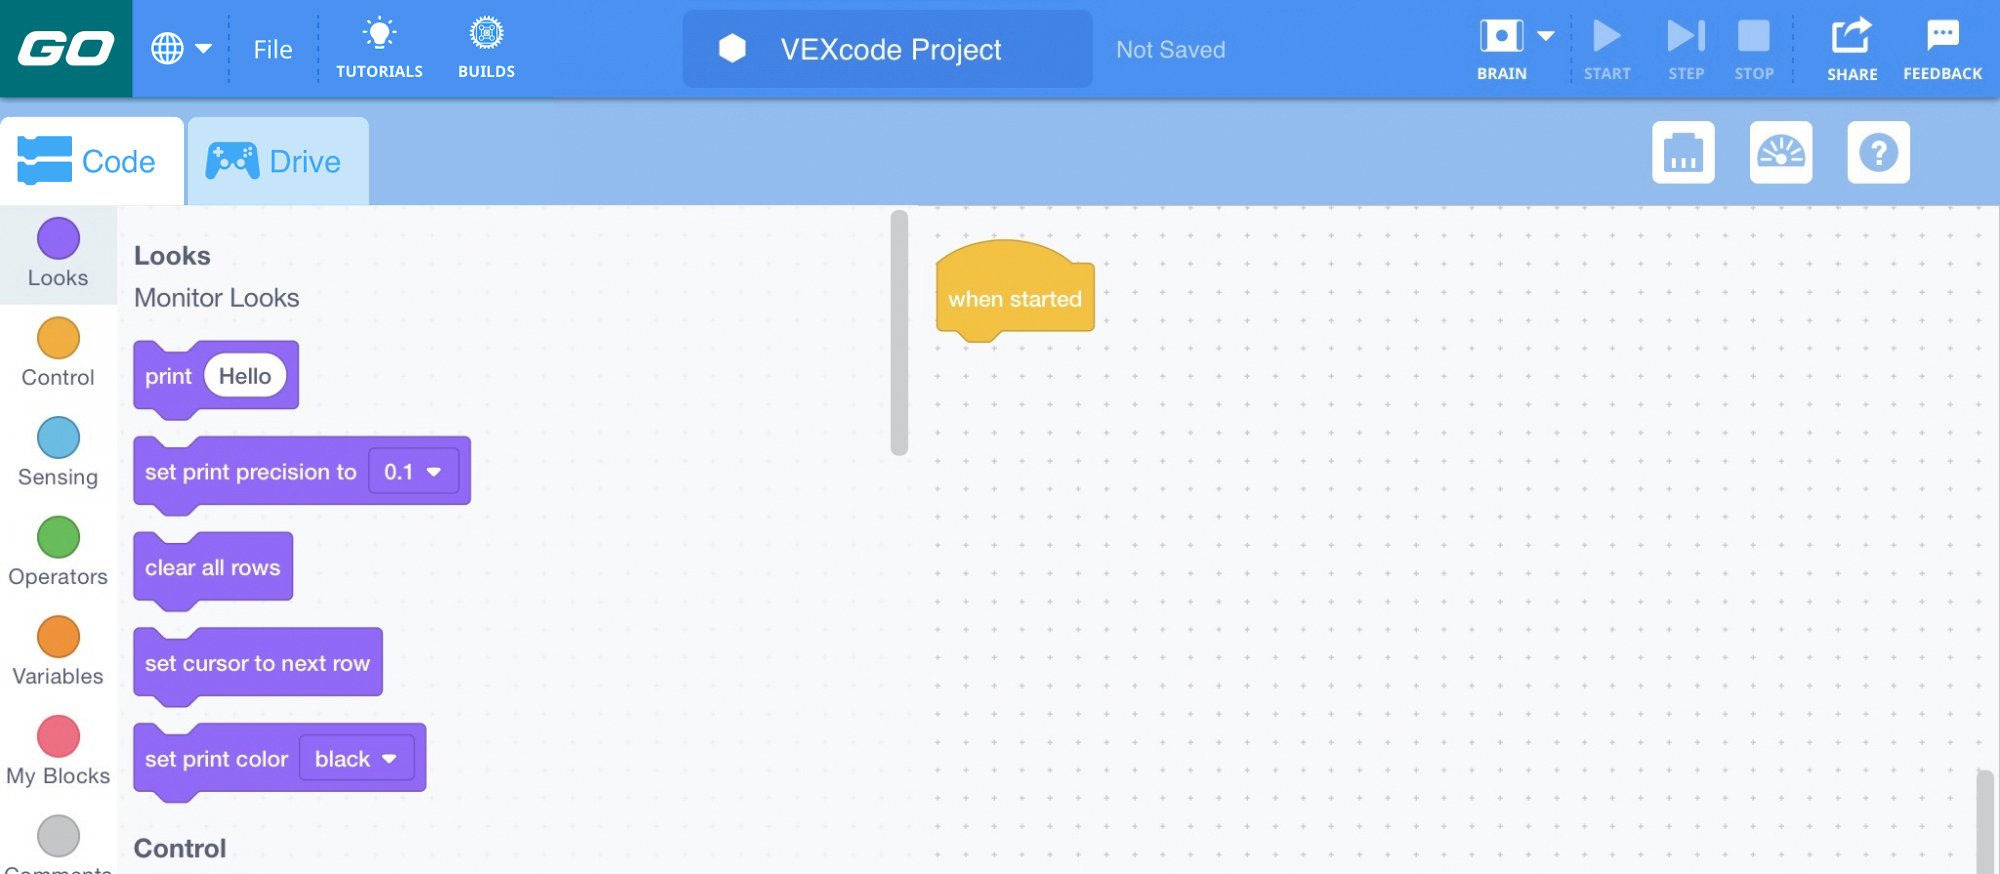
Follow the steps in the Connect a VEX GO Brain VEX Library article for your device to connect to your Code Base robot. Model for students how to check to ensure that their Code Base robot has been successfully connected, by viewing the colored Brain icon in the toolbar.
Note: When you first connect your Code Base to your device, the Gyro built into the Brain may calibrate, causing the Code Base to move on its own for a moment. This is an expected behavior, do not touch the Code Base while it's calibrating.

Connect the GO Brain - FacilitateFacilitate a discussion as students are connecting their device to VEXcode GO by asking the following:
- How do you know if your device is connected successfully?
- Where is the Brain icon in the Toolbar?
- What is the first step in wirelessly connecting your device?

Connect to the Code Base
- RemindRemind students that learning new concepts may take multiple tries and encourage them to try again if they are unsuccessful connecting their device on the first try.
- AskAsk students to think about how robots can be used to complete jobs in real life that are dirty, dull, or dangerous. Why would it be better to have a robot do these jobs than a human? Can you think of jobs where the robot does all of the work? What about jobs where a human and a robot work together?
Mid-Play Break & Group Discussion
As soon as every group has successfully connected their Code Base robot to their device, come together for a brief conversation.
- What is the first step in wirelessly connecting your Code Base robot to your device?
- How do I know if my wireless connection was successful?
- If you had to explain to a friend using words and gestures how to connect a Code Base robot to a device, what would you say?
- Did you have any difficulty when connecting? If so, how did you overcome it?
Part 2 - Step by Step
- InstructInstruct students that they will now explore how to get the Code Base robot moving! To begin, each group should have a device, VEXcode GO software, and a built Code Base robot.

Using VEXcode GO with the Code Base - ModelModel for students how to open and save their project, and configure a Code Base in VEXcode GO.
Model the steps of the Open and Save a Project VEX Library article for your device, and have them follow the steps to open and save their project. Instruct students to name their project Drive.

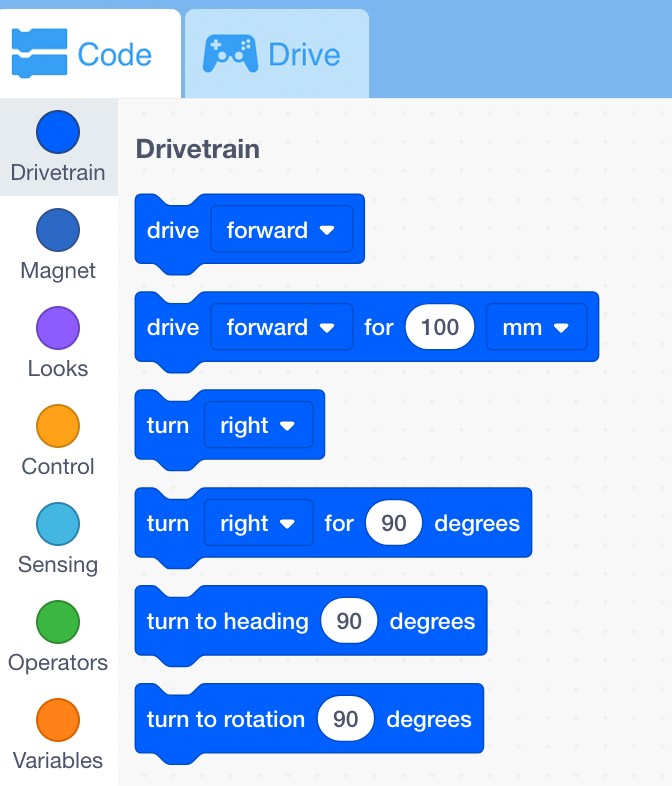
Name the project Drive Once students have named their project, they need to follow the steps to configure for the Code Base. Model the steps from the Configure a Code Base VEX Library article and ensure students can see the Drivetrain blocks in the Toolbox.

Show how to drag in the [Drive for] block into the Workspace and place it under the {When started} block.

Add the [Drive for] block Model for students how to start the project in order to test it.
- FacilitateFacilitate a discussion as students are creating and starting their projects by asking the following:
- Where can I find the [Drive for] block in VEXcode GO?
- How do I add a block to my project?
- Before starting your project, what do you expect the Code Base to do?
- Did you face any challenges when creating and starting your project? If so, how did you overcome them?

Discuss using VEXcode GO - RemindRemind students that learning new concepts may take multiple tries and encourage them to try again if they are unsuccessful driving their Code Base robot forward on the first try.
- AskAsk students to think about what job or task the Code Base robot could accomplish by driving forward. Could it deliver medicine to a patient in a hospital? Could it deliver packages? Possibly drive somewhere that is too dangerous or small for a human? Ask students to come up with at least two scenarios or jobs where they could use the Code Base robot to complete a task.
Optional: If possible, keep the Code Base assembled for other Labs in this Unit.