Play
Part 1 - Step by Step
- InstructInstruct students that they will explore how to make their Code Base turn left and right using degrees.
The goal by the end of this section is to have created and started two projects: Left Turn and Right Turn. To begin, each group should have a device, VEXcode GO software, and a built Code Base.
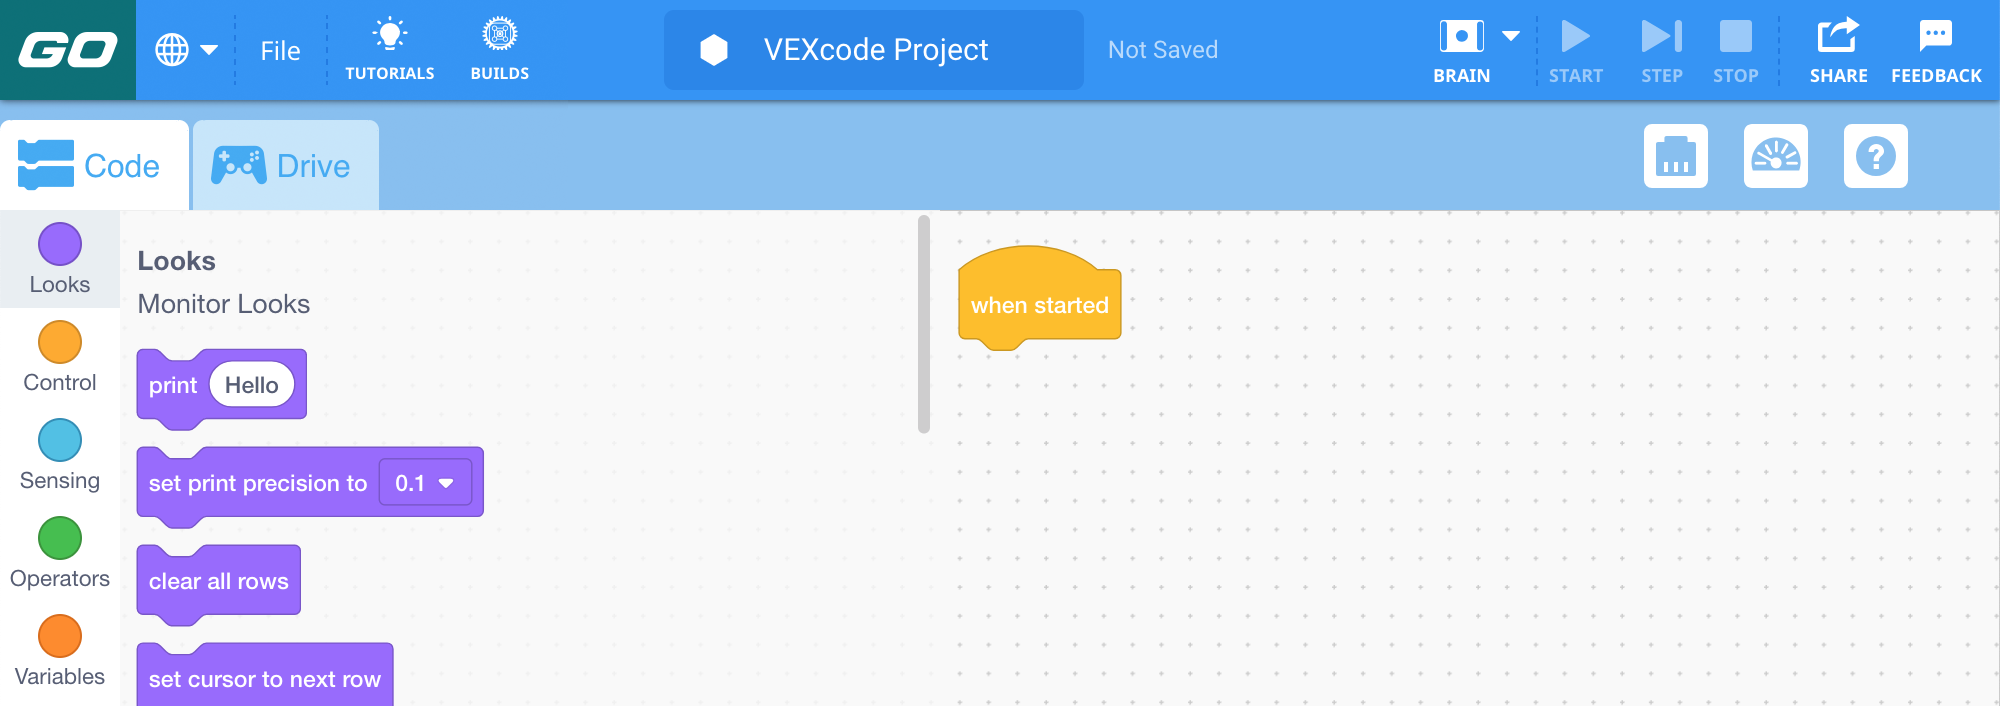
- ModelModel for students the steps to open and save their project.
- Model the steps of the Open and Save a Project VEX Library article and have students follow along to open and save their project.
- Instruct students to name their project Right Turn.
- Have the students then connect the Brain of their Code Base to their device.
Note: When you first connect your Code Base to your device, the Gyro built into the Brain may calibrate, causing the Code Base to move on its own for a moment. This is an expected behavior, do not touch the Code Base while it's calibrating.
-
Once students have named their project and connected the Brain to their device, model the steps to configure the Code Base. Ensure students can see the Drivetrain blocks in the Toolbox after configuring the robot.
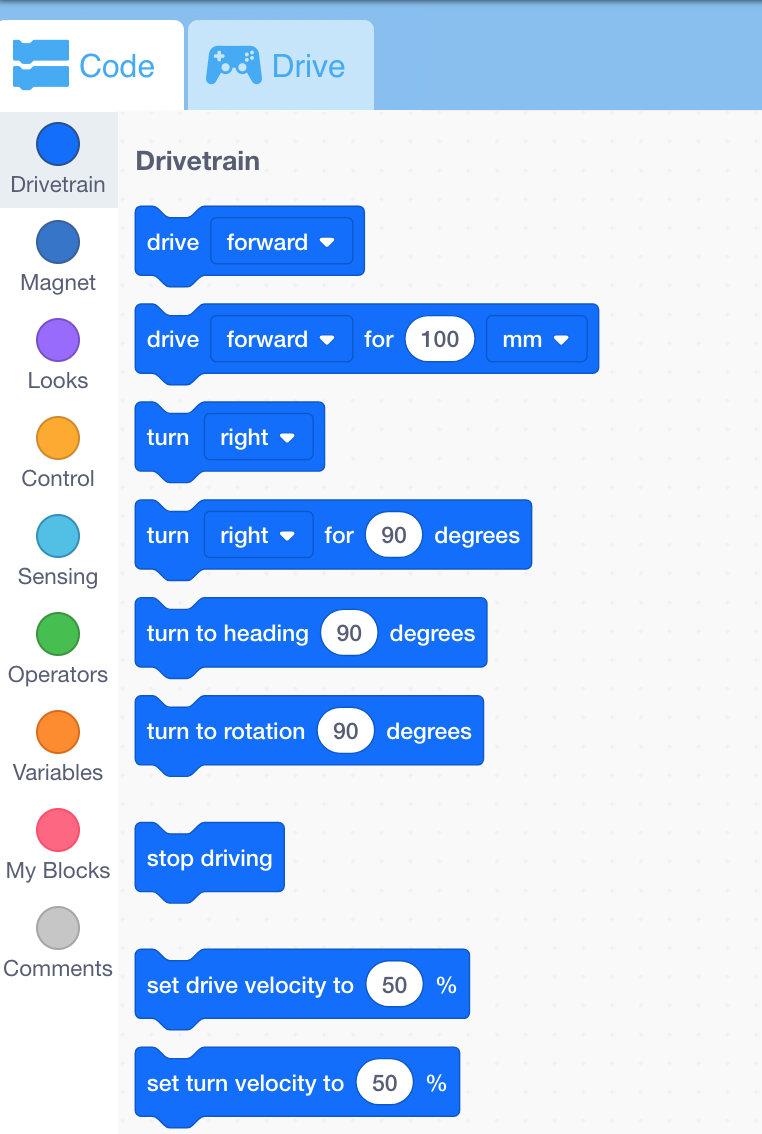
Drivetrain Category of Blocks -
Model for students how to drag in the [Turn for] block and attach it to the {When started} block to get the robot to turn right.

Right Turn Project - Before students start their project, ask them where they think the Code Base will end up at the end of the project.
- Instruct students to start their project and observe the movement of the Code Base.
- After students have successfully turned their Code Base right 90 degrees, have students use “Save as” or "Save to Your Device" (depending on the version of VEXcode GO students are using) in the File Menu to save their project with a new name and name the new project Left Turn.
-
After the project is saved, model how to change the parameter of the [Turn for] block from ‘right’ to ‘left.’

Left Turn Project - Model for students how to start the project in order to test it.
- FacilitateFacilitate a discussion as students create their projects in VEXcode GO by asking the following:
- Before you start your project, where do you think the Code Base will end up? Why?
- What parts of the Drivetrain are moving as your Code Base turns?
- What number of degrees did you use in your project for the Code Base? If you made that number higher next time, what do you think would happen?
- Are you stuck? What can you try next? Where can you find information to get “unstuck?”
Group Discussion - RemindRemind students that learning new concepts may take multiple tries and encourage them to try again as they create projects.
- AskAsk students to think about what kinds of robot jobs would need accurate turns. Are there any dirty, dull, or dangerous jobs that would require a robot to make turns? Which ones?
Mid-Play Break & Group Discussion
As soon as every group as soon as each group has turned their Code Base robot left and right, come together for a brief conversation.
- Did the Code Base end up where you thought it would? How close were you?
- When your Code Base turned, how did the wheels move?
- What was the main difference between the two projects you created?
Part 2 - Step by Step
- InstructInstruct students that they are going to combine all the information they learned about creating a project for the Code Base to instruct it to drive in a square around a warehouse. They will use a VEX GO Tile to establish the boundary of the warehouse.
To begin, each group should have a device, a VEX GO Tile, VEXcode GO software, and a built Code Base.
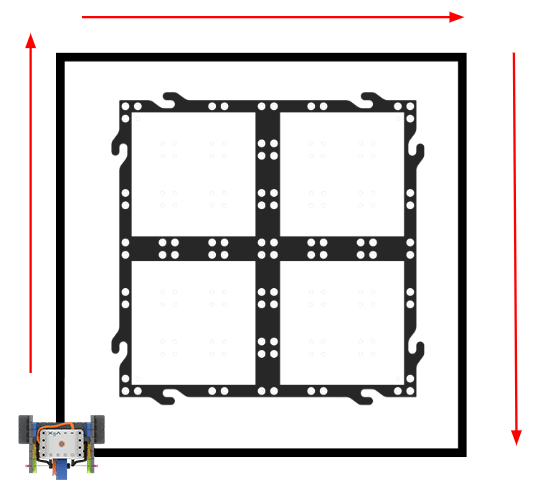
Code Base in the Warehouse Challenge - ModelModel using a group’s device and VEXcode GO. Show which blocks students will use to create their project and successfully complete the challenge. Show students that they will need to drive forward and turn four different times to make a square, as shown in the animation below. In the animation, the Code Base begins to the lower left corner away from the tile. It drives forward to the other side of the tile, then turns right, and repeats these behaviors to drive in a square around the tile.
Video file
Model for students how to change the parameters of the blocks in order to change the distance and degrees. Tell students that the blocks should be connected to the {When started} block, as that block is always first.
- Show students following blocks:
-
{When started}
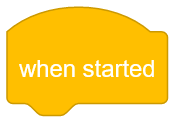
{When started} Block -
[Drive for]
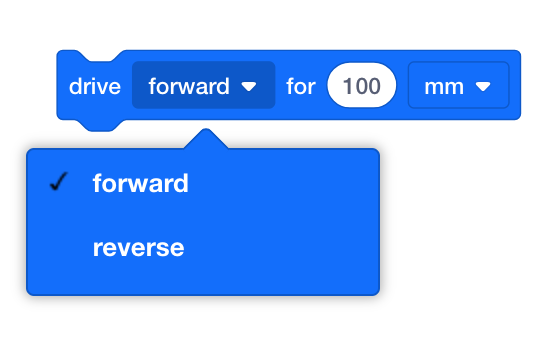
[Drive for] Block - [Turn for]
-
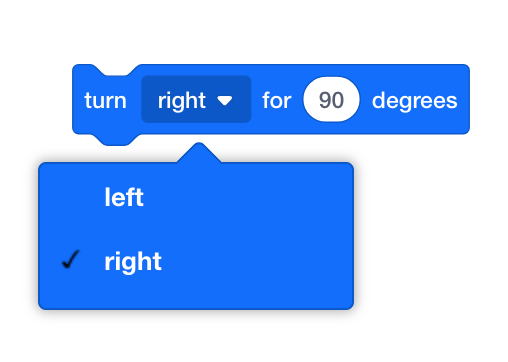
[Turn for] Block - Show students how to place GO Tile and map out the Code Base robot’s path around the square. They should measure the distance that it will need to travel on each side.
- Show students how to input the degrees for the turns in the [Turn for] block.
- Model for students how to start their project in order to test it.
- Show students following blocks:
- FacilitateFacilitate a discussion with groups as you circle the classroom. Ask students to describe the steps to create a square. This allows the students to start to think about the way they will list the commands in their project. You can follow along with their instructions with pencil and paper or on the board.
- What is the first step to draw a square?
- When will I turn?
- How do these instructions you are giving me relate to the commands for the Code Base?
- Did something go wrong? Great! How can you use this mistake to improve your project?
- RemindRemind groups that the Code Base robot may not go in a square the first time but to keep trying! Students may not think that each side of the square and each turn should be the same measurements. Remind students to keep this in mind as they are coding.
- AskAsk students to think about what their Code Base robot is doing and if it would relate to a dirty, dull, or dangerous job? Which ones?
Optional: If possible, keep the Code Base assembled for other Labs in this Unit.