
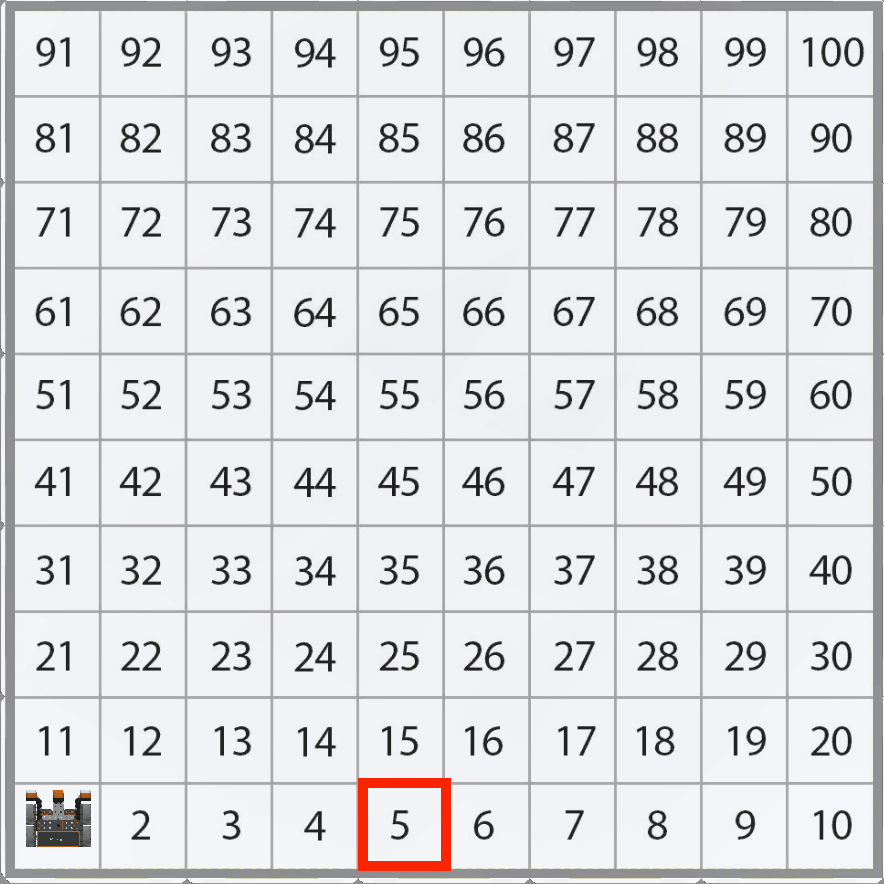
Lesson 2: Drive to Number ‘5’
In this Lesson, the VR Robot will drive to the number ‘5’ and back to the number ‘1’ on the Number Grid Map Playground!
Notice that the VR Robot will be traveling along the X axis with X values increasing to move to the number ‘5’ on the Number Grid Map Playground.
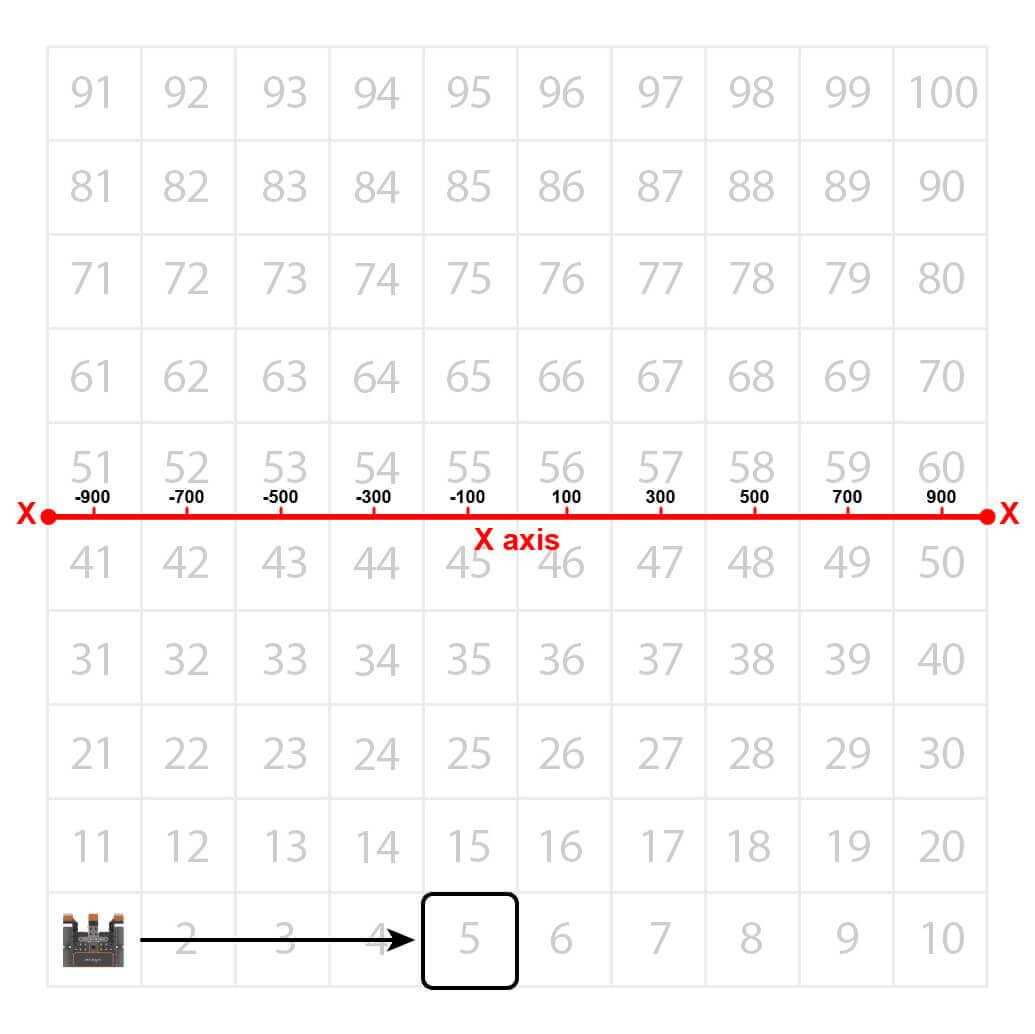
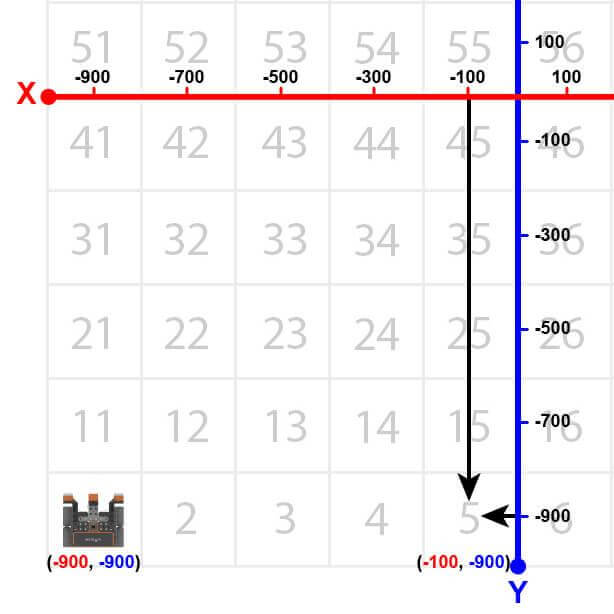
The VR Robot will drive to the location of the number ‘5’ on the Number Grid Map Playground. However, before the VR Robot can navigate to that number, the VR Robot has to be told where that number’s location is. Beginning at the center of the Playground, the coordinates of number ‘5’ are (-100, -900).
-
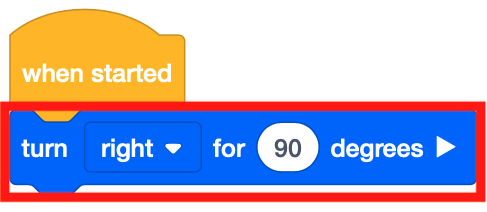
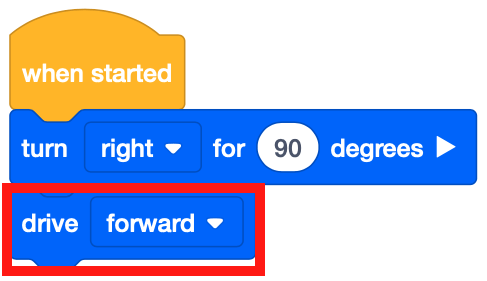
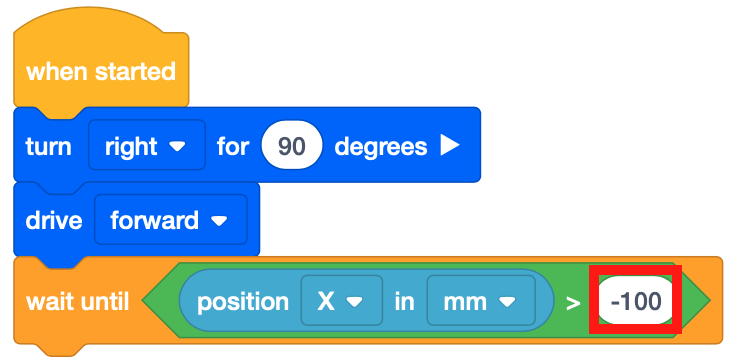
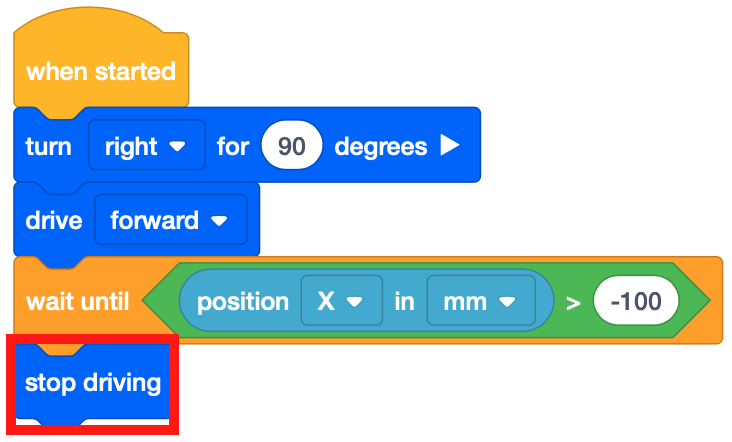
To begin, the VR Robot needs to be facing the number ‘5.’ Drag in a [Turn for] block to the workspace.
-
Drag the [Drive] non-waiting block into the workspace.
-
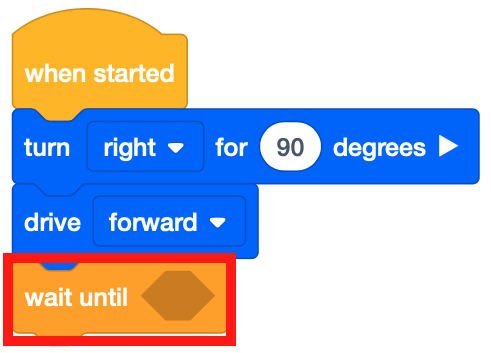
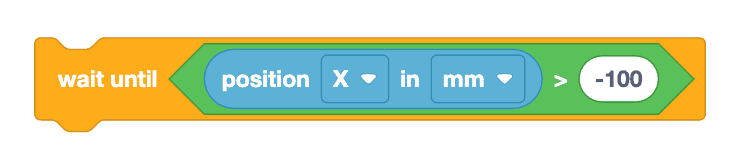
Attach a [Wait until] block beneath the [Drive] block.
-
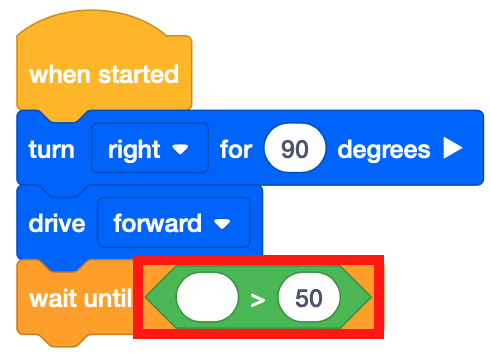
The [Wait until] block accepts Boolean conditions. Just like the Distance Sensor Unit, this project will use the conditionals to drive through the Number Grid Map Playground. Drag the <Greater than> Boolean reporter block into the [Wait until] block.
-
Note that the <Greater than> block is used instead of the <Less than> block because the VR Robot is driving to the right from the left side of the Playground. The VR Robot is starting at a X-value of -900 millimeters (mm). As the VR Robot drives forward, the X-values increase.
-
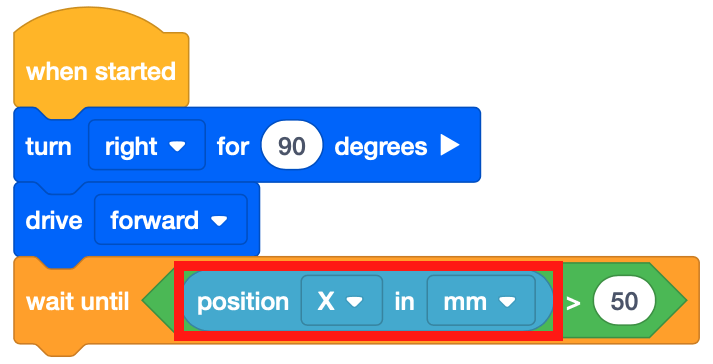
Drag the (Position of Robot) block into the <Greater than> block.
For Your Information
The (Position of Robot) block is a numeric reporter block that reports the X or Y coordinate position of the center of the VR Robot. Choose whether the X or Y coordinate position is reported.
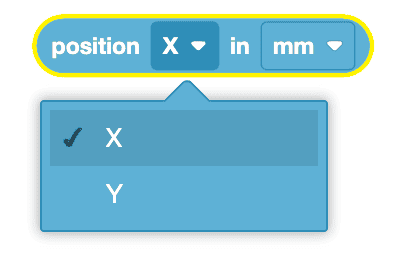
Using Switch Blocks
This is the Switch (Position of Robot) block. To change the (Position of Robot) block's parameter to report the Y coordinate, simply type "Y" for the coordinate value or select the coordinate suggestion that appears.

The (Position of Robot) block can report values in millimeters (mm) or inches.
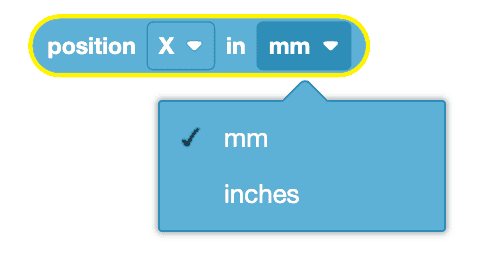
You can change the parameter for the unit of measurement while using the Switch (Position of robot) block by simply typing "INCHES" or selecting the suggestion that appears. Be sure to use all capital letters while typing parameters for units of measurement.
-
Set the parameter of the <Greater than> block to -100.
-
Drag in a [Stop driving] block and add it to the project.
- Open the Number Grid Map Playground if it is not already open and run the project.
-
Watch the VR Robot drive to number ‘5’ on the Number Grid Map Playground.

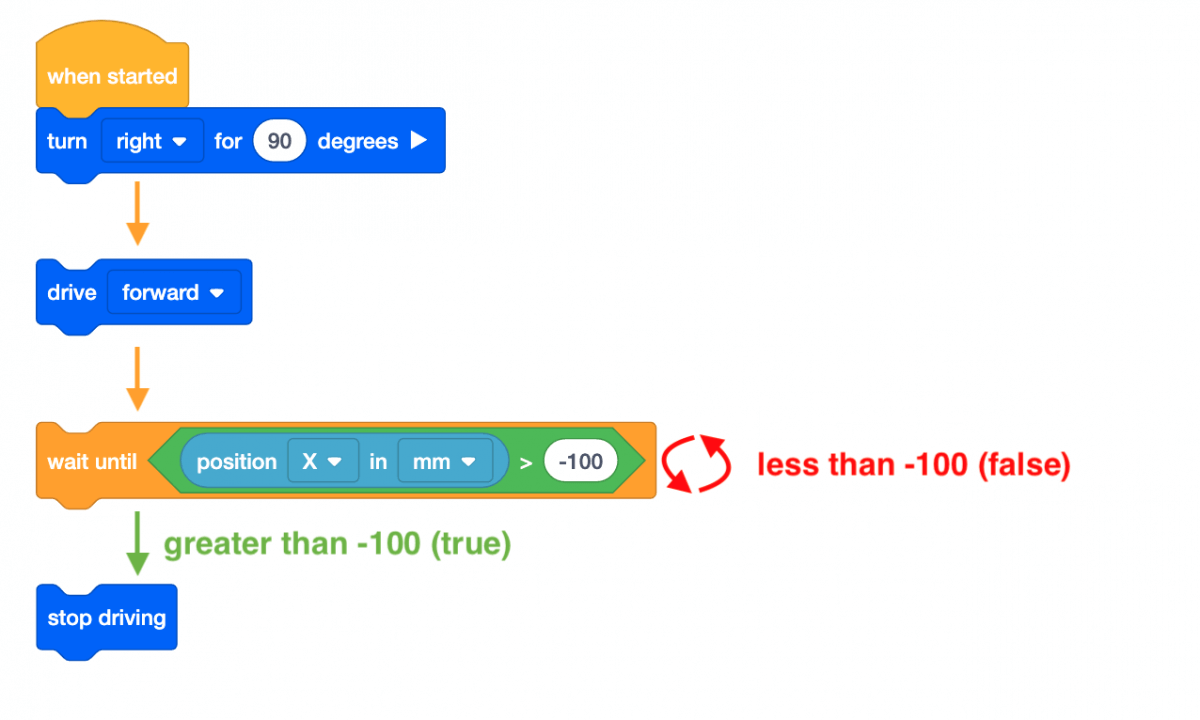
- In this project, the VR Robot drives to the number ‘5’ on the Number Grid Map Playground. The [Wait until] block is used so that the VR Robot will continue to drive forward until the X-value is greater than the X-value of the coordinate that the indicated number is on.
- Once the X-value is greater than -100, the project moves to the next block in the stack, which is a [Stop driving] block. Since the X-value of the number ‘5’ is -100, the VR Robot will stop driving once the X-value is greater than -100.
Using Switch Blocks
In this Lesson, you learned how to use the VEXcode [Wait until] block with a Boolean condition to command the robot to wait until the robot reaches a position of greater than -100 on the X-axis before moving to the next behavior.
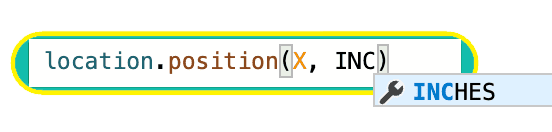
The image below shows the Switch [Wait until] block with the same commands in Python. Within the Switch block, while not location.position(X, MM) > -100: is the first Python command that checks whether the position of the robot along the X-axis is greater than -100.
The indented command, wait (5, MSEC) pauses the execution of the check for a specific amount of time. In this example, the project checks whether or not the robot's position is greater than an X value of -100 every 5 MSEC. This line of code is indented underneath the first line of code because this command is the behavior that will repeat until the condition (an X coordinate value of greater than -100) is met.

Select the Next button to continue with the rest of this Lesson.