Lesson 1: Location Sensor
In this Lesson, you will learn what the Location Sensor is and how to use the Location Sensor to navigate the VR Robot on the coordinate plane on the Number Grid Map Playground. You will learn how the Location Sensor works and how to use the Location Sensor in a VEXcode VR project.
Learning Outcomes
- Identify that the Location Sensor reads (X,Y) coordinates from the center turning point of a VR Robot.
- Identify that the (Position of Robot) block reports the X or Y coordinate position of a VR Robot in either millimeters or inches.
- Describe why the Location Sensor would be used in a VEXcode VR project.
- Identify how to create a project that has a VR Robot drive along the X axis until the value of the Location Sensor is greater than a threshold value.
- Explain how the coordinate values change as a VR Robot drives (e.g. as a VR Robot drives right on the Playground, the X value increases).
Location Sensor
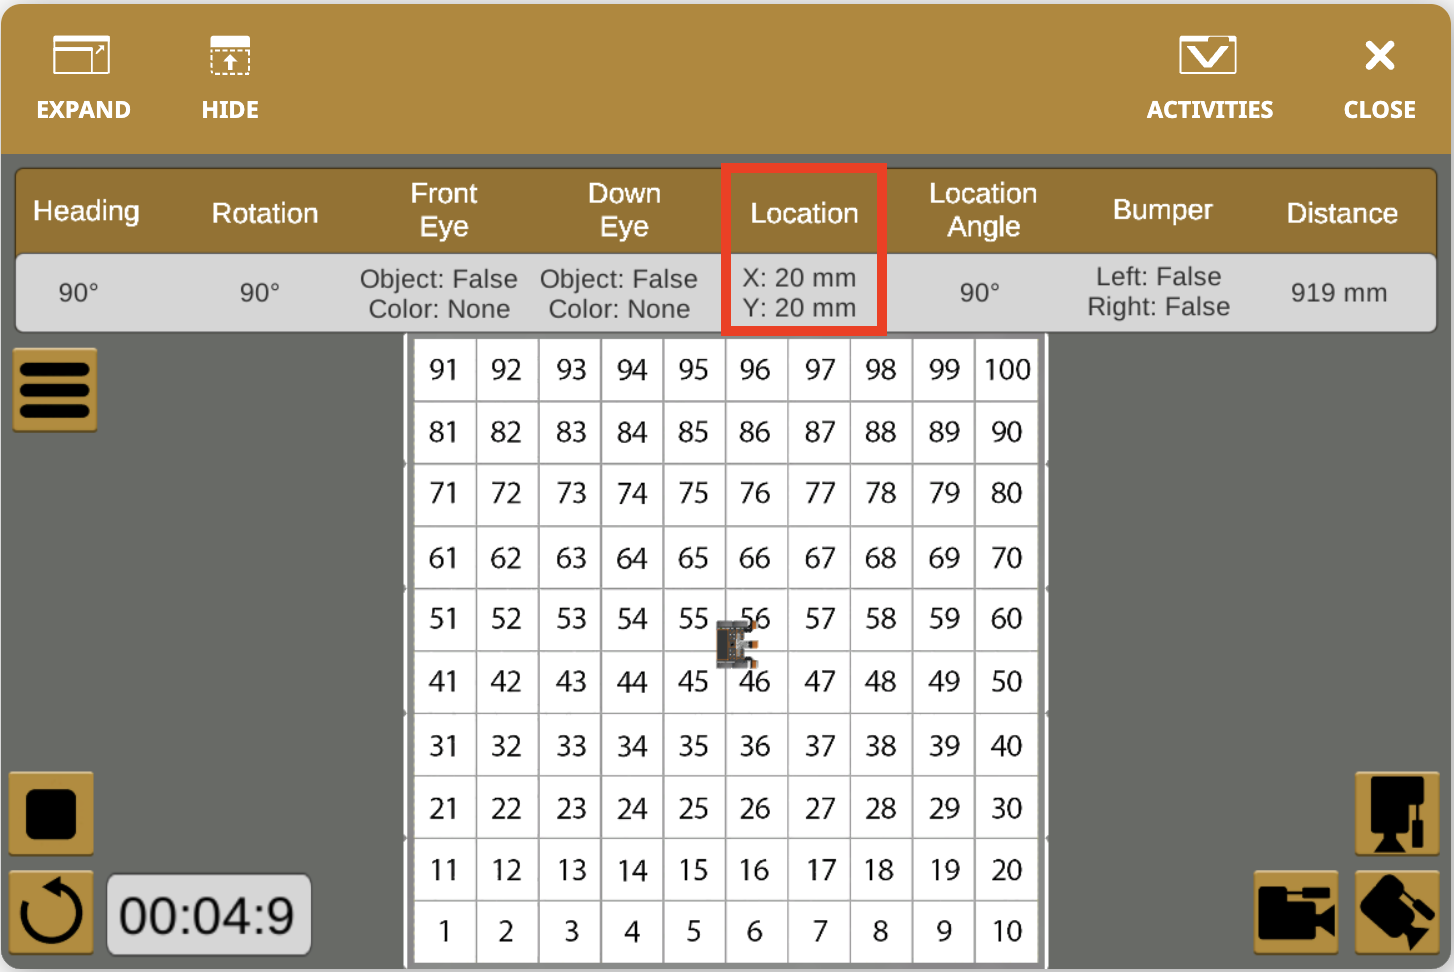
A VR Robot has a Location Sensor built in that reports the (X,Y) position of the VR Robot. The location of the VR Robot is determined by the front-center turning point. This is also the location of the Pen on the VR Robot.
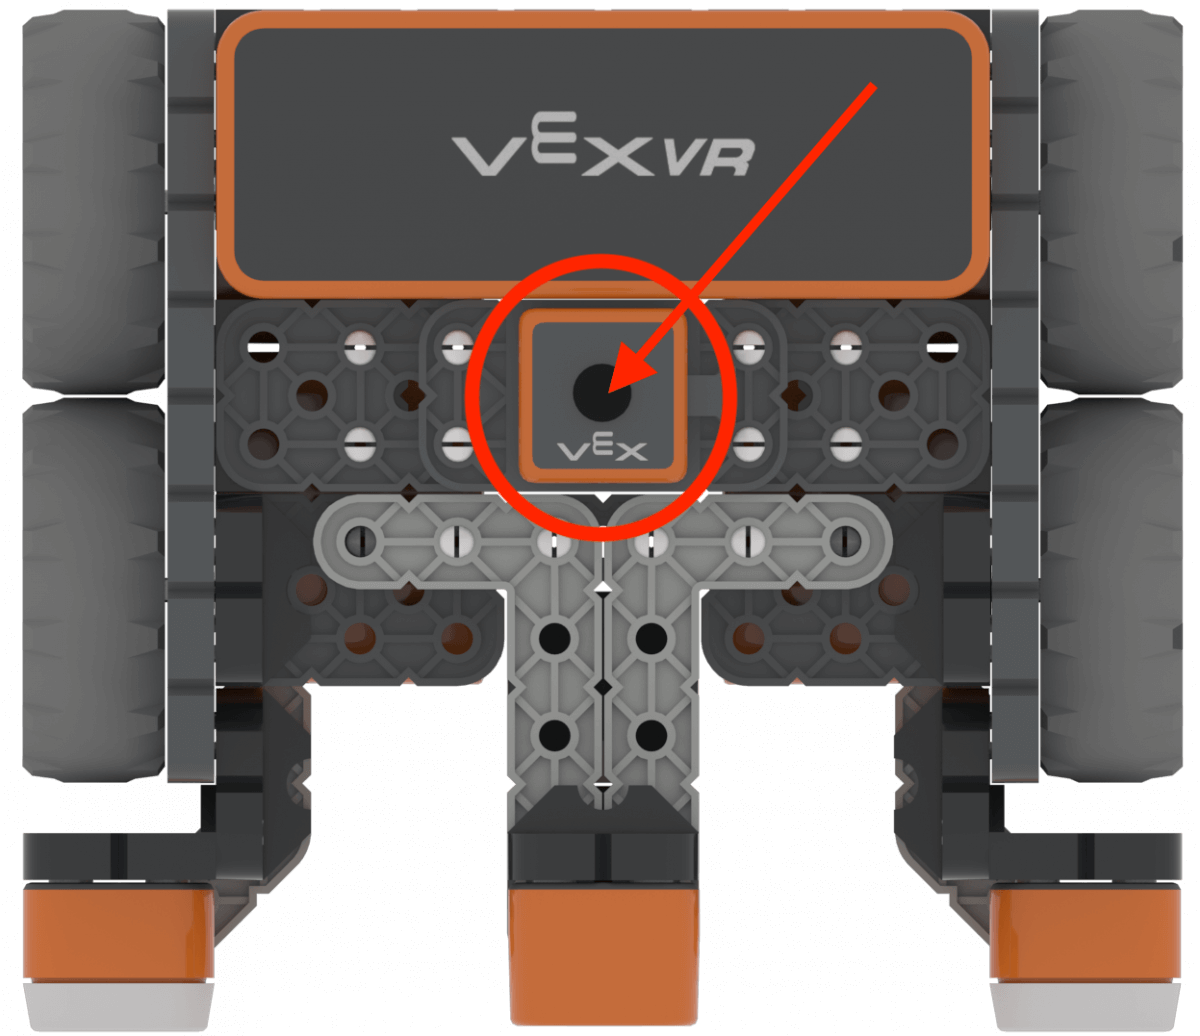
Location Sensor values can be seen on the Dashboard in VEXcode VR. View the Location Sensor - Robot Features - VEXcode VR article to learn more about the Location Sensor, and how to use the Location Sensor in VEXcode VR projects.
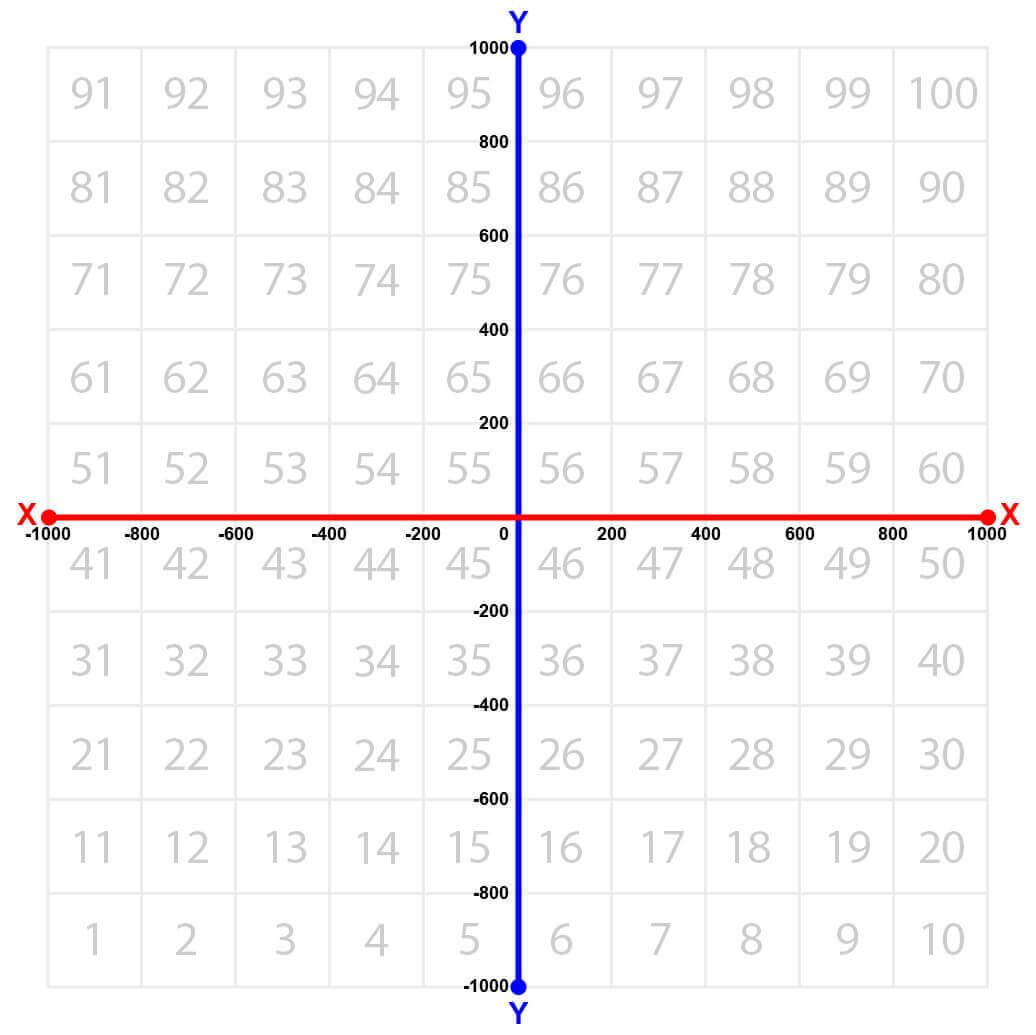
Coordinates in VR Playgrounds
Most Playground ranges from -1000 millimeters (mm) to 1000 millimeters (mm) for the X and Y positions.
The VEXcode VR Dashboard displays the (X,Y) position of a VR Robot determined from the Location Sensor.
View the following article for information on how to Identify the (X,Y) coordinates on a Playground, and how to identify the coordinates of a VR Robot’s current location and angle.
For more information on how to use the coordinate system (X,Y), and position blocks in VEXcode VR, see the following article.
Apply
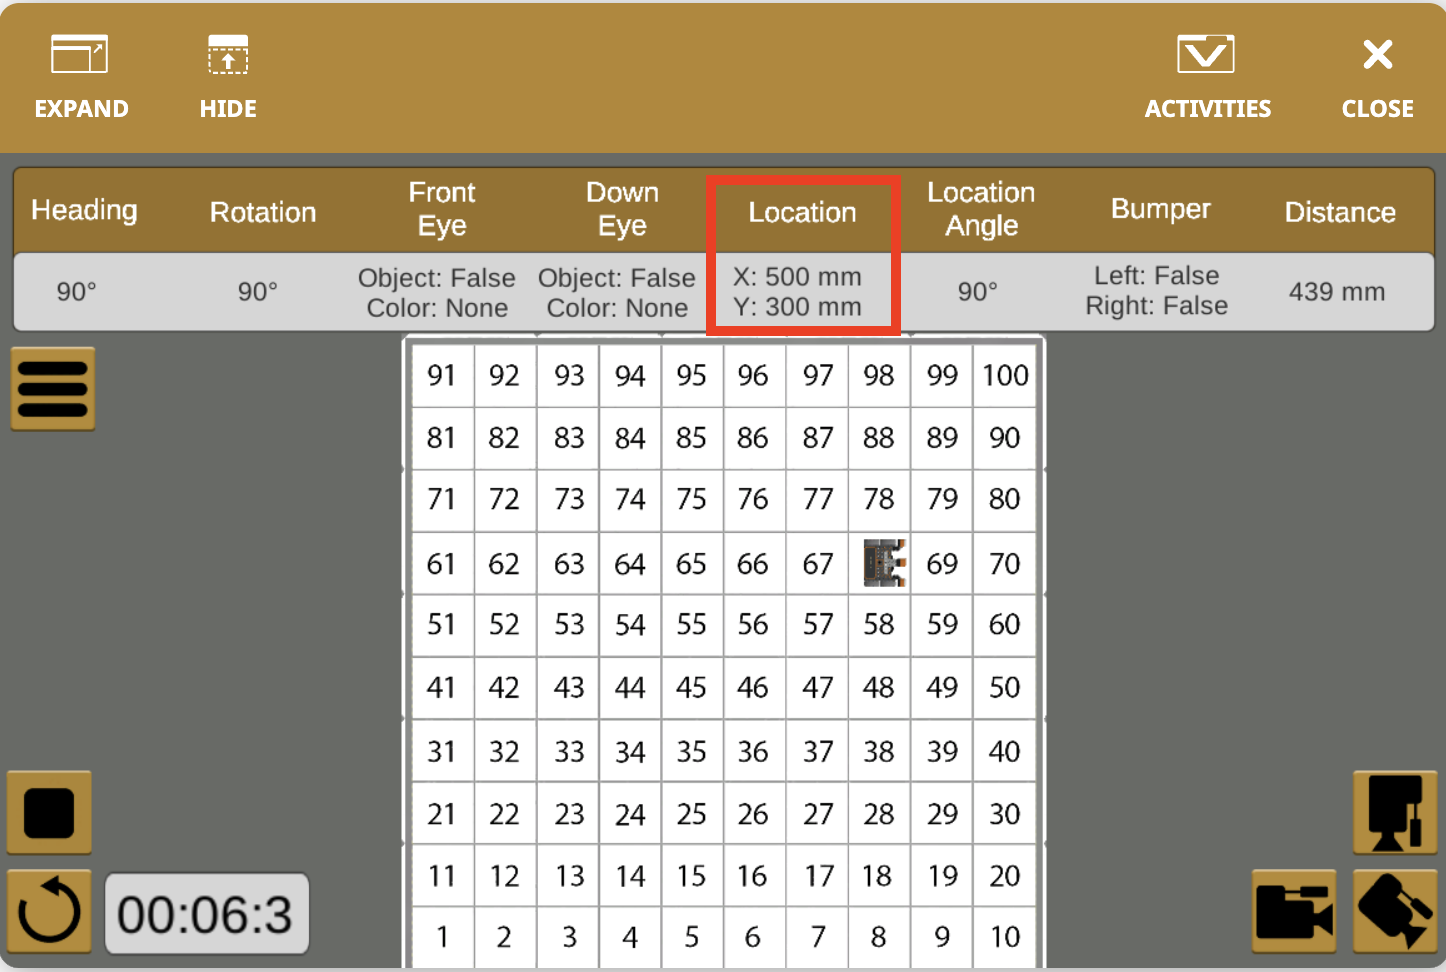
The Location Sensor can be used to navigate the coordinates of any Playground. Load and run the “Location” example project to see how to navigate the VR Robot with feedback from the Location Sensor.
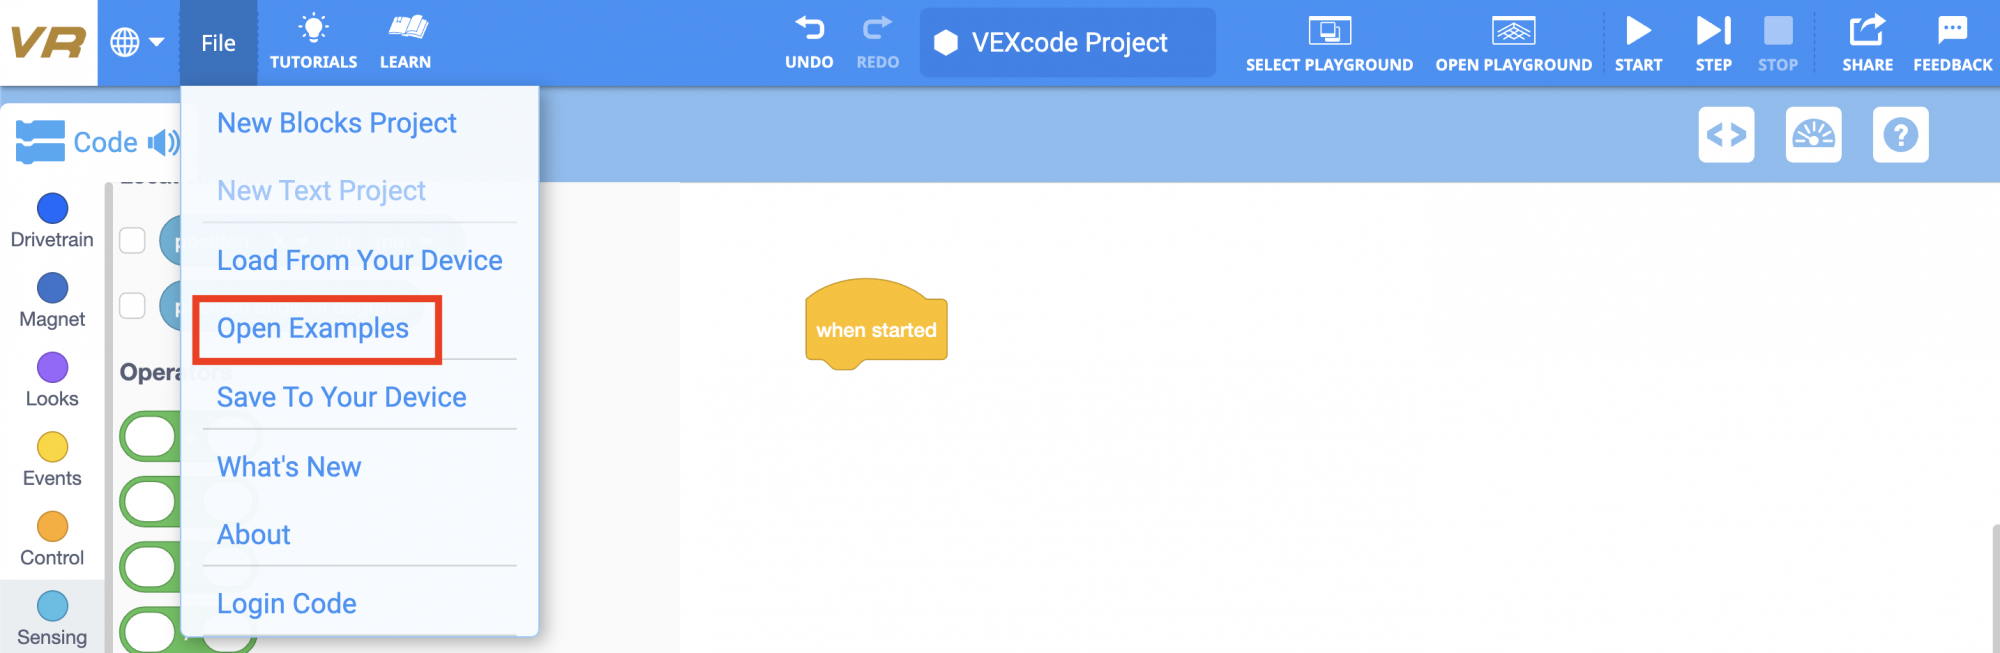
- Select “Open Examples” from the File dropdown menu.
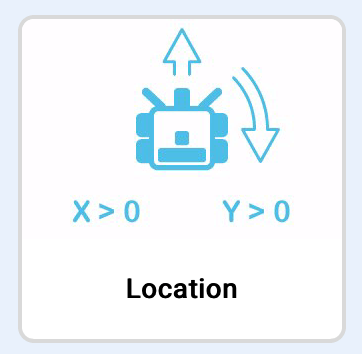
- Select the “Location” example project.
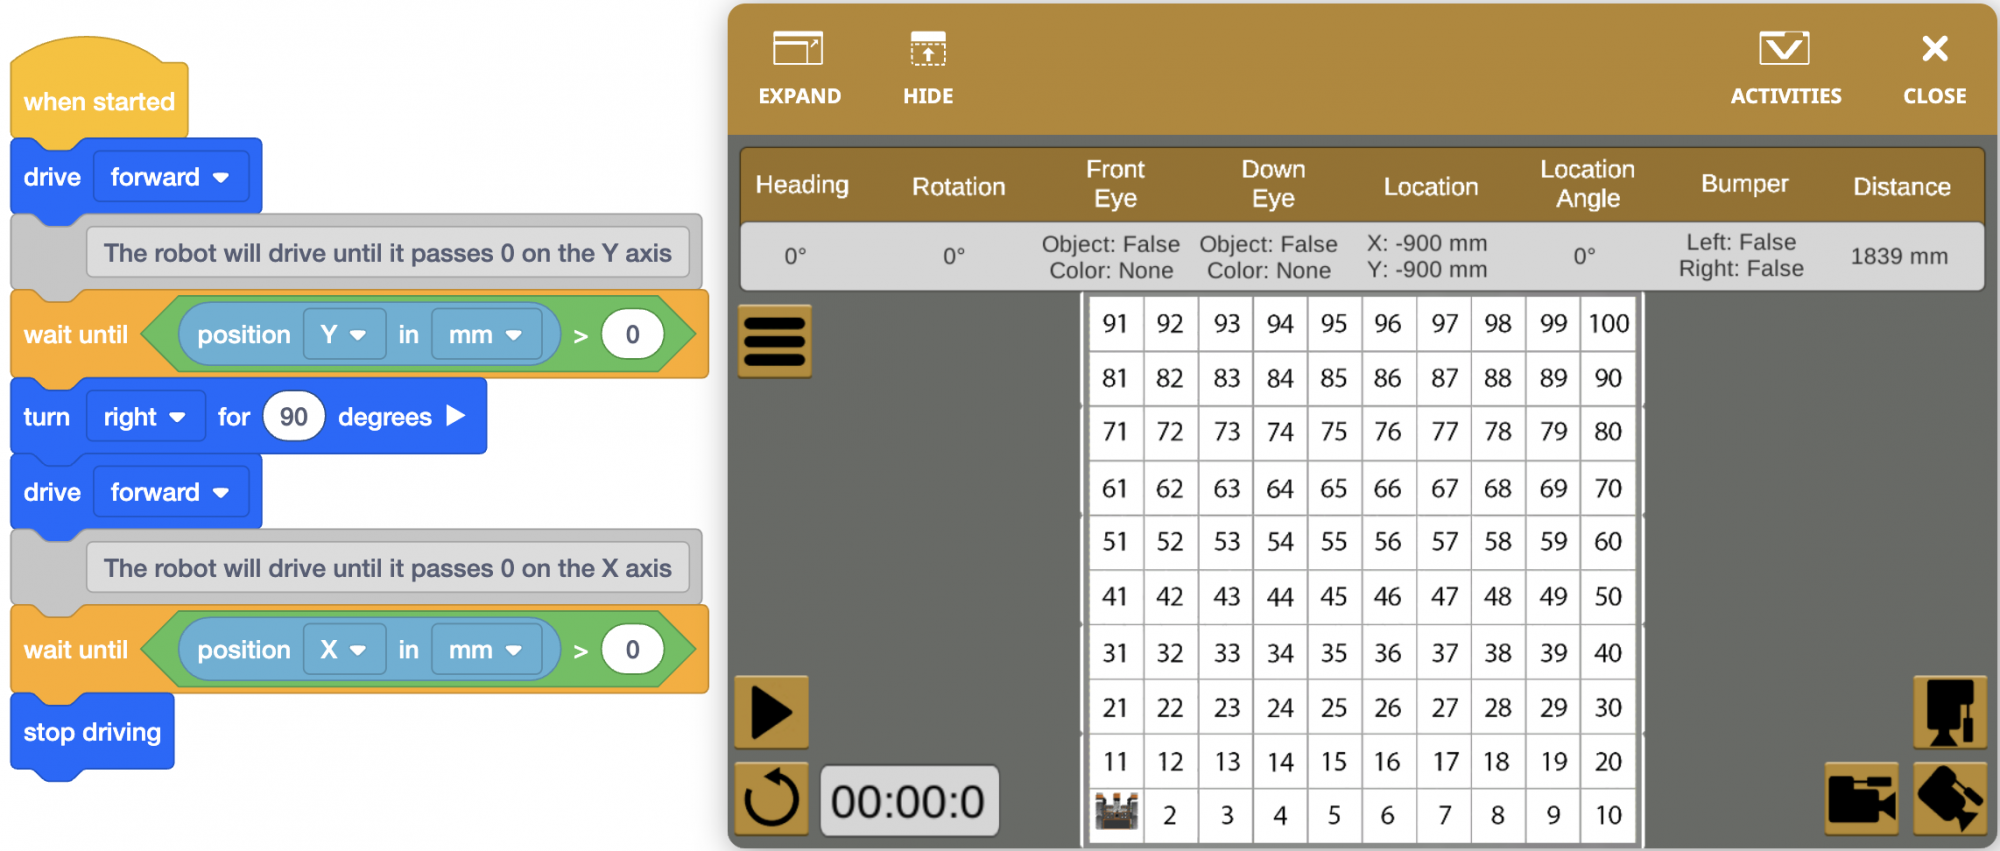
- Select the Number Grid Map Playground if it isn’t already open, and run the project.
-
Notice that the VR Robot drives until the Y coordinate is greater than zero, turns right, then drives until the X coordinate is greater than zero. This places the VR Robot close to the center of the Number Grid Map Playground, near location (0, 0).