
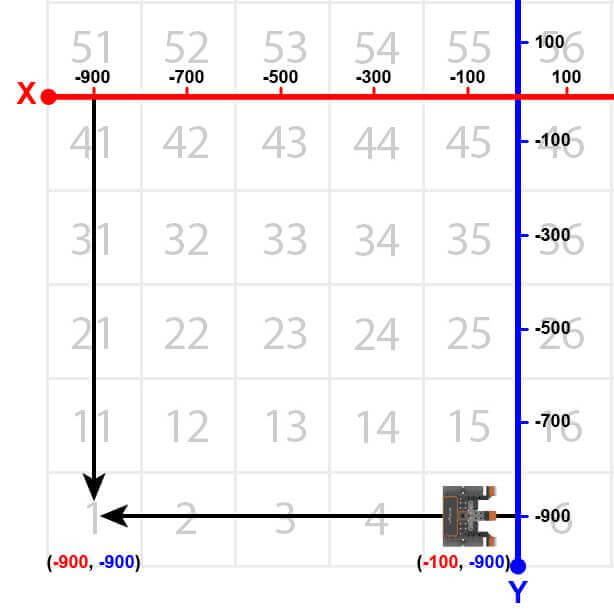
Lesson 2: Drive to Number ‘1’
-
Now the VR Robot will drive back to the number ‘1.’
-
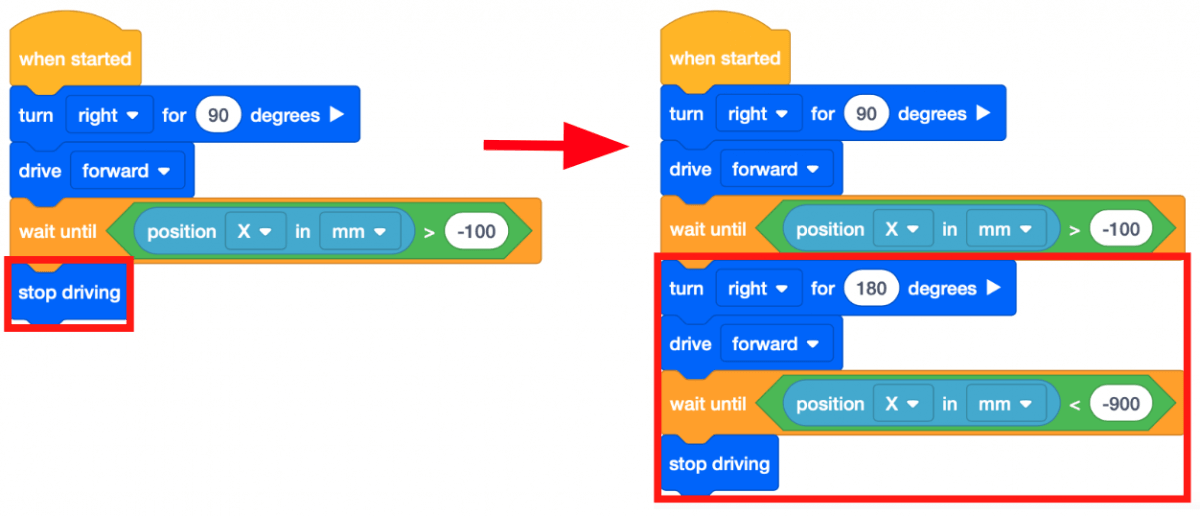
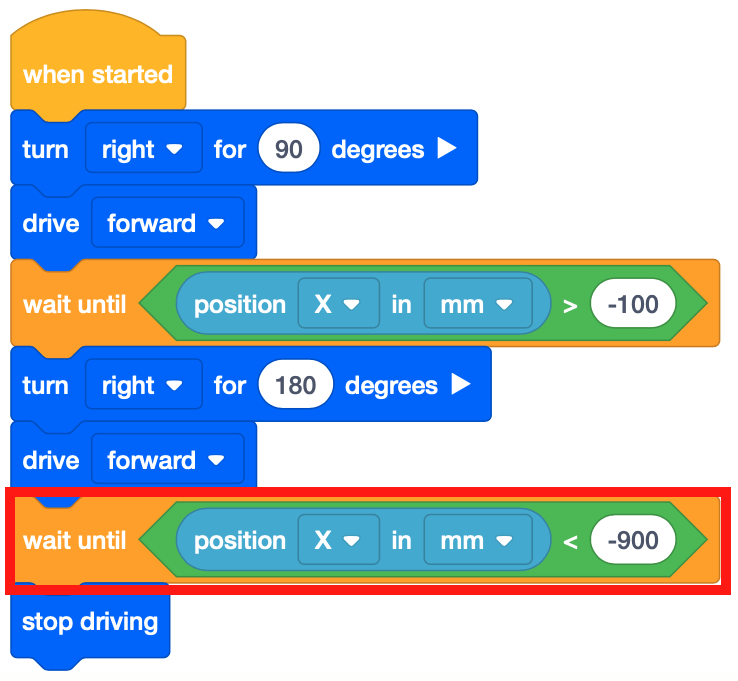
To navigate the VR Robot back to the number ‘1,’ remove the [Stop driving] block and replace it with the following blocks.
-
Note that the second [Wait until] block contains a <Less than> Boolean block instead of a <Greater than> block. This is because the VR Robot is now driving down the X axis and the numbers are becoming more negative. The VR Robot will stop once the X-values are LESS than -900.
- Launch the Number Grid Map Playground if it is not already open and run the project.
- Watch the VR Robot drive to number ‘1’ on the Number Grid Map Playground.
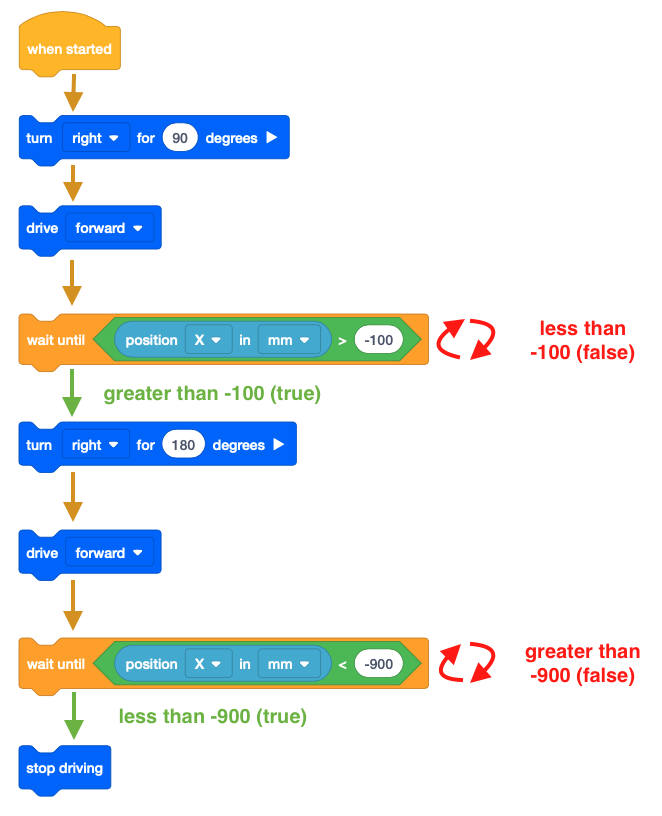
- In this project, the VR Robot drives to the number ‘1’ on the Number Grid Map Playground. Since the X-values are decreasing as the VR Robot drives to the number ‘1,’ the project uses a <Less than> block.
- The VR Robot will stop once its X-value is less than the X-value of the coordinate that the indicated number is on. Since the X-value of the number ‘1’ is -900, the VR Robot will stop driving once the X-value is less than -900.
For Your Information
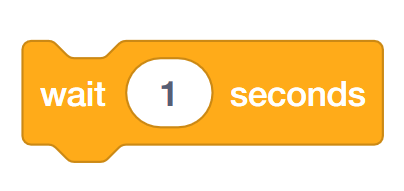
A [Wait] block will pause the project's flow for a specific period of time in seconds before moving on to the next block in the stack. A [Wait] block can be used to help observe individual behaviors in your project that may run quickly together, such as moving between two different locations on a Playground.
Using Switch Blocks
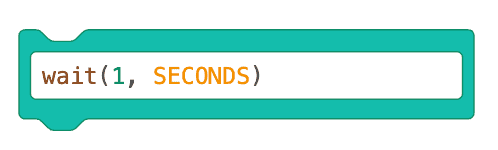
The image below displays the Switch [Wait] block. Note that the numerical value is written before the unit of measurement, separated by a comma.
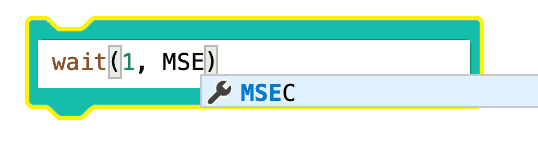
You can change the parameter from seconds to milliseconds by typing MSEC to replace the SECONDS parameter. Be sure to use all capital letters while entering the parameter.
Select the Next button to continue with the rest of this Lesson.