Engage
Launch the Engage Section
ACTS is what the teacher will do and ASKS is how the teacher will facilitate.
| ACTS | ASKS |
|---|---|
|
|
Getting the Students Ready to Build
Now that we have seen how the wheels connect to the axles to move freely, your task is to build a Buggy that can drive our Astronaut across Mars.

Facilitate the Build
-
InstructInstruct
students to join their group, and have them complete the Robotics Roles & Routines sheet.
Use the Suggested Role Responsibilities slide in the Lab 5 Image Slideshow as a guide for students to complete this sheet. Students will now prepare to build their buggy.
-
DistributeDistribute
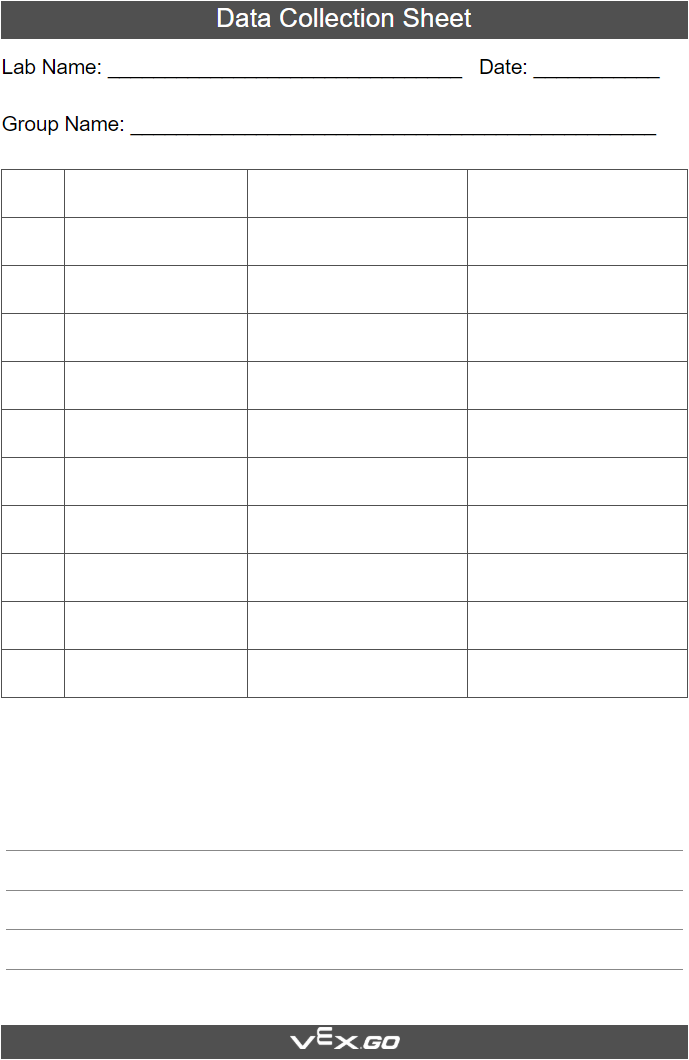
sheets of paper or the Data Collection Sheet to each group for designing and testing their builds. Journalists should sketch and label the designs for the group.

-
FacilitateFacilitate
preparing for the build by encouraging a discussion by asking the following questions:
-
What pieces do you think you will need to build your buggy?
-
How can you ensure that your buggy will move?
-
- OfferOffer design ideas and suggest certain pieces of the kit that students can use to build their buggy.

Teacher Troubleshooting
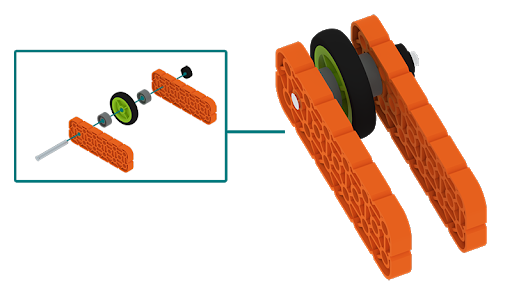
- Wheels need to be able to spin freely, so standoffs and pins are not useful for a working design. Encourage students to use the Shaft Collars to keep wheels on the axles.
- If wheels or gears are having issues staying in the correct place, encourage the students to use Shaft Collars to keep them in the right spot on the axle. This will help with the friction between a wheel and plate.
Facilitation Strategies
- Because this is a free-build Lab, encourage students to use trial and error. No test will be successful in the first round.
- To ensure the safety of the Astronaut, hold all Astronauts in your possession until a group presents you with a functional Buggy. Ask them where the Astronaut will be in the Buggy and check that their wheels are moving without interference.
- If groups finish their designs early, ask them to incorporate extra elements for the Buggy
- Seating
- A storage space
- Satellites