
Engage
Launch the Engage Section
ACTS is what the teacher will do and ASKS is how the teacher will facilitate.
| ACTS | ASKS |
|---|---|
|
|
Getting the Students Ready to Build
Let’s see what blocks we can use with the Eye Sensor in our VEXcode GO project, to make it sort a Disk by color. (If students do not have a pre-built Code Base 2.0 - Eye + Electromagnet from the previous Lab, allow 10 - 15 minutes for students to build it prior to the Lab activities.)
Facilitate the Build
-
InstructInstruct
students that you are first going to show them how the Eye Sensor reports data in VEXcode GO, and how that data can be used, before they begin their projects.
- When students join their groups, have them complete the Robotics Roles & Routines sheet. Use the Suggested Role Responsibilities slide in the Lab 1 Image Slideshow as a guide for students to complete this sheet.
-
DistributeDistribute
one pre-built Code Base 2.0 - Eye + Electromagnet, a Red Disk, and a tablet or computer with VEXcode GO open for demonstration purposes. Students should be able to see the screen and the robot. Students will collect their materials after the demonstration.
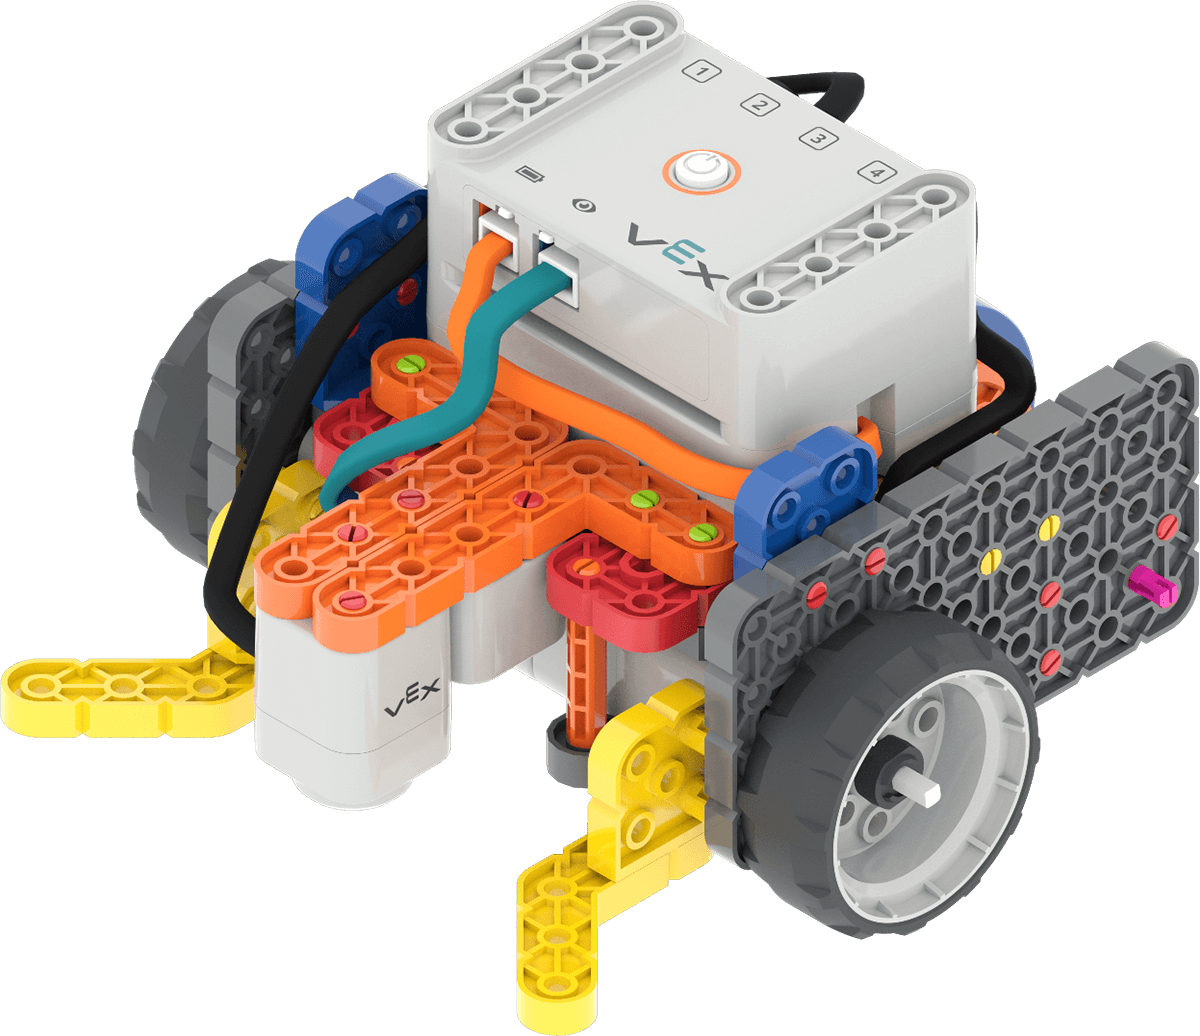
Code Base 2.0 - Eye + Electromagnet -
FacilitateFacilitate
a demonstration of the Eye Sensor, and using Eye Sensor data in a VEXcode GO project, for students.
- Turn on, connect, and configure VEXcode GO for the Code Base, if you have not already done so before the start of the Lab. See the Connecting articles in the VEX Library for device-specific information about connecting your robot to VEXcode GO. See the Configuring a Code Base article for more information on configuring VEXcode GO for your robot.
-
Select and drag the <Detects color> block to the Monitor Console icon, as shown in the video below. The Monitor Console will then open and display the Eye Sensor data. You may want to highlight that this block is a hexagonal shape, which means that it is a Boolean reporter block which only reports “true” or “false.” A reporter block has to be used with other blocks in order to make the robot perform a behavior. For more information about block shapes and their meanings, see this VEX Library article.
Video file
NOTE: select the 'X' icon to remove sensor data from the Monitor Console.
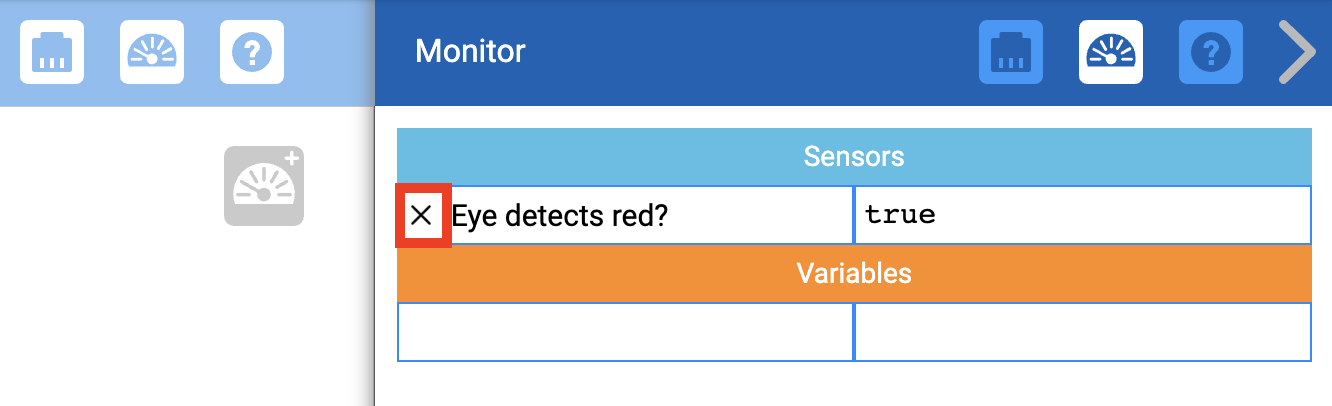
Select the 'X' icon to remove sensor data from the Monitor Console - Place a Red Disk beneath the Eye Sensor, and show students how the Monitor Console says “true,” as shown in the image above. Remove the Red Disk, and show students how the value changes to “false.” You may want to remind students that the <Detects color> will only report a value of “true” or “false,” it will not report a number, color, or other value.
-
Next, drag an [If then] block into the Workspace and attach it to the {When started} block. Show students the open space in the block, and ask them what they notice about the shape of the space, and the shape of the <Detects color> block?
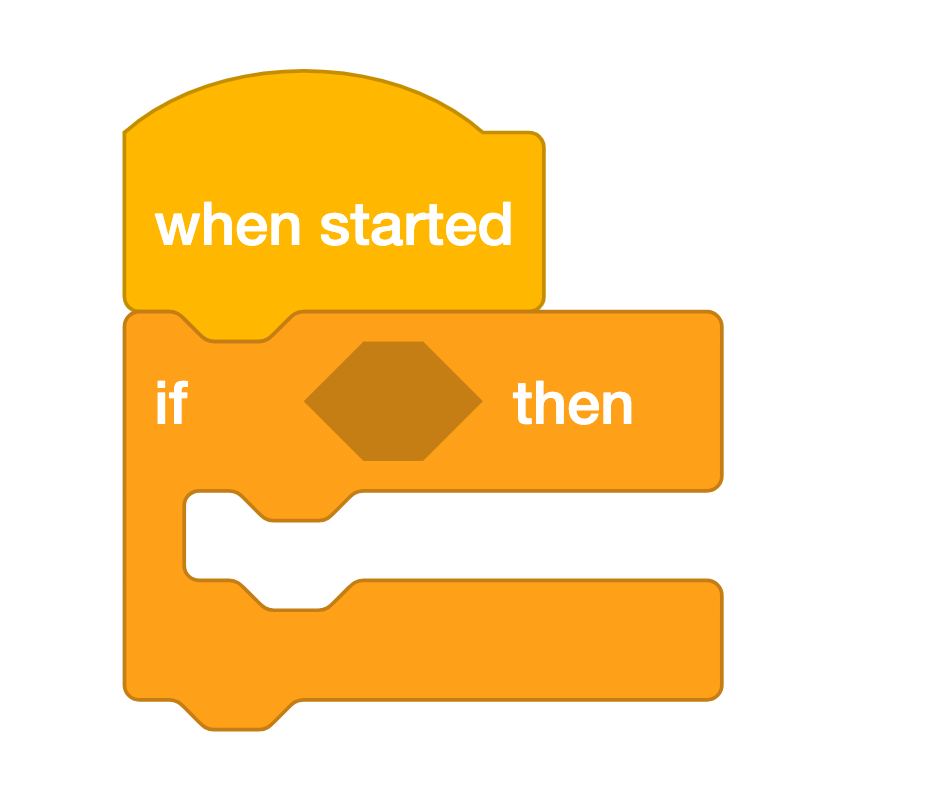
[If then] block -
Drag the <Detects color> block into the [If then] block. Have students describe what they think this block will now make the robot do. Explain that the [If then] block will check for a condition - if that condition is true, the blocks inside it will run. If the condition is false, they will not.
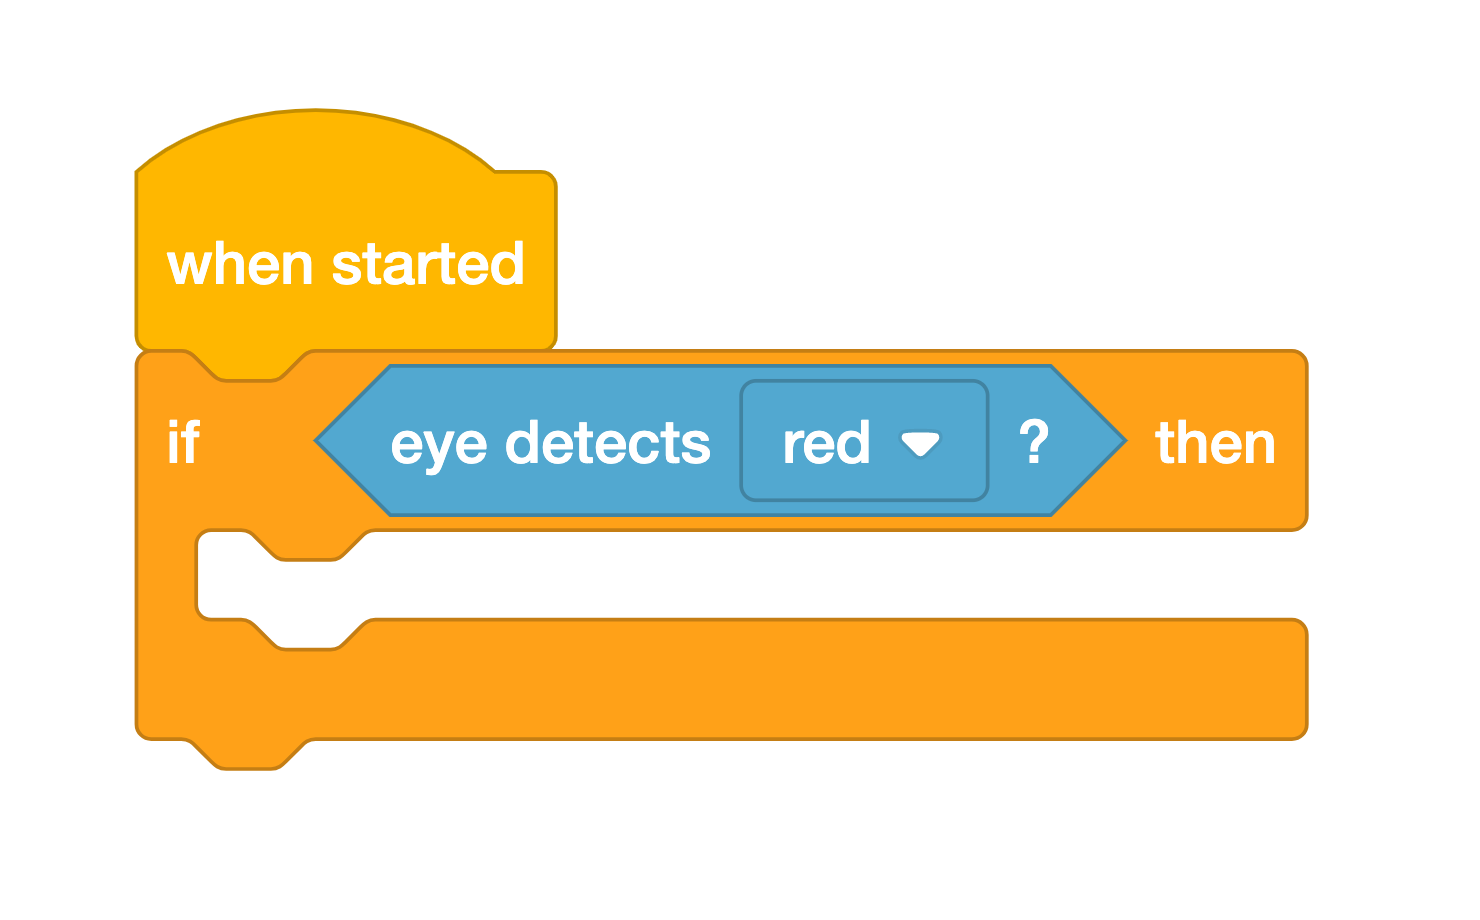
Add <Detects color> block -
Drag a [Drive for] block into the [If then] block. Ask students to predict what will happen if the Eye Sensor detects red. Start the project, and place the Red Disk beneath the Eye Sensor. The Code Base should move forward 100 millimeters, because the condition of detecting the color red reported true.
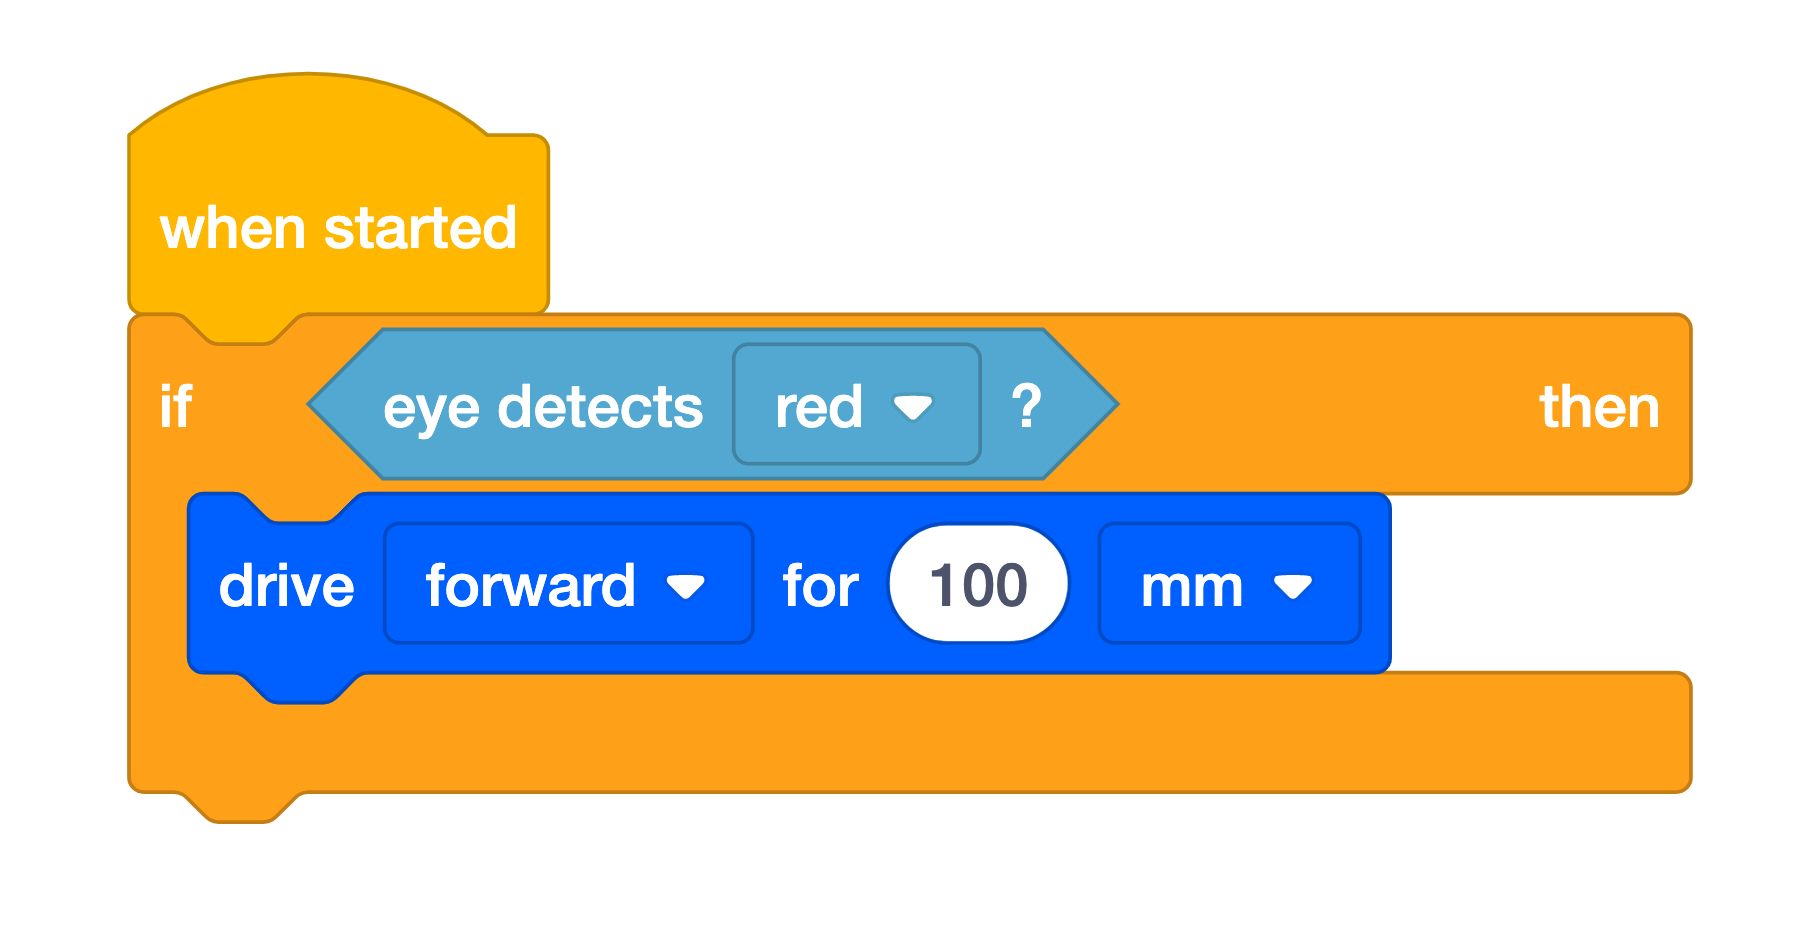
Add [Drive for] block - If time allows, ask students to predict what will happen if the Eye Sensor does not detect red. Start the project, placing a Blue Disk beneath the Eye Sensor. The Code Base should not move, because the condition of detecting the color red reported false.
- OfferOffer positive reinforcement for students who are actively engaging in the demonstration, asking and answering questions, and listening to their classmates.

Teacher Troubleshooting
- Inside the [If then] - If the Code Base is not driving to the correct location once the Eye Sensor detects Red, check that the Drivetrain blocks that are needed are located inside the [If then] ‘C’ block, to make sure that the project runs as intended. Students can reorder blocks into and out of the ‘C’ block by dragging and dropping them within their project.
- Check your ports - Remind students to check to make sure that they are connecting the Eye Sensor and the Electromagnet into the correct port. The Eye Sensor is plugged into the teal port on the front of the Brain, and the Electromagnet gets connected to Port 3.
- Help with the ‘drop’ - Sometimes the Electromagnet may not always fully drop the Disk right away. As long as the [Energize electromagnet] block is set to 'drop' correctly in their projects, students can take the Disk off the Electromagnet if needed, when the Code Base returns to the base.
Facilitation Strategies
- Think about how your students will access VEXcode GO. Ensure that the computers or tablets that students will use have access to VEXcode GO. For more information about setting up VEXcode GO, see this VEX Library article. For more information about setting up VEXcode GO, see this VEX Library article.
- Gather the materials each group needs before class. For this Lab, each group of two students will need a GO Kit, build instructions, a computer or tablet to access VEXcode GO, and the Red Disk from the Kit. Students will also need access to a Field for testing.
-
Set up your Fields ahead of time as shown in the image below, to serve as a testing area for the Code Base. Have these spread out around the classroom to allow students ample space to test their projects. In this image, the Red Disk is shown in place for Play Part 1, with the sorting area marked. You may want to mark the starting locations of the Disk and the Code Base, as well as the sorting area location with a dry erase marker to help students when they are setting up to test their projects.
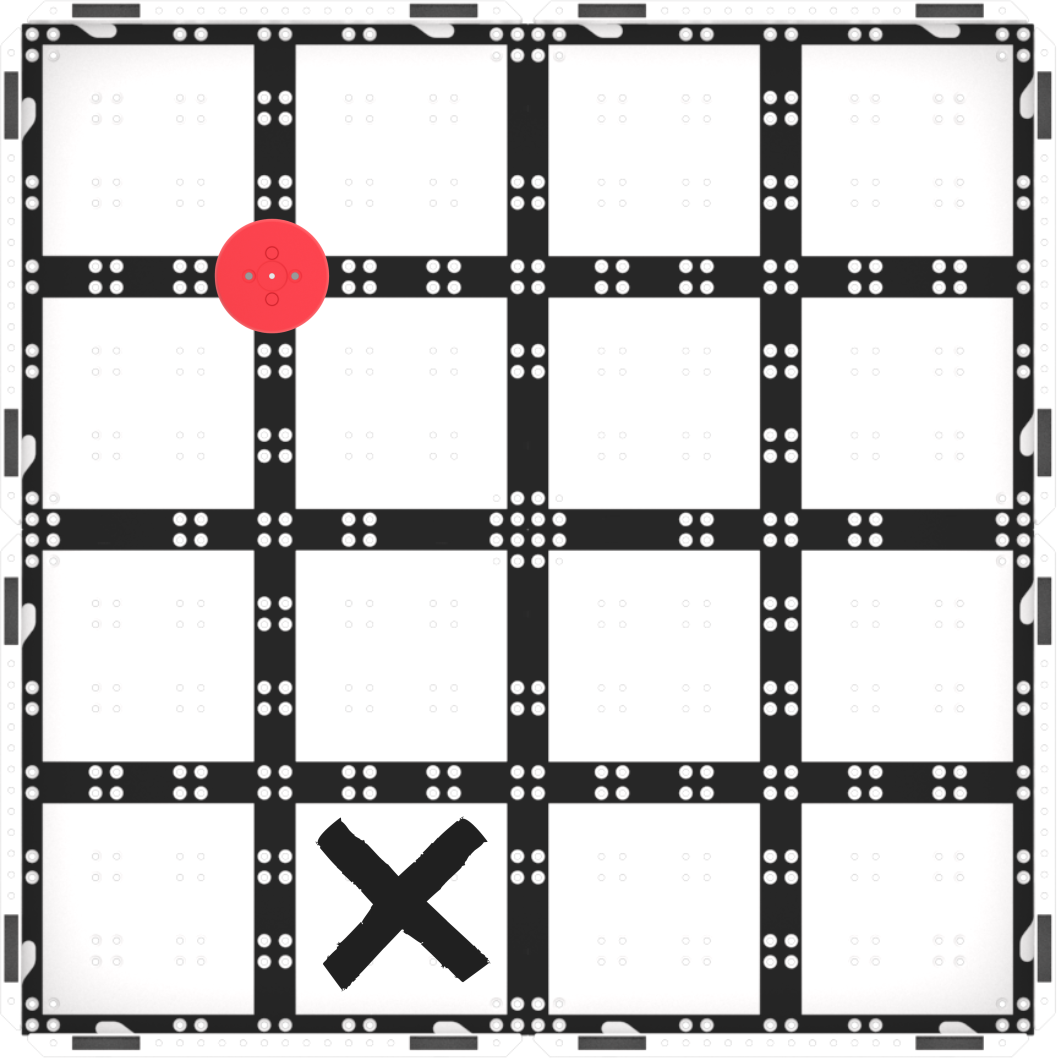
Field Setup - Use the grid lines on the Field to help with alignment. The Disk and the Electromagnet can both be lined up on intersecting grid lines of the Field, to make it easier for students to be set up for success when they test their projects.
- To help students see the Eye Sensor data while their project is running, they can open the Monitor Console at any time, to see when the Eye Sensor changes from true to false. What is changing on the Field when that happens?
- If students finish early, have them test their project with a Blue or Green Disk. Does their project still work? Why or why not? What would they need to change to make the Code Base move the new Disk to the sorting area?