
In this lesson, you'll be introduced to robot-to-robot communication. You will learn how to use the send message, get latest message, and latest message blocks to communicate between two VEX AIM Coding Robots. Then, you'll explore by sending a variety of messages!
Throughout the unit, Robot S will send messages, and Robot R will receive messages.
Watch the video below to learn:
-
What robot-to-robot communication is.
-
How to code a robot to send a message.
-
How to code a robot to receive a message and respond based on what it receives.
Now that you have watched the video, capture your thoughts in your journal. Answer these questions to guide your thinking and help you prepare for a whole-class discussion:
- What do you notice about robot-to-robot communication? List at least two observations.
- What did you see in the video that supports your statements?
- What questions do you have about coding the robot to send a message?
For Your Information
In order for robots to communicate with one another, they must be paired together. Follow the steps in this article to learn about how to pair robots.
Consider the following tips while using messaging:
- Double-check which robot you are paired with.
- You can rename your robot to make it easier to identify.
- To connect VEXcode AIM to two robots at the same time, open two different browser tabs or use two separate computers.
Guided Practice
Now that you have watched and discussed the video, it is your turn to practice!
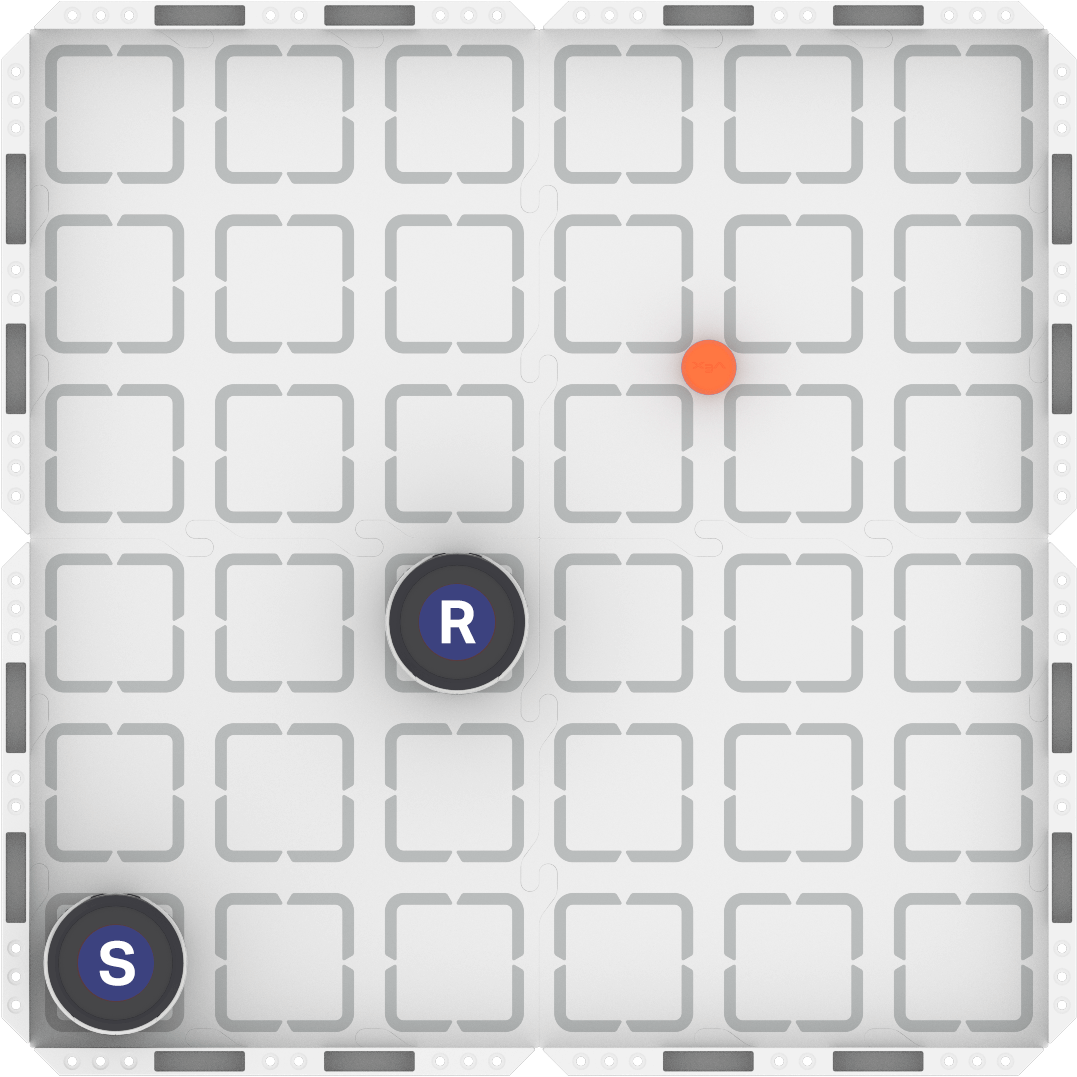
Step 1: Ensure Robot S (sending) and Robot R (receiving) are paired, and place them on the field with an orange barrel.
Step 2: Build the projects shown here and download them to each robot. Run the projects to see how they work in action.
| Robot S (Sending) | Robot R (Receiving) |
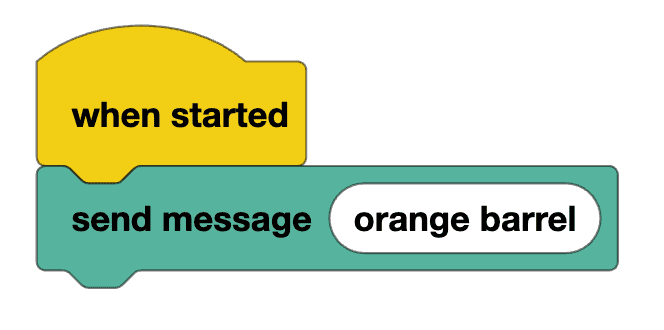 |  |
Step 3: Complete the task using the task card (Google / .docx / .pdf) linked here:
- For each message in the table shown in the task card:
- Review the concept being tested.
- Predict how Robot R will behave.
- Modify the project for Robot S to send all the messages in the task card. Observe how Robot R responds.
- Document the results of each test in the table.
- Pro Tips:
- Make sure the robots are paired before you start.
- Start Robot R's project first, then start Robot S's project. This ensures Robot R is ready to receive Robot S's message.
Resources for Practice:
The resources linked here are available if you need additional support while completing the activity.
Wrap-Up
Now that you have practiced, it is time to share what you learned. Answer the following questions in your journal to help you reflect on your learning and prepare for a whole-class discussion:
- What is something you learned through practice that you did not know from just watching the video?
- How will you use what you learned in guided practice when creating future robot-to-robot messaging projects?
- How does robot-to-robot messaging compare to human communication?
Select Next > to move on to the next lesson.