
Lesson 3: Driving to a set of Coordinates (Y axis)
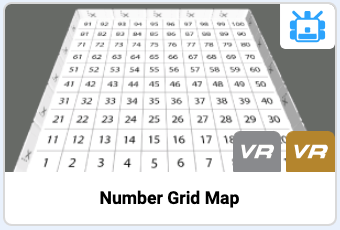
In this Lesson, you will create a project using the Location Sensor to navigate VR Robot to the number ‘31’ on the Number Grid Map Playground. In the mini challenge, you will apply these skills to drive the VR Robot to the number ‘81,’ and then turn around and stop on number ‘41’ on the Number Grid Map Playground!

Learning Outcomes
- Identify how to create a project that has a VR Robot drive along the Y axis while the value of the Location Sensor is less than a threshold value.
- Identify how to create a project that has a VR Robot drive along the Y axis while the value of the Location Sensor is greater than a threshold value.
- Identify the X,Y coordinates of numbers on the Number Grid Map Playground.
- Identify that comments allow users to write information to help describe their project.
- Identify how to add comments to a project.
- Describe why and how comments should be used in a project.
Name and Save the Project
-
Start a new text project and select the Number Grid Map Playground when prompted.
- Name the project Unit6Lesson3.

Select the Next button to continue with the rest of this Lesson.