
Play
Part 1 - Step by Step
- InstructInstruct students that they are going to code their 123 Robots to drive to the lions in a new way, using the Coder and Coder cards. Instead of pressing the Touch buttons, they will control the robot's behaviors with the Coder cards that they insert into the Coder. Watch the animation below to see how a simple program on the Coder runs on the 123 Robot.
A Coder is pictured to the left of the Zoo Field. A finger presses the Start button on the Coder, and the green light to the left of the When start 123 Coder card glows. The next card in the Coder is Drive 1. The green light beside this card begins to glow, to indicate this card is being executed by the robot. Simultaneously, the robot drives forward one square.
Video file - ModelModel for students how to follow the step-by-step process to code their 123 Robots using the Coder and Coder cards.
- Distribute the following materials to each group:
- 123 Robot
- Coder
- A 123 Field with the start and the lion location marked
- Coder cards: Students should only have the 'When start 123' card, and a 'Drive 1' card.
-
First, students will need to wake the robot. To wake the 123 Robot, push the wheels along a surface until you hear the startup sound, as shown in the animation below. Turn on sound for this animation. For more information about the 123 Robot, see the Using the VEX 123 Robot VEX Library article.
Video file -
Second, students will need to turn on the Coder. To turn on the Coder, press the Start button, as shown in this image. The indicator light on the Coder will glow when the Coder is powered on.
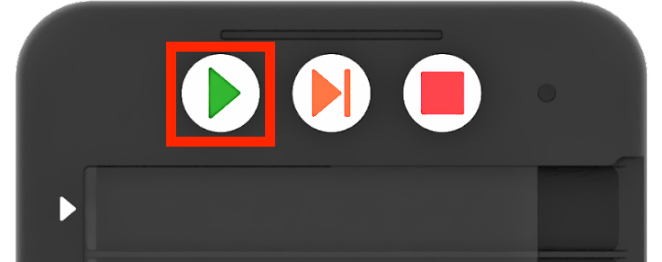
Press the Start button to turn on on the Coder - Third, students will need to connect the 123 Robot to the Coder. To connect the 123 Robot, press and hold the Start and Stop buttons on the Coder, and the Left and Right buttons on the 123 Robot for at least 5 seconds, until you hear the connected sound, and the indicator lights flash in time, as shown in the animation below. Turn on sound for this animation. For more information about the Coder, see the Using the VEX 123 Coder VEX Library article.
Video file- Fourth, students will begin to insert Coder cards to build their projects to test that the 123 Robot and Coder are successfully connected. All Coder projects begin with 'When start 123'. Have students insert the 'When start 123' Coder card into the top slot of the Coder, marked with an arrow, as shown in the image below.
-
Note that this Coder card is slightly smaller than the others, and that it is the only Coder card that fits into the top slot on the Coder.
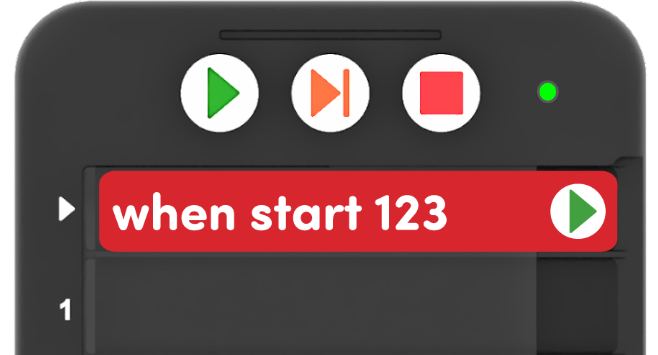
Put 'When start 123' Coder card in the Coder - Next, have students insert the first command, or Coder card, of their project, into slot 1.
- To drive to the lion using the Touch buttons, the first button press was the Move button, to drive the 123 Robot forward one step.
- To drive the 123 Robot forward one step using a Coder card, you would use the 'Drive 1' Coder card.
-
Have students insert the 'Drive 1' Coder card into slot 1 on the Coder, as shown here.
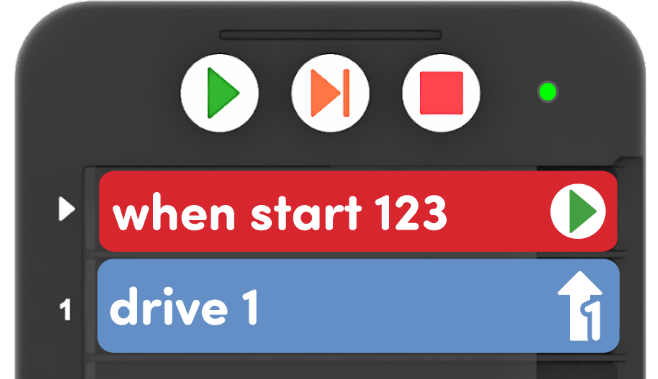
Add 'Drive 1' Coder card to the project
-
-
Fifth, students should test their projects to be sure that the 123 Robot and Coder are successfully connected. Have students place their 123 Robot on the start, or entrance to the zoo, as shown here.

Place the 123 Robot at the Zoo entrance -
Then press the Start button on the Coder to run the project.
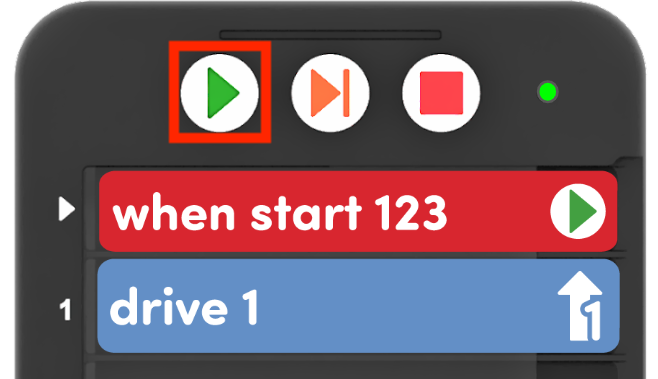
Press Start to test the project - The 123 Robot should drive forward one step, and stop, as shown in the animation above.
-
- Distribute the following materials to each group:
- FacilitateFacilitate conversations with students about the steps of the connection process as you work through them together.
Help students to think about the audio and visual cues throughout the process, so that they can look for them when connecting in the future:
- What do you see or hear on the Coder that tells you that it is powered on?
- What do you see or hear on the 123 Robot that tells you that it is powered on?
- What do you see or hear to let you know that the robot and Coder are connected?
- What do you see or hear to let you know that the project is starting? What about when it is complete?
The 123 Robots and Coders can be connected, and reconnected, using the same process. To be sure that all students are comfortable with this process, you may want to have students repeat the connection steps to give each student a turn to press the buttons for a successful connection.
- RemindRemind students that this process will be something they will need to do each time they use the 123 Robot with the Coder and Coder cards. Ask them to verbalize steps in the process, to help them remember the order.
Ask questions like these to help students think about the details of each step:
- What is the very first thing you need to do to code your 123 Robot using the Coder and Coder cards?
- Can you explain how you connect the robot and Coder, once they are both turned on?
- What Coder card goes into the top slot on the Coder with the arrow?
- What button do you press to turn on the Coder or start your project?
- AskAsk students about other things they have or do in their classroom or at home that requires a step-by-step process to use. What did they do to learn that process? Can they do any of the same things to help remember the process for connecting the Coder?
Mid-Play Break & Group Discussion
As soon as every group successfully connected their 123 Robot and Coder and had their 123 Robot drive forward 1 step, come together for a brief conversation.
Take a moment to check in and answer any questions about the connection process. Then, set the stage for connecting Touch button presses to individual Coder cards.
-
Distribute students' fill-in printables, and have them write or draw the 'Drive 1' Coder card in slot 1 on the Coder side of the sheet, as shown here.
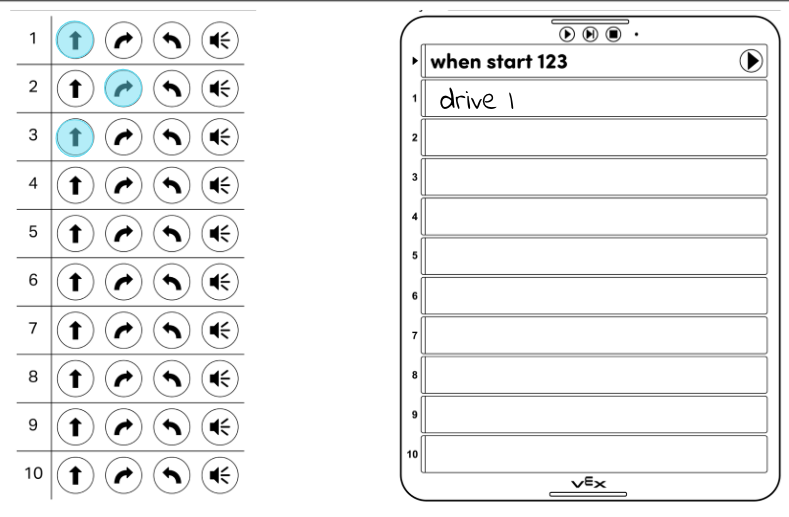
Draw or write the 'Drive 1' Coder card - Ask students what robot behavior the 'Drive 1' Coder card, or one press of the Move button, makes the 123 Robot do. Just as they colored in the Touch button presses to plan or remember their Touch project sequence, they can do the same thing for Coder projects.
- Next, have students predict what Coder card they might need to make the 123 Robot carry out the next behavior in the Touch project. They can use the sheet to remind them that the 123 Robot next needs to turn right to face the lions. What Coder card do they think they might need in order to code that behavior in a Coder project?
Part 2 - Step by Step
- InstructInstruct students that they are now going to use the Coder and Coder cards to drive their 123 Robot the rest of the way to the lions. They will plan the sequence of Coder cards using the fill-in printable, then will build and test the project with the Coder and Coder cards. Once the project is complete, the 123 Robot should drive from the start, or zoo entrance, to the lions, as shown in the animation below.
A Coder is pictured to the left of the Zoo Field. The cards in the Coder are: When start 123, Drive 1, Turn right, Drive 1. A finger presses the Start button on the Coder. The 123 Robot executes the project, beginning from the same starting position, and stopping on the lion.
Video file - ModelModel for students how to plan their project using the fill-in printable, then build and test the project with the Coder and Coder cards.
- Distribute a 'Turn right' and a 'Drive 1' Coder card to each group.
-
Have students to draw or write which Coder card goes next in the project, on the Coder side of the fill-in printable.
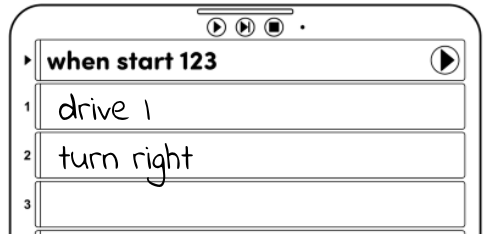
Plan the next part of the project -
Next, have students insert the second Coder card into slot 2 on the Coder.
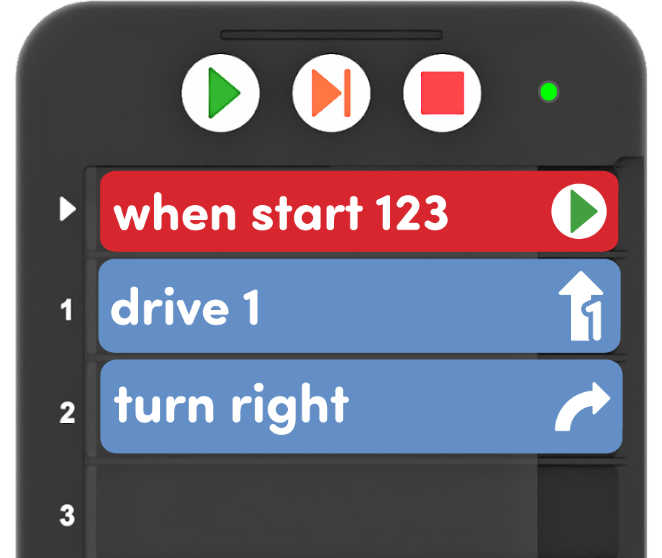
Add the 'Turn right' Coder card -
Students should then place the 123 Robot on the start, or zoo entrance, as shown below, and press Start on the Coder to test their project. Did the 123 Robot drive forward and turn to face the lions? If not, have students check that their Coder cards are correctly sequenced and try again.

Place the 123 Robot at the zoo entrance - Students can then repeat the process to plan and test their project to drive their 123 Robot the last step to the lions.
-
To successfully drive to the lions, the Coder project could look like this:
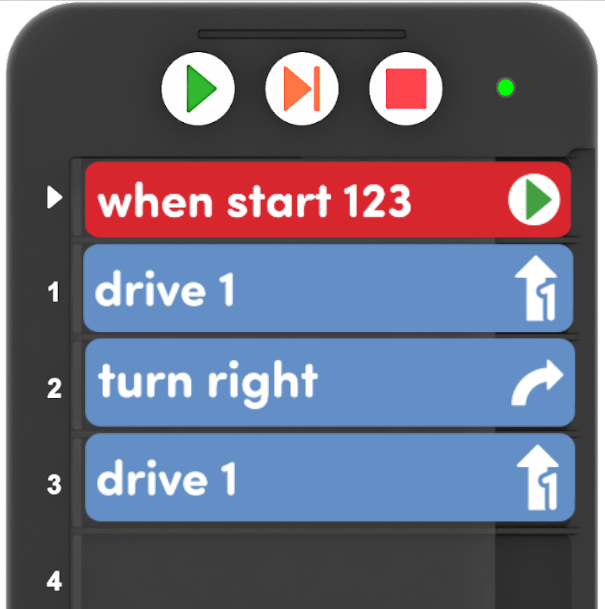
Example Coder project to drive to the lions
-
- FacilitateFacilitate students coding the 123 Robot to drive to the lions using the Coder and Coder cards. Facilitate conversations about how the Coder is working, and how this can help them as they build and test their projects. Ask questions like:
- How do you add Coder cards to a Coder project?
- Why do you think it is helpful to plan a project, like we did with the fill-in sheet? How can this help you be successful when coding with the Coder and Coder cards?
If students successfully drive to the lions and are ready for an additional challenge, offer them additional drive and turn Coder cards, and see if they can find another way to get from the entrance to the lions.
- To facilitate project planning, you may want to offer an additional fill-in printable, or a blank Coder fill-in printable.
- RemindRemind students that just as they did not always reach their goal on the first try with a Touch project, they will likely need to try different sequences with Coder projects as well. Have students share some strategies that they have used to stay focused and to be problem solvers when they coded with Touch buttons, that they can continue to use when coding with the Coder and Coder cards.
Ask questions like:
- What is something that you learned from coding with Touch buttons that will help you code with the Coder and Coder cards?
- What did you and your partner do to help you take turns when you are coding the 123 Robot? How can you use that strategy when coding with the Coder?
- What is something you can do if you are starting to feel frustrated when coding your 123 Robot? How can that help you to be a problem solver when you are using Coder cards to code?
- AskAsk students about other times that planning a project before doing it helped them to be successful. For instance, have they ever sketched a block building before building it, or thought about a story before starting to write it? How did project planning help them to reach their goal or accomplish the task? How might the same kind of planning be useful when coding the 123 Robot with the Coder and Coder cards?