
Lesson 1: Draw a Square

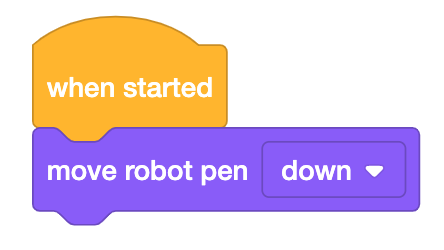
The [Move robot pen] block moves the Pen tool up and down on the VR Robot. This example will have the VR Robot draw a square on the Art Canvas Playground.

Art Canvas Playground with a VR Robot on it. The robot has just drawn a large black square on the playground to the top right of its current position in the center of the playground.
 
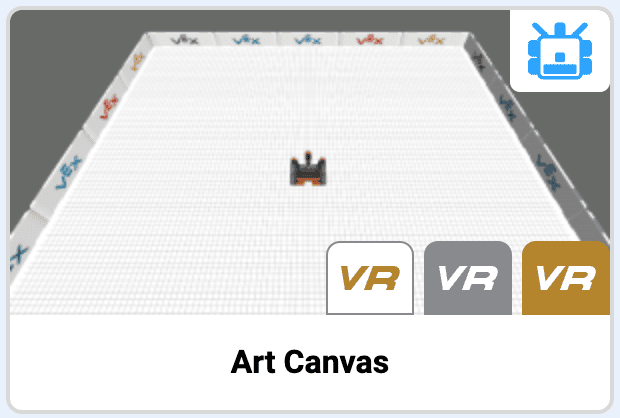
  • Create a new VEXcode VR project. When prompted, select the Art Canvas Playground.Art Canvas Playground title card from the Playground selection screen in VR. A VR Robot is shown on the Playground with the title Art Canvas shown below.
  • Drag in the [move robot pen] block and attach it beneath the [When started] block.

    A VEXcode VR project with a When Started block and one block attached. The block reads move robot pen down.


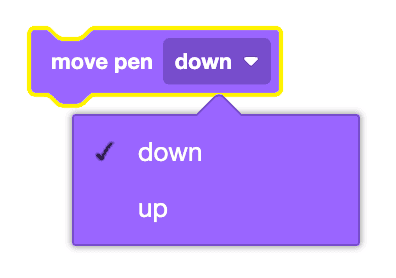
    • The [move pen] block can be used to pick up and put down the Pen tool on a VR Robot.
    The move pen block in VEXcode VR with the dropdown open to shown the options of down and up.

    Using Switch Blocks

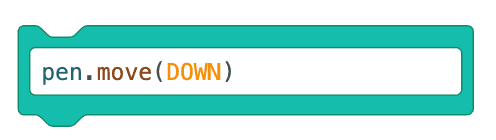
    You can convert the [move pen] block into a Switch block by selecting, "Convert block to Switch block." You can change the block's parameters by typing "UP" to pick up the Pen, and "DOWN" to put down the Pen.

    A Switch block in VEXcode VR with the matching Python command that reads pen dot move then down in parentheses.

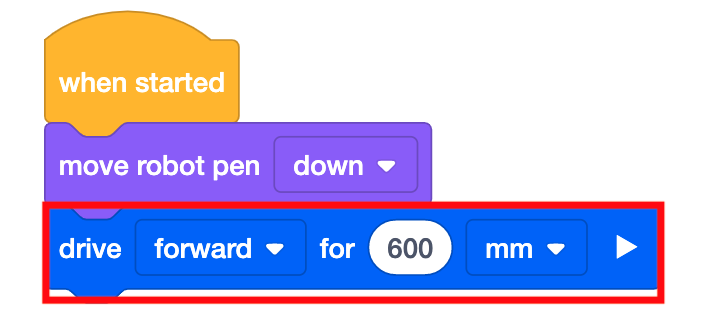
  • Drag in the [Drive for] block and attach it below the [move robot pen] block. Set the parameters of the [Drive for] block to 600 millimeters (mm).

    The same VEXcode VR project as above with an additional block attached at the bottom. The block reads drive forward for 600 millimeters.
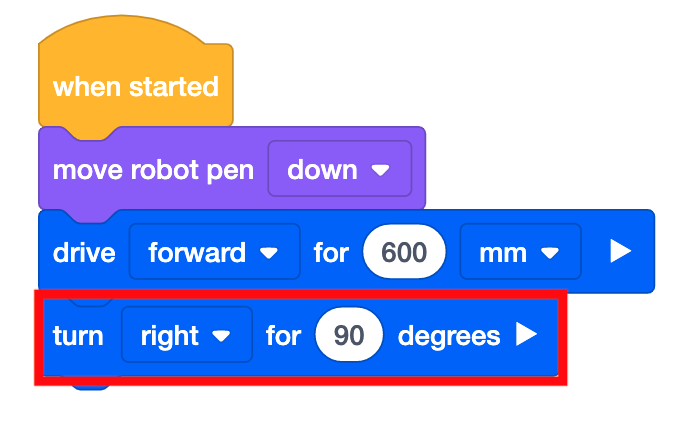
  • Drag in the [Turn for] block and attach it beneath the [Drive for] block. Set the parameters of the [Turn for] block to turn right 90 degrees.

    The same VEXcode VR project as above with an additional block attached at the bottom. The block reads turn right for 90 degrees.
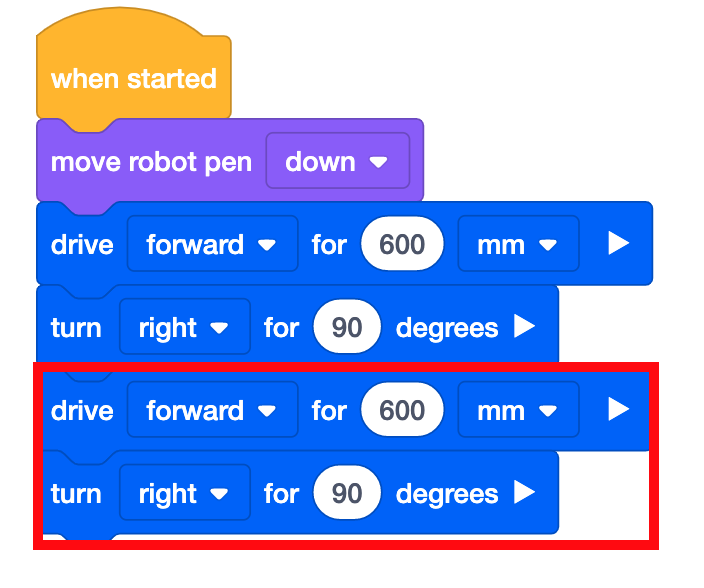
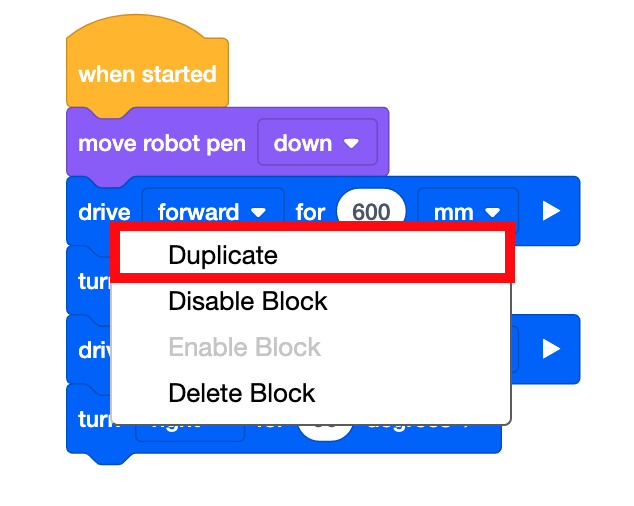
  • To draw the second side of the square, duplicate the [Drive for] and [Turn for] blocks. To duplicate, right click or long press on the [Drive for] block.

    The same VEXcode VR project as above with the context menu open on the drive forward block. The menu reads duplicate, disable block, delete block. A red box is calling out the duplicate option.
  • Additional [Drive for] and [Turn for] blocks are now added to the stack.

    The same VEXcode VR project as above with two additional blocks attached at the bottom. The blocks read drive forward for 600 millimeters and turn right for 90 degrees.
  • To draw the last two sides of the square, duplicate the [Drive for] and [Turn for] blocks. Right click or long press on the first [Drive for] block in the stack.

    The same VEXcode VR project as above with the context menu open on the first drive forward block. The menu reads duplicate, disable block, delete block. A red box is calling out the duplicate option.
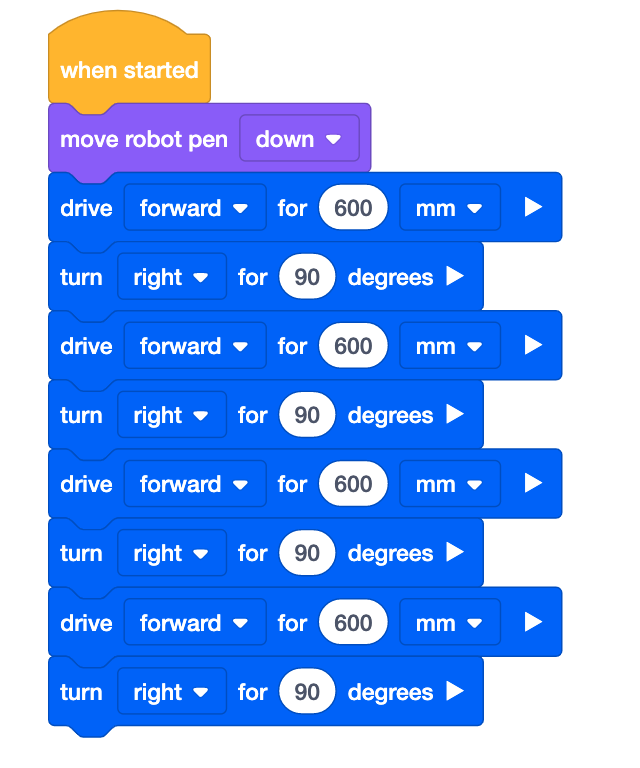
  • The stack of blocks will then be duplicated.

    The same VEXcode VR project as above with four additional blocks attached at the bottom. The blocks read drive forward for 600 millimeters, turn right for 90 degrees, drive forward for 600 millimeters, and turn right for 90 degrees.
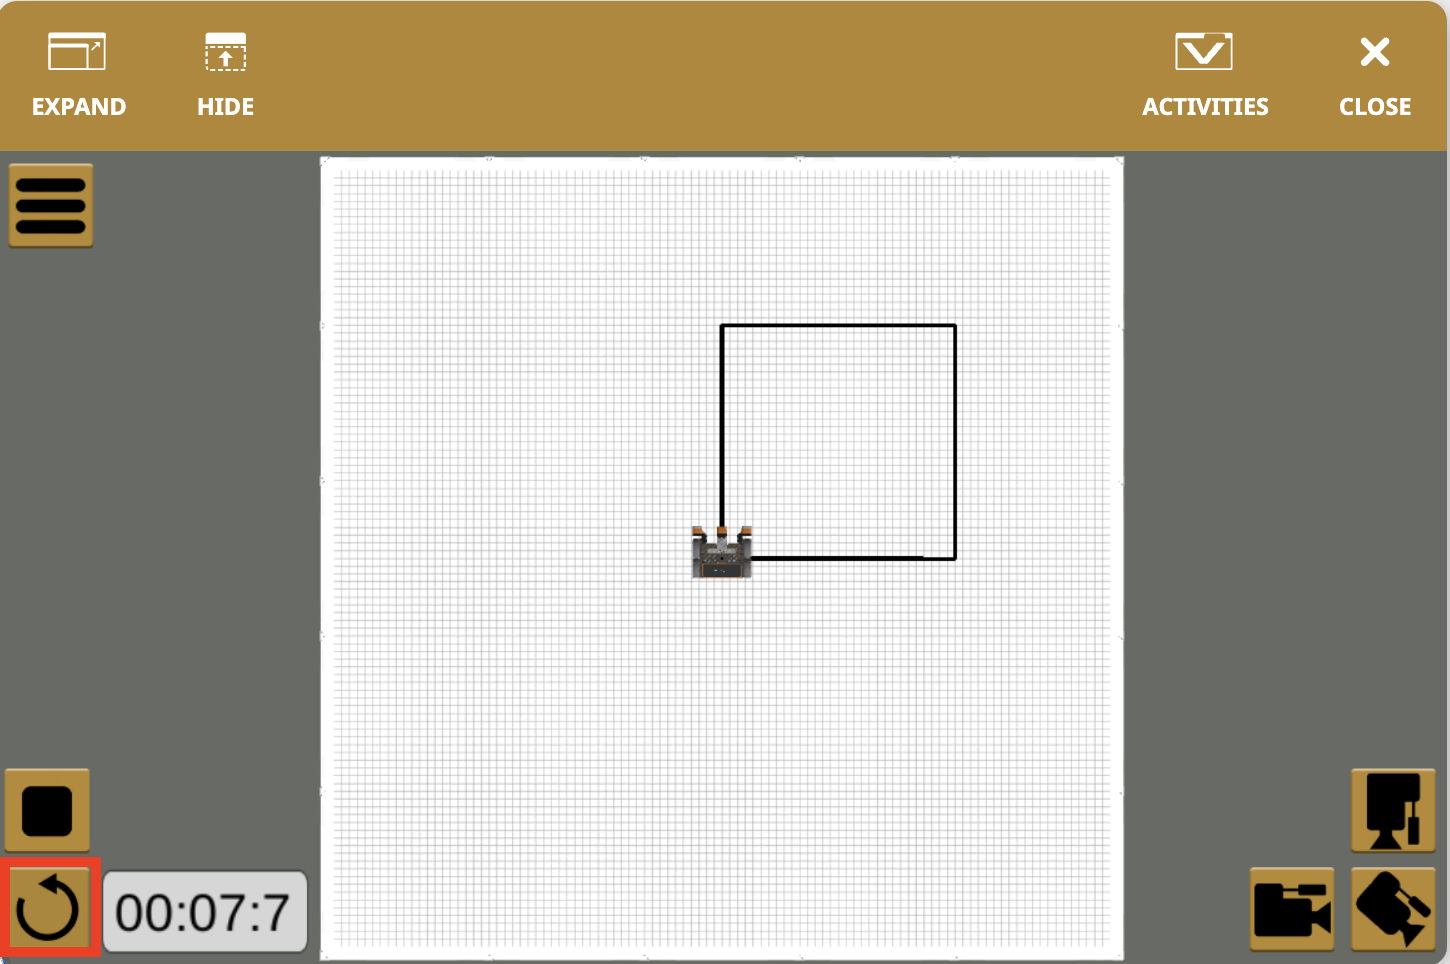
  • Select the “Start” button to test the project.
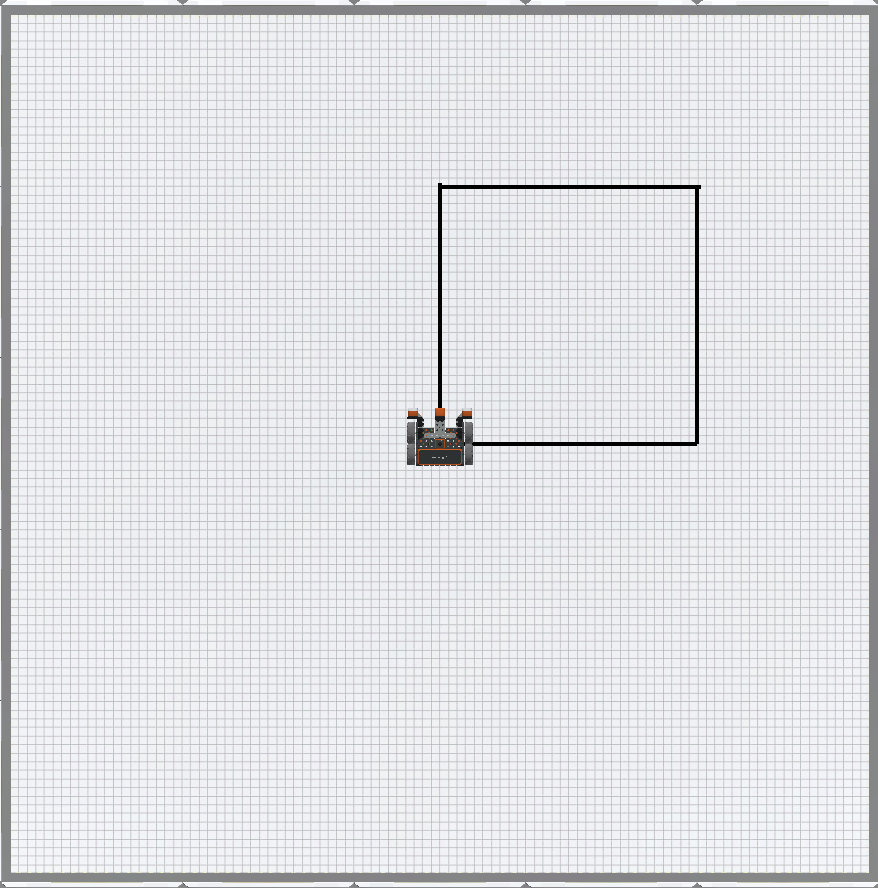
  • The VR Robot will drive forward for 600 millimeters (mm) and then turn right for 90 degrees, while drawing with the Pen tool. The VR Robot will repeat these behaviors four times to draw all four sides of the square.

    Art Canvas Playground with a VR Robot on it. The robot has just drawn a large black square on the playground to the top right of its current position in the center of the playground.
  • Select the “Reset” button to reset the Playground and move the VR Robot back to the starting position.

    The same image of the Art Canvas Playground with the robot and the black square but zoomed out to show the whole VEXcode VR Playground Window. A red box highlights the reset icon in the bottom left corner of the window.

    For Your Information

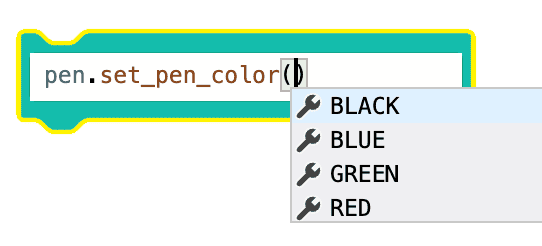
    The [Set Pen color] block can be used to change the colors of the pen.

    The set robot pen color block in VEXcode VR with the dropdown expanded to show the options black, red, green, and blue.

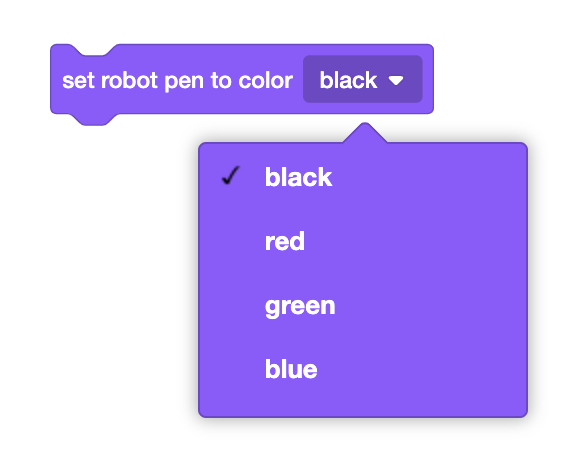
    This is the Switch [Set pen color] block. Change the color by simply typing in your color of choice within the parentheses.

    A Switch block in VEXcode VR with the matching Python command to the set pen color block that reads pen dot set underscore pen underscore color then the cursor inside of parentheses where four options have appeared as autocomplete suggestions. The options are black, blue, green, and red.

Select the Next button to continue with the rest of this Lesson.