
In this challenge, you will be acting as robotic arm operators at a warehouse. You and your team are trainees who need to earn your certifications to operate the robotic arms independently. In order to earn this certification, you will need to pack and ship orders from customers. Below you will learn about the various criteria you will need to meet as you pack orders as well as how to read the invoices provided to you.
Criteria and Constraints
The goal of this challenge is for your group to code the 6-Axis Arm to pack two orders. Each invoice contains one order.
The following criteria are important to keep in mind as you work to fill each order:
- Each order needs to be placed on a separate pallet so it can be shipped to its final destination.
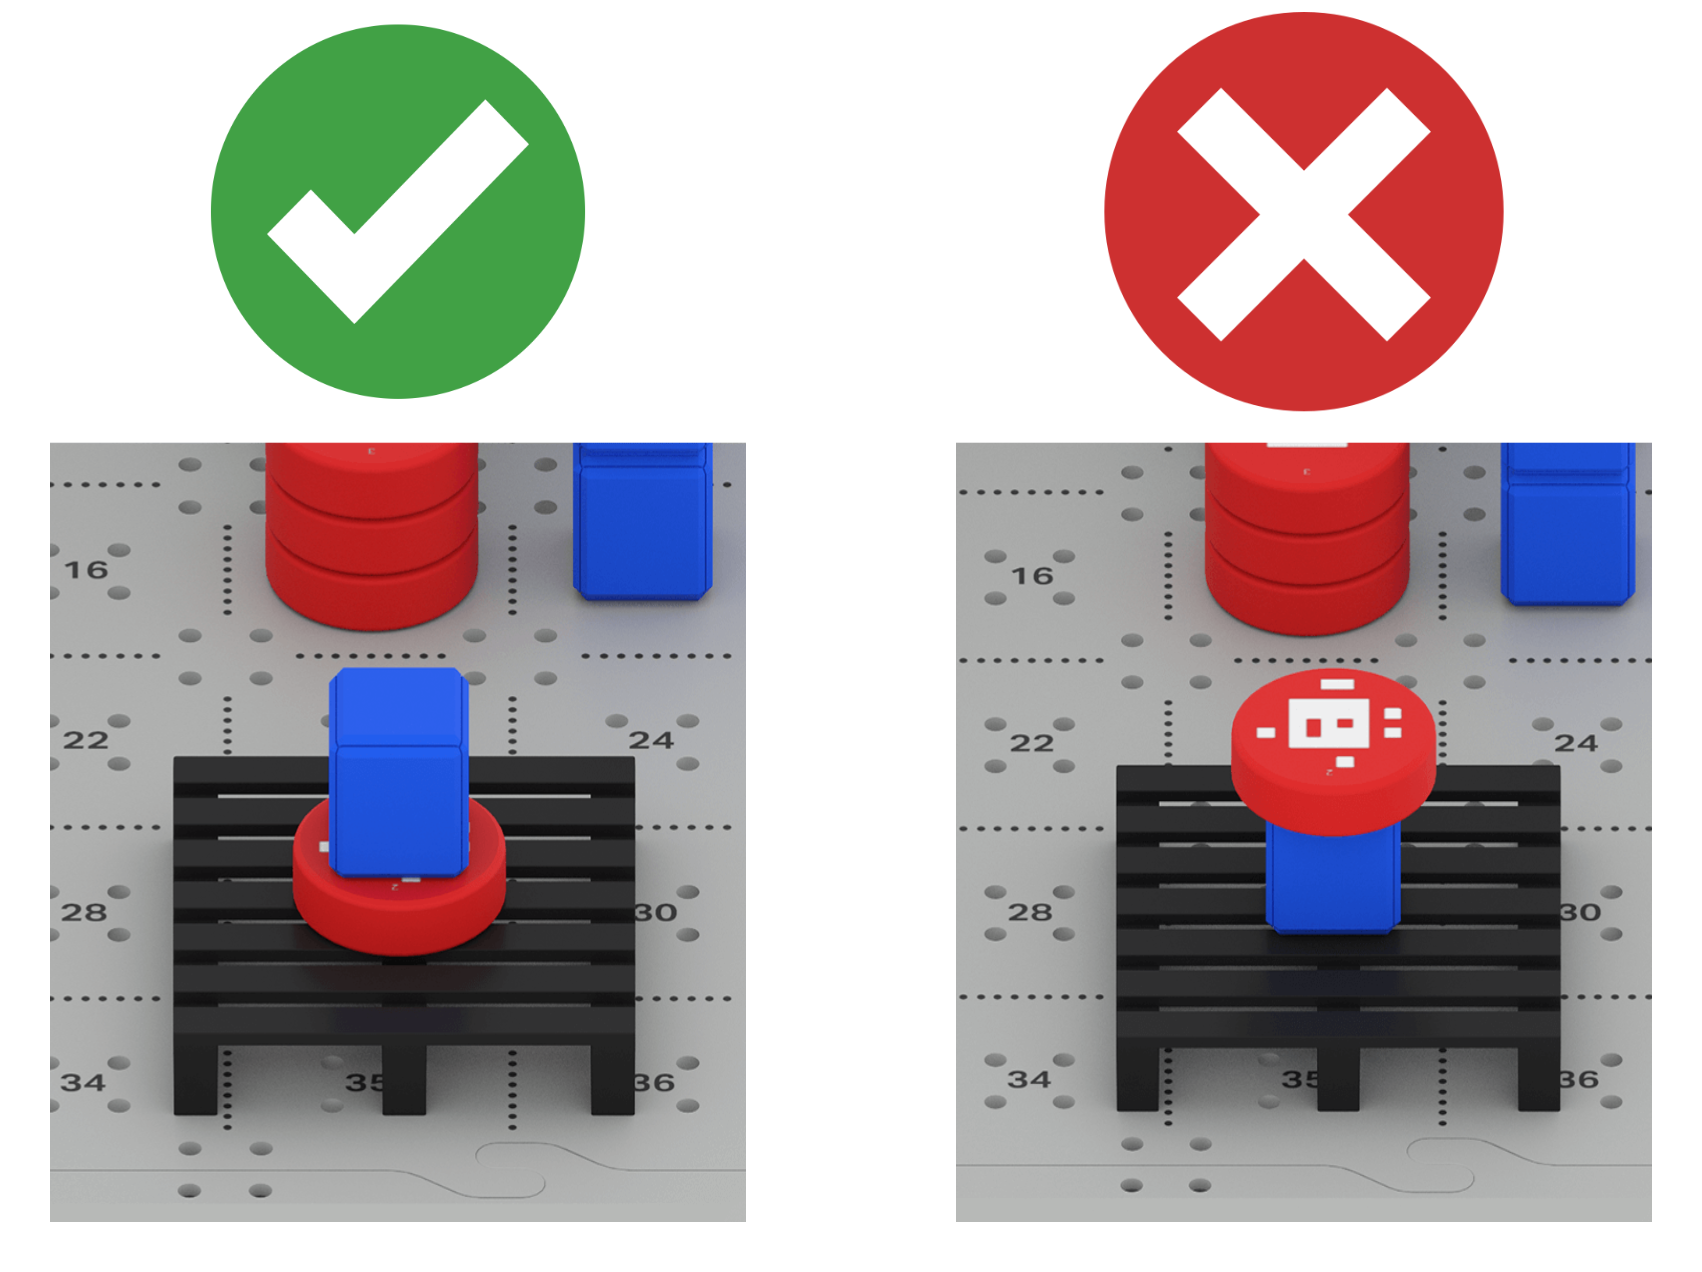
- Cubes contain materials that are more fragile than the Disks. Disks placed on top of Cubes will cause the Cube to 'break' during shipping, as shown in the image below.
- Missing, incorrect, or broken items in the order will not be shipped to customers. You will have to edit your project and restart the process of packing the pallets.
Challenge Setup
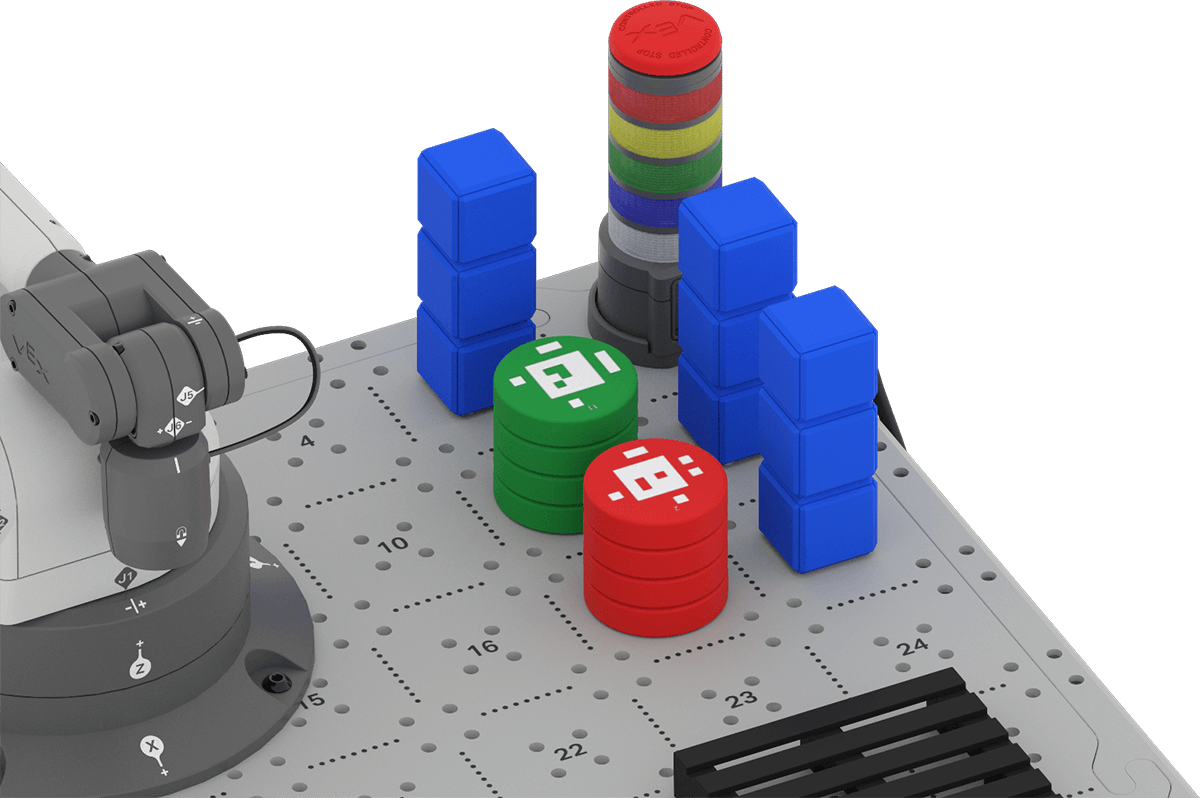
- To set up for the challenge, place all 9 Cubes and 8 Disks in their loading zones on the Tile as shown.
- Cubes are placed in stacks of three on Tile locations 5, 12, and 18.
- 4 Red Disks are placed in a stack on Tile location 17.
- 4 Green Disks are placed in a stack on Tile location 11.
- Two pallets should be on the CTE Tile. Use the build instructions in Unit 7 if needed to add the pallets to the CTE Tile.
Reading an Invoice
Your group will be provided with two invoices by your teacher. You need to know how to read the invoices to determine what objects are being ordered by each customer.
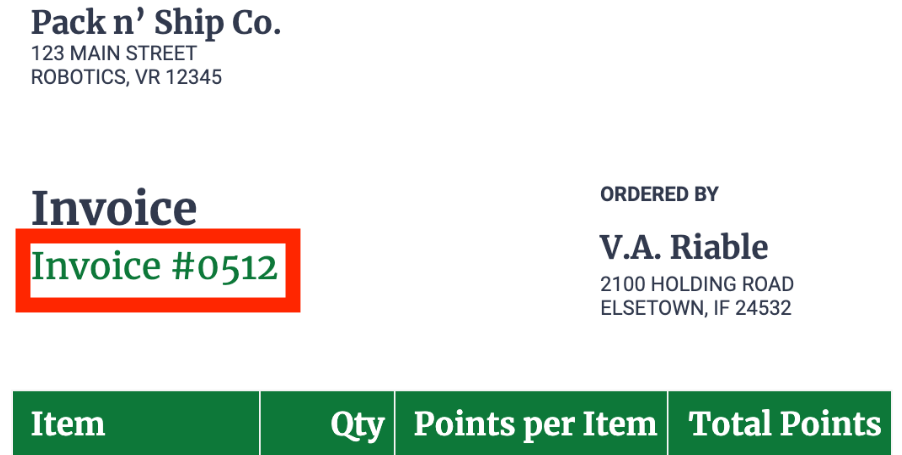
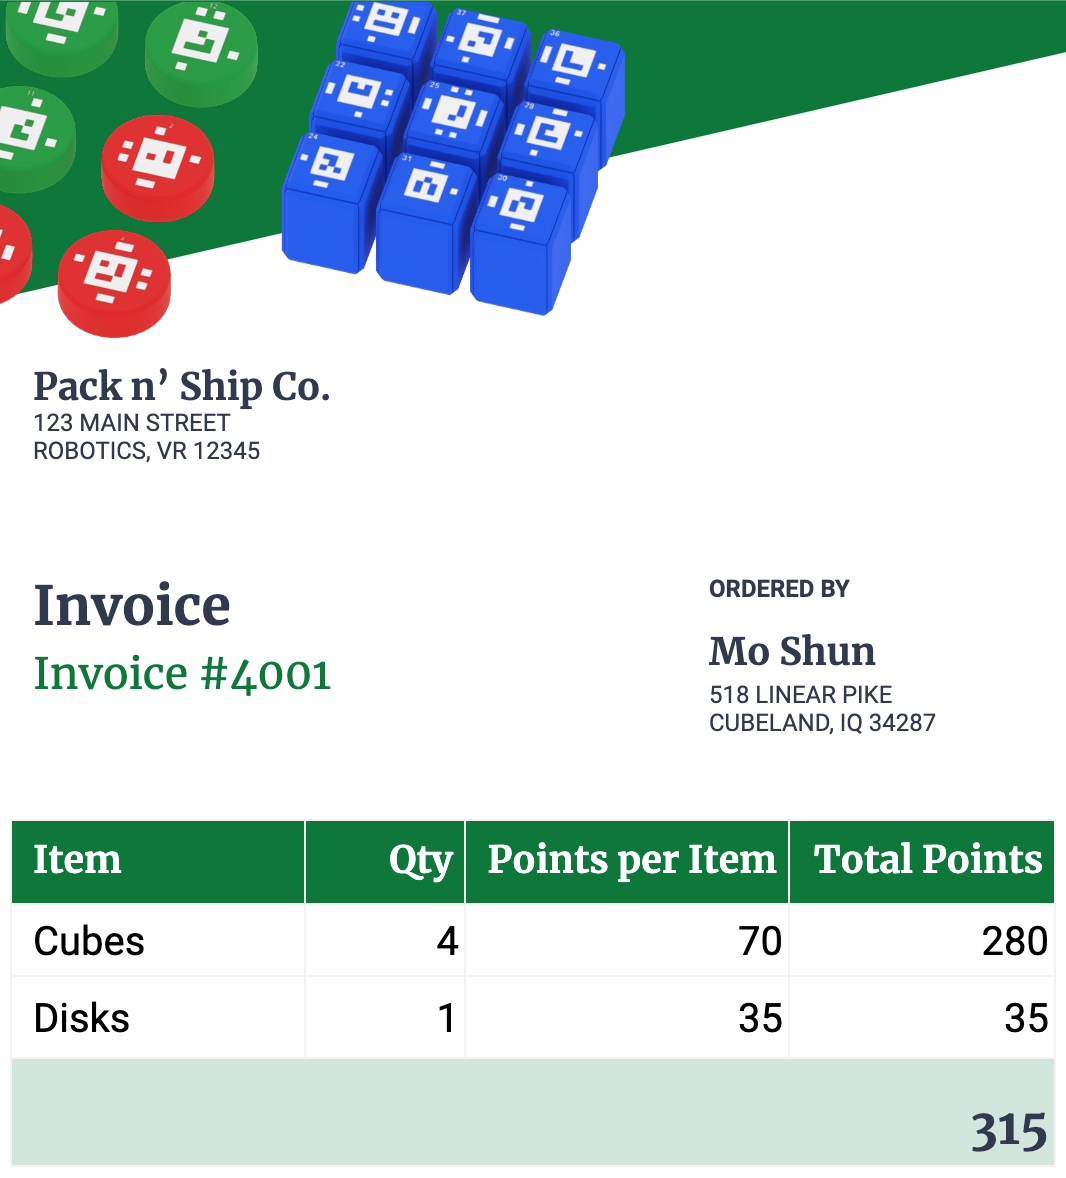
The invoice begins with a number on the top. Be sure that you record invoice numbers in your engineering notebook so you understand what order you are working on.
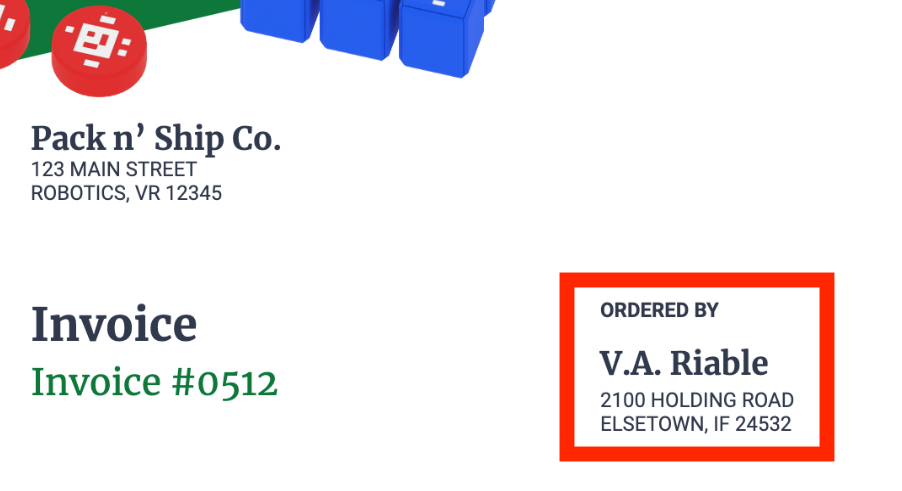
Note that the shipping location for each invoice is different. This is why each order must be placed on a separate pallet.
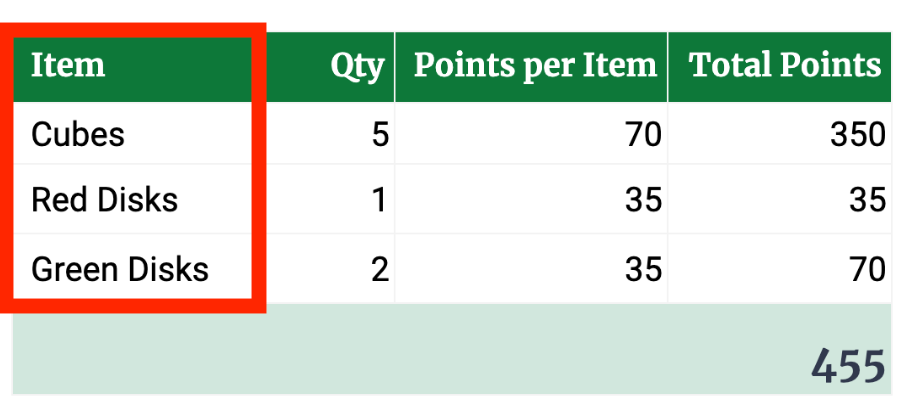
The 'Item' section of the invoice details the type of object being ordered.
Invoices may or may not specify the color of Disk. If you receive an invoice that does not detail the color of Disk ordered, you can pack and ship either color.
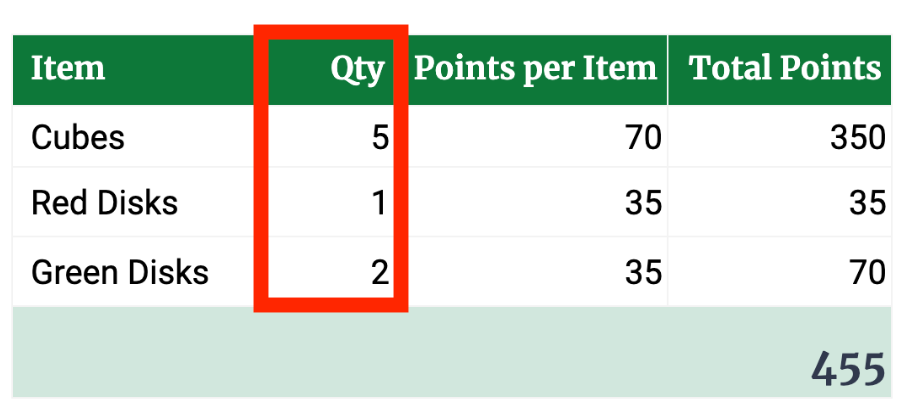
The following column labeled "Qty" denotes the quantity of each object being ordered.
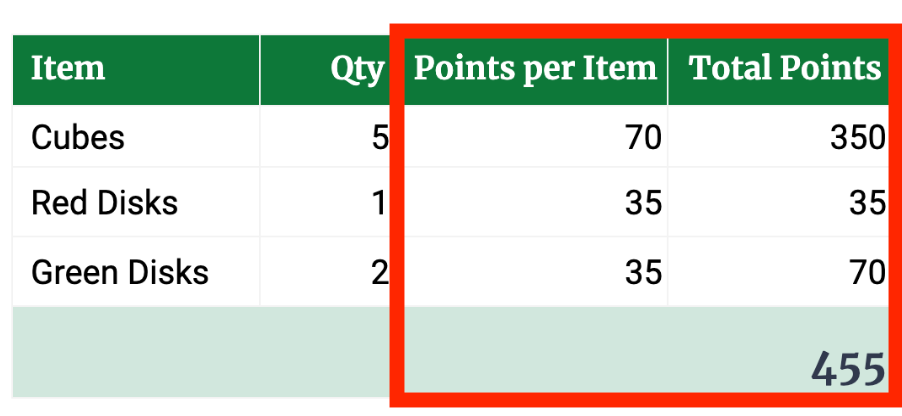
Each invoice also details the points per item and the total amount of points that will be earned when the order is fulfilled.
The 'points' indicate the value of the items being shipped, just as a real invoice has monetary values included.
In this example, Invoice #4001 contains an order for 4 Cubes and 1 Disk (of any color), totalling 315 points.
Check Your Understanding
Now that you understand how to read an invoice and the criteria for the challenge, answer the following questions in your engineering notebook.
Check Your Understanding > (Google Doc / .docx / .pdf)
After completing the questions, check in with your teacher. They will distribute your group's invoices for the challenge.
Pack and Ship Challenge
Using everything you know, apply the engineering design process to create a project that will fulfill both invoices you received. Watch this animation to see a glimpse of a 6-Axis Arm fulfilling two invoices. In the video, the 6-Axis Arm picks up a Cube from the Loading Zone and places it on the back left of the left pallet (assuming you are facing the 6-Axis Arm). It returns to the Loading Zone, and picks up and places another Cube on top of the first one. Next, it picks up a third Cube from the Loading Zone, and places it on the back right of the left pallet. The video fades out and in to indicate time passing. Now the 6-Axis Arm places the last Disk onto the right pallet. All Cubes and Disks have been placed as specified in the two invoices. Points are totaled up, showing that Invoice 0621 earned 525 points, and Invoice 0323 earned 385 points.
Defining the Problem
The first thing you will need to do when you begin the challenge is define the problem you are trying to solve with your group. It is important that you and your group spend time documenting and talking through all that you know about the challenge. There are going to be many possible solutions to the challenge, and before you can begin planning and building a project together, you have to first come to an agreement on which solution you are going to try first.
- Study the invoices and record the goal of the challenge. This includes things like:
- The number of Disks and Cubes that will be placed on each pallet.
- Which invoice corresponds to which pallet.
- Consider some of the possible solutions to the challenge. Think about the following:
- All of the different positions that Disks and Cubes can be placed on the pallet.
- The order in which Disks and Cubes should be moved.
- Document these solutions in your engineering notebook using words, images, or sketches.
- Be sure that each member of the group has a voice in brainstorming solutions, asking questions about them, and share your reasoning behind the solutions you offer.
- You can use the Define the Problem Organizer (Google Doc / .docx / .pdf) to help your group work through this step of the engineering design process.
- Compare the solutions to the criteria and constraints of the challenge. As a group, choose a solution to get started with. Consider the following to help you make a decision:
- How can you begin your project to make placing additional Disks or Cubes easier later in the project? Why?
- Can you place your Disks and Cubes on the pallet in a way that allows you to repeat sections of code?
- Can you alter your placement strategy to make it easier to avoid bumping into the Cubes and Disks in the Loading Zone? What about on the pallet?
- When you have an agreed upon solution that you are ready to get started with, check in with your teacher to explain it. Share the goal of the challenge, and how your group decided on the solution together. Once you and your teacher are agreed on the solution, you can move on to the next part of the challenge.
Making a Plan
Now that you have defined the problem and chosen a solution to start with, you are ready to begin filling invoices with the 6-Axis Arm!
- Make a plan in your engineering notebook to fill the invoice.
- Decompose each step into the smallest possible behaviors. Remember, the smallest possible behavior is one that corresponds to an individual block in VEXcode.
- Share your plan with other groups to get their feedback, and offer to review their plans as well. Discussing your plans with others may give you new insights or ideas that allow you to make your plan, and therefore your VEXcode project, even better.
- Record suggestions from other groups in your engineering notebook.
- Look at the suggestions and decide as a group, if you want to make any changes to your plan based on the feedback you received.
- Be sure to keep any feedback you provide to others positive. This will ensure that your discussion is productive, and everyone involved ends up with enhanced understanding and a better project overall.
- Review your plan with your teacher. Share how your group came to this plan.
Build and Test Your Project
Now that you have a plan, you are ready to build and test your project incrementally in VEXcode EXP. 
- Start a new project to begin.
- You can modify a project from any prior Unit, or start with a New Blocks Project. If you choose to edit an existing project, remember to rename and save the project to your device before you begin editing.
- Use Comment blocks to organize your project based on your plan.
- Build your project one behavior at a time, to match your plan.
- Remember to test your project incrementally to be sure that each behavior is executed as you intended.
- Before testing the project, be sure that the Loading Zone is set up correctly, and matches the setup image above.
- Be sure that the behaviors you observe match those listed in your plan. Record your observations, and make notes about any changes you want to make to optimize your project.
- Iterate on your project as needed based on your testing and observations. Be sure that each section you test functions as intended before moving on to the next part of your project.
- Be sure your project is named and saved to your device at the end of each class.
- Share your project and your progress with your teacher each day.
- Once you have successfully packed and shipped both invoices, be sure that you have saved your project to your device.
For Your Information - Checking In During the Challenge
Throughout the Pack and Ship Challenge, you will check in with your teacher, and other groups, frequently. These conversations can help you give and receive valuable feedback, and offer new ideas or solutions to incorporate into your project. Since this challenge will take place over several class periods, there are several things you and your group can do to help you be successful and check in at meaningful moments.
- Check in at the start and/or end of each class
- Be sure your group has a goal for what part of the challenge, or project, you are trying to accomplish for that class period.
- Make note of where your group left off in your project each day, so you can pick up where you left off.
- Check in during class:
- When you have made a 'breakthrough' in your project and want to share your success
- When you have hit a wall and aren't sure how to continue in your project
- To ask a question about a coding concept or to troubleshoot a problem
- To share your project as you have completed a reusable chunk of code
- When you want to get another perspective on what you're working on
- When you need help coming to consensus as a group
Wrap Up Reflection
Now that you have completed the Pack and Ship Challenge, it is time to reflect on what you have learned through that experience.
Rate yourself as a novice, apprentice, or expert on each of the following concepts in your engineering notebook. Provide a brief explanation for why you gave yourself that rating for each concept:
- Applying the engineering design process to plan for and solve the challenge.
- Coding the 6-Axis Arm to pack orders on the pallets.
- Collaborating with your group to plan and execute the Pack and Ship Challenge.
Use this table to help you determine which category you fall under.
| Expert | I feel that I fully understood the concept and could teach this to someone else. |
| Apprentice | I feel that I understood the concept enough to complete the activity. |
| Novice | I feel that I did not understand the concept and do not know how to complete the activity. |
Each person in your group should complete their self-reflections in their engineering notebooks. Once everyone in your group has completed their self-reflections, check-in with your teacher and let them know you are ready for your debrief conversation.
Using your reflections and notes in your engineering notebook, rate yourself on the Debrief Conversation Rubric (Google Doc / .docx / .pdf). For each of the topics, rate yourself as Expert, Apprentice, or Novice.
Ask your instructor if you need any clarification on what is expected of you during this self-assessment.

Select Next > to reflect on the course.