
STEM LabsVEX CTE
Introduction to the 6-Axis Arm
9 Units
Explore the fundamentals of robotic arms and industrial automation. Learn to set up and control the 6-Axis Robotic Arm using a Teach Pendant, and then code it to perform precise movements and tasks. Gain practical skills in robotics and automation through hands-on activities and coding challenges.
This course can be done with the VEX CTE 6-Axis Robotic Arm or the VEX CTE Workcell Kit.
Unit 1
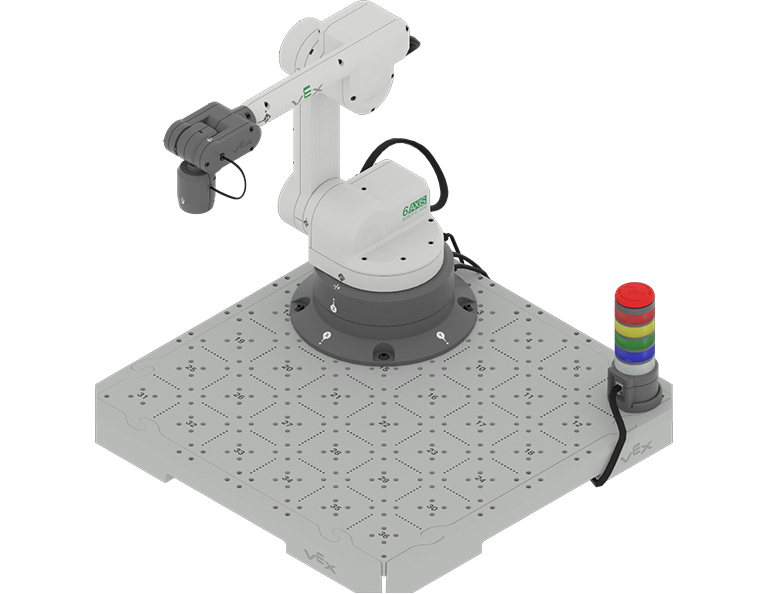
Introduction to Robotic Arms
Set up the 6-Axis Robotic Arm, explore the Cartesian coordinate system, and learn about how robotic arms are used in industry.
Unit 2
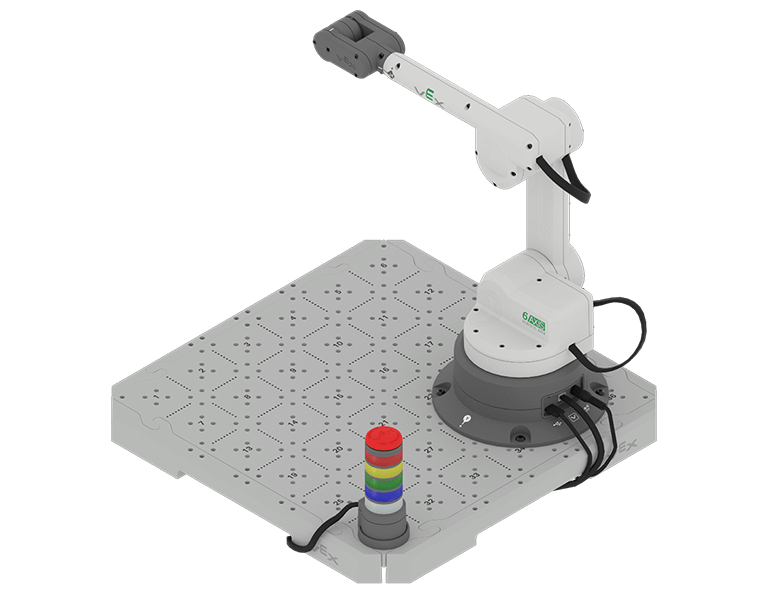
Using the Teach Pendant
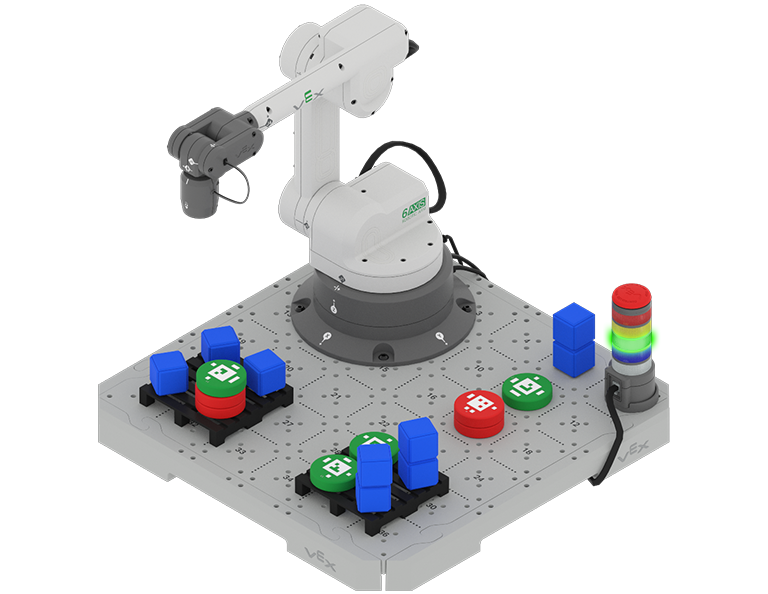
Use the Teach Pendant to control the movement of the 6-Axis Robotic Arm as you pick up and place Disks on the CTE Tile.
Unit 3
Coding Movements
Use block-based coding to code the 6-Axis Robotic Arm to move along the x, y, and z-axes and combine those behaviors to move to locations on the CTE Tile.
Unit 4
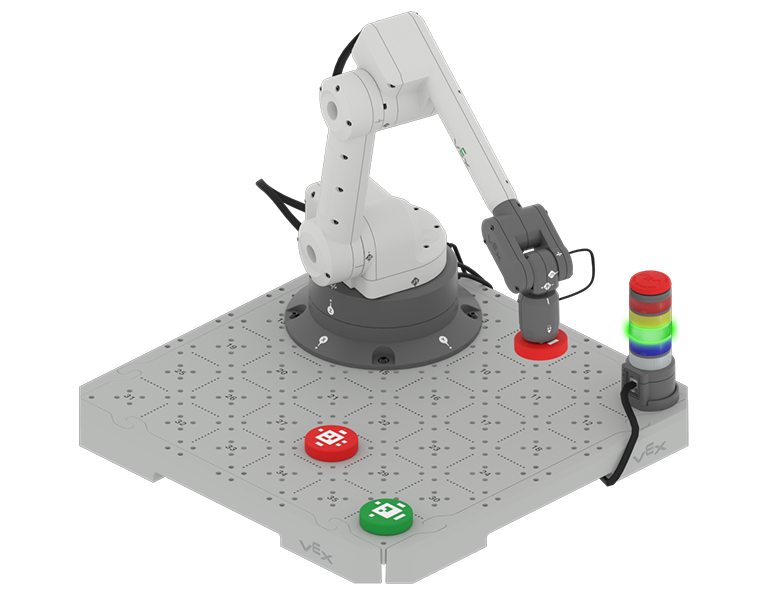
Controlling the Path
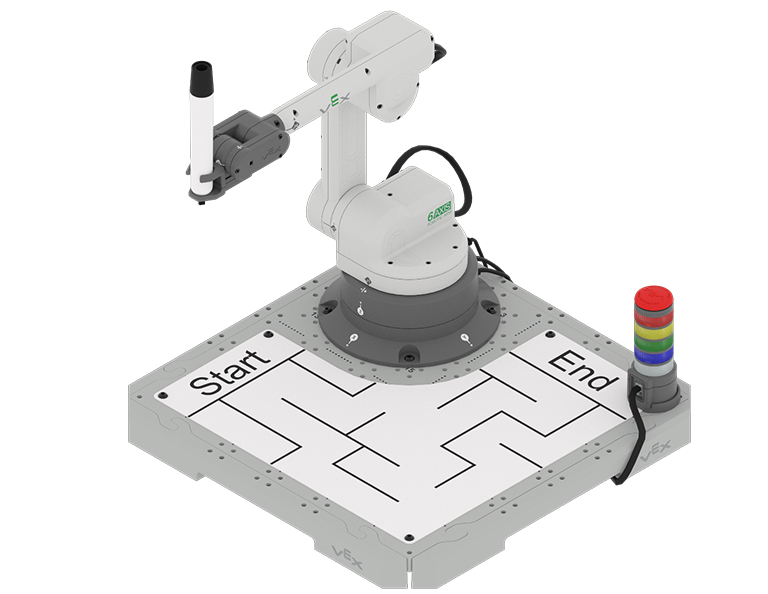
Code the 6-Axis Robotic Arm to draw on the Whiteboard with the Pen and move around obstacles on the CTE Tile.
Unit 5
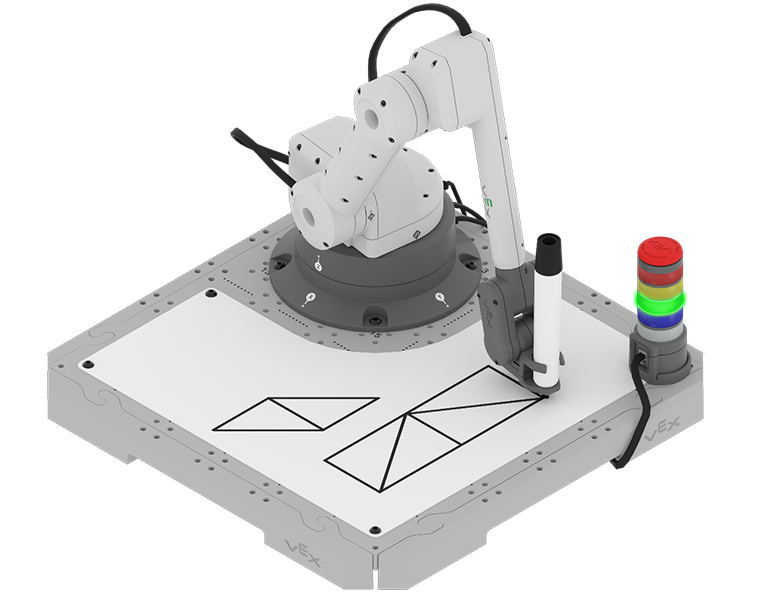
Coding Shapes
Explore how the 6-Axis Robotic Arm moves along the x, y, and z-axes to draw shapes.
Unit 6
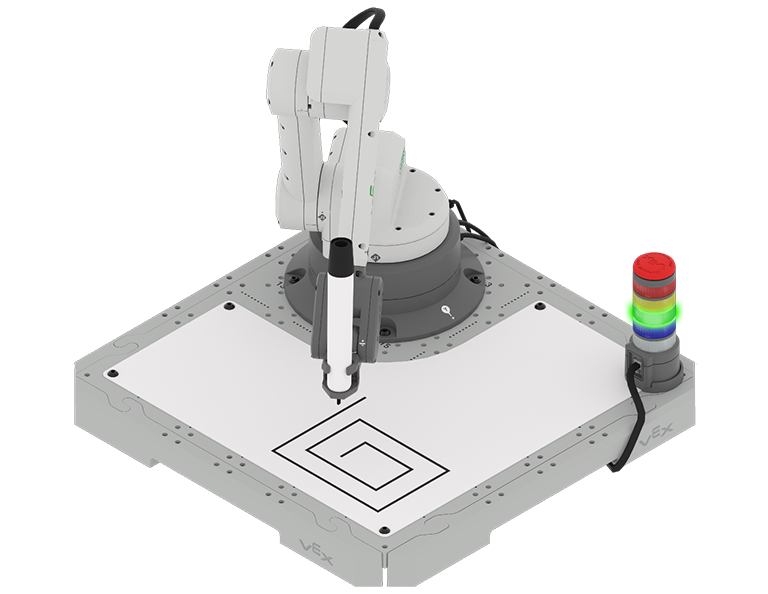
Absolute vs Relative Movements
Learn how to code the 6-Axis Robotic Arm to use both absolute and relative movements to draw shapes. Then make more complex shapes and patterns by incorporating variables and Repeat loops.
Unit 7
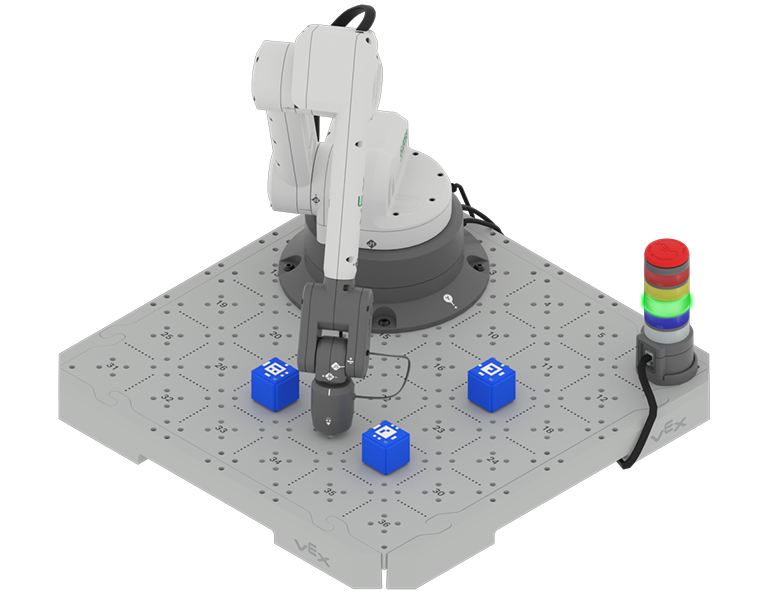
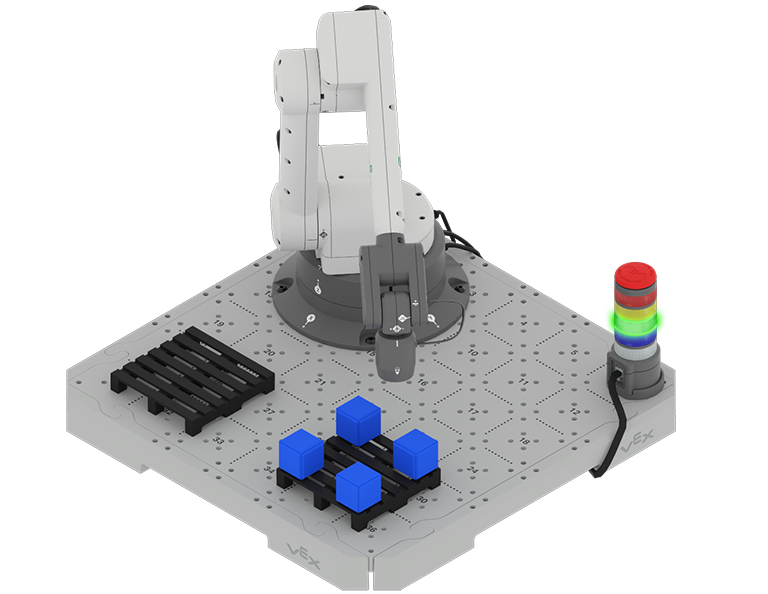
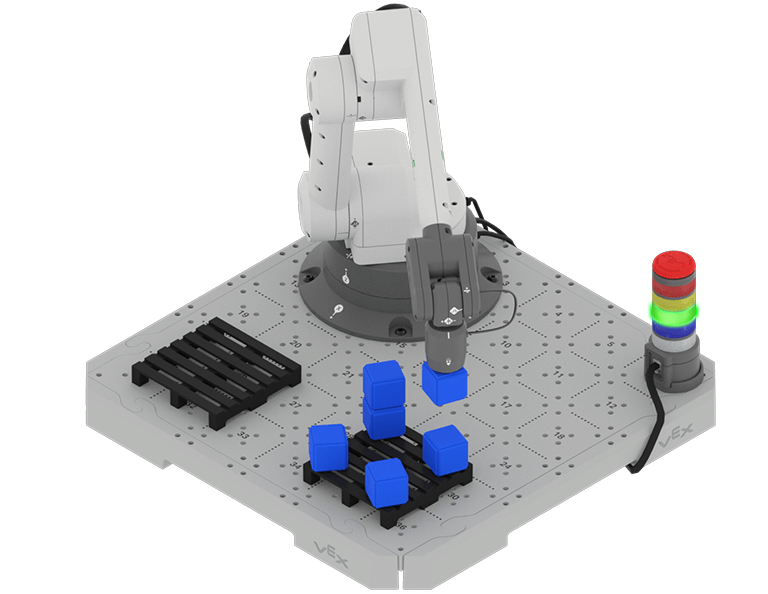
Transporting and Palletizing Objects
Code the 6-Axis Robotic Arm to pick and place a Cube on a pallet. Then use variables and If then blocks to place multiple Cubes on pallets.
Unit 8
Stacking Objects
Learn how to make a plan to complete a task, then code the 6-Axis Robotic Arm to place all nine Cubes on the pallet.
Capstone
Engineering Design Process
Apply everything you have learned so far to code the 6-Axis Robotic Arm to complete the Capstone Challenge!