
Previously in this Unit, you learned how to:
- Identify a goal for accomplishing a task with the 6-Axis Arm.
- Decompose the goal into the smallest behaviors to create a plan.
- Implement the plan by iteratively building and testing a VEXcode project.
- Code the 6-Axis Arm to stack one Cube on top of another.
You began this Unit by looking more closely at the process of creating a plan with the 6-Axis Arm. You learned about how to decompose a goal and identify the smallest possible behaviors needed to complete each step in order to create a plan. Then you applied that planning process as you learned how to stack Cubes with the 6-Axis Arm. You planned the project, then learned how to code the 6-Axis Arm and account for the different offset to stack two Cubes on a pallet. Now you are going to combine all that you have learned to create a project to pick up and and stack all nine Cubes on one pallet.
Putting It All Together Activity
In this Activity, you will code the 6-Axis Arm to move all nine Cubes to one pallet. Watch this animation to see one way the 6-Axis Arm could move in order to complete the activity.
Setup: Place one Cube at the loading zone. The loading zone is located at Tile location 17. 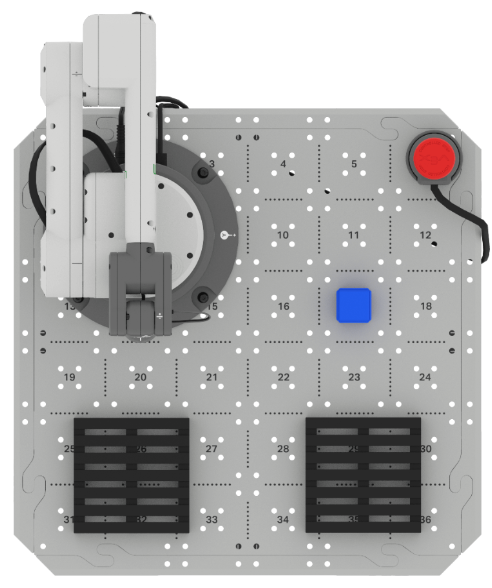
Activity: Create a VEXcode project for the 6-Axis Arm to use the Magnet to move nine Cubes from the loading zone to one pallet.
- Plan your project with your group in your engineering notebook.
- Determine how you will place and stack the Cubes to fit all nine on one pallet. As you work as a group to develop your layout of Cubes on the pallet, you can use your engineering notebook to record your different layouts. See an example below of how you can do this in your engineering notebook.

- Decompose each step into the smallest possible behaviors before you begin to build your project.
- Determine how you will place and stack the Cubes to fit all nine on one pallet. As you work as a group to develop your layout of Cubes on the pallet, you can use your engineering notebook to record your different layouts. See an example below of how you can do this in your engineering notebook.
- Review your plan with your teacher. Share how your group developed the plan.
- Build your project incrementally in VEXcode EXP.
- For this activity, you can modify a project from this Unit, or start with a New Blocks Project. If you choose to edit an existing project, remember to rename it and save it to your device before you begin editing.
- You can use Comment blocks to organize your project based on your plan.
- Run your project frequently to test it as you are building the project.
- After each Cube is picked up, place the next Cube at the loading zone. Do this while the project is running, as shown in the animation above.
- As you observe the 6-Axis Arm moving, be sure that the behaviors you observe match those you listed in your plan. Be sure to update the plan in your engineering notebook as needed as you test and edit the project.
- Once you have successfully moved all nine Cubes to one pallet, name and save your project to your device.
Wrap Up Reflection
Now that you have coded the 6-Axis Arm to pick up and stack all nine Cubes on one pallet, it is time to reflect on what you have learned in this Unit.
Rate yourself as a Novice, Apprentice, or Expert on each of the following concepts in your engineering notebook. Provide a brief explanation for why you gave yourself that rating for each concept:
- Making a plan that identifies the smallest possible behaviors needed to accomplish a task.
- Building a project that matches a written plan.
- Coding the 6-Axis Arm to stack Cubes on a pallet.
Use this table to help you determine which category you fall under.
| Expert | I feel that I fully understood the concept and could teach this to someone else. |
| Apprentice | I feel that I understood the concept enough to complete the activity. |
| Novice | I feel that I did not understand the concept and do not know how to complete the activity. |
Then, reflect on the learning targets you co-created with your teacher for this Unit. Have you learned what you set out to learn? Why or why not? What were you most successful with? Why? How do you think you can build on your progress moving forward?
Each person in your group should complete their self-reflections in their engineering notebooks. Once everyone in your group has completed their self-reflections, check-in with your teacher and let them know you are ready for your debrief conversation.
Debrief Conversation
Using your reflections and notes in your engineering notebook, rate yourself on the Debrief Conversation Rubric (Google Doc / .docx / .pdf). For each of the topics, rate yourself as Expert, Apprentice, or Novice.
Ask your instructor if you need any clarification on what is expected of you during this self-assessment.

Select < Return to Units to go back to all Units.