
Engage
Launch the Engage Section
ACTS is what the teacher will do and ASKS is how the teacher will facilitate.
| ACTS | ASKS |
|---|---|
|
|
Engage
-
InstructInstruct
students that you are now going to work as a group to code the robot to visit the lions using the Touch buttons on the robot. First you will plan each step on the path that the robot must take, and then you will assign a button press to each step. Watch the animation below to see how the touch buttons can be used to move the robot from the zoo entrance to the lion.
The robot begins in the third square from the left on the second row from the bottom of the Zoo Field. A finger presses the Move button on the robot, followed by the Right button and then the Move button again. The robot moves forward one square, turns right, and moves forward on more square to stop on the lion.
Video file -
DistributeDistribute
the Side by Side Planning Printable, a 123 Robot, and a Field to each group. Have students wake their 123 Robots. View the following animation to show how to wake the 123 Robot by pushing it forward with its wheels on a surface. The robot makes a startup sound and the light in its center flashes to indicate the robot is awake.
Video file
-
FacilitateFacilitate
by guiding students as a class through the process of planning the path the robot should take to reach the lions, using the Side by Side Planning Printable.
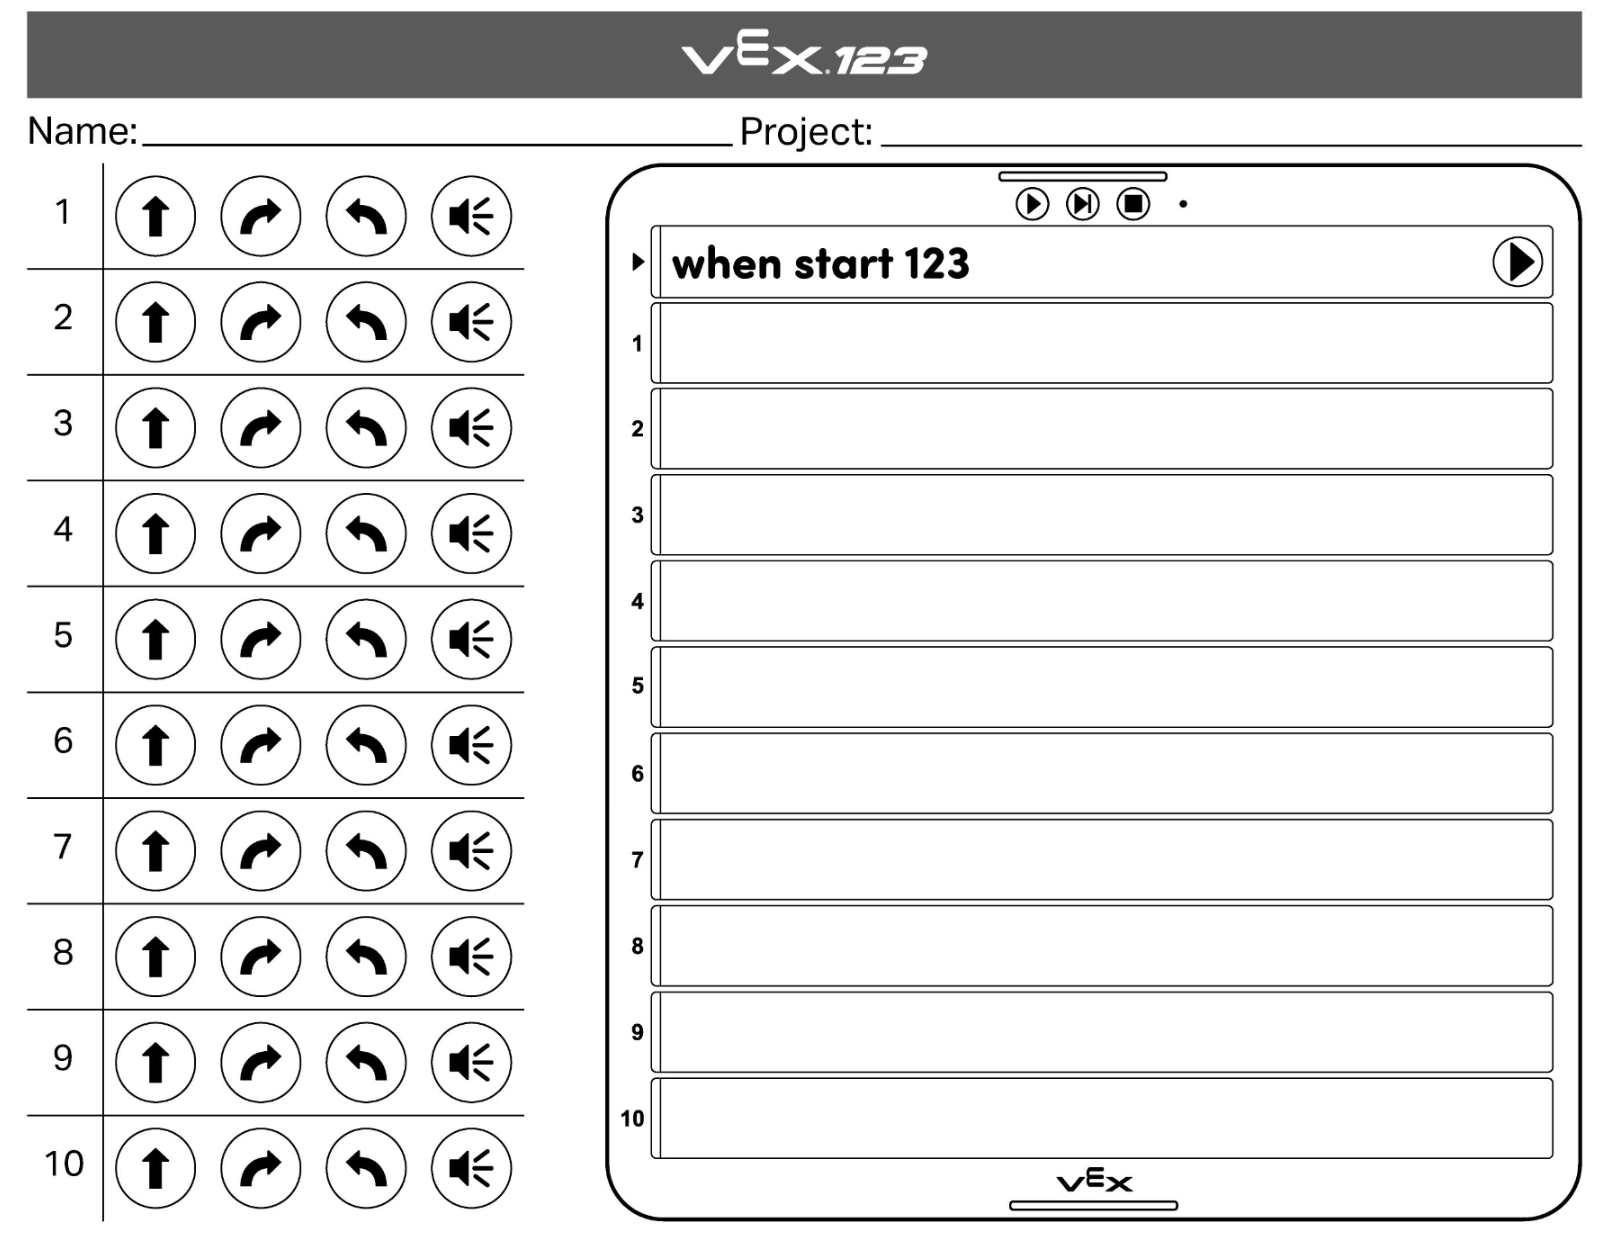
Side By Side Planning Printable Decompose the path into each individual step the robot should take, one at at time. As you talk students through the process, point out each step the robot should take on the Field using the zoo map.

Zoo Field Setup - Invite students to identify the first step the robot should take (Drive forward)
- Instruct students to color in the button press that corresponds to that behavior on their printable.
- Continue this process through the next two steps: (Turn right, Drive forward).
Once you have finished planning the path with the whole group, have students code the robot using the Touch buttons, and run the code to test.
- OfferOffer students a reminder to share responsibilities by having one student fill in the printable, and the other press the buttons on the 123 Robot.

Teacher Troubleshooting
- Remind students that one press of a button will cause the 123 Robot to move 1 square on the Tile in the direction that the arrow is pointing.
- Encourage students to refer to the Side by Side Planning Printable if they are having difficulty coding their project for the robot to reach the lions.
Facilitation Strategies
- During the environment set up, the teacher should have the zoo map set up on the 123 Field for each group before beginning the Lab. Students can color the Zoo Animals Printable prior to starting the lab, if desired.
- Reinforce the idea with students that each button press corresponds to one behavior on the robot, and that planning a path before coding can help them to code their robot more easily and successfully. This will help to facilitate the transition from coding with the Touch buttons to coding with the Coder.