
Engage
Launch the Engage Section
ACTS is what the teacher will do and ASKS is how the teacher will facilitate.
| ACTS | ASKS |
|---|---|
|
|
Getting the Students Ready to Build
Now, let’s attach our extension arm to the Code Base robot and see what works and what doesn’t. Failure is okay.
Facilitate the Build
- InstructInstruct students to gather their pre-built Code Base robot and extension, join their group, and have them complete the Robotics Roles & Routines sheet. Use the Suggested Role Responsibilities slide in the Lab Image Slideshow as a guide for students to complete this sheet.
- DistributeDistribute the VEX GO Kits for groups to select VEX GO pieces to attach to the extension.
-
FacilitateFacilitate
attaching the extension to the Code Base robot.
- Builders can begin attaching the extension arm to the Code Base. If there are multiple builders, they should work together to attach the extension arm.
-
Journalists should gather the necessary VEX GO pieces to attach the extension and assist as needed.
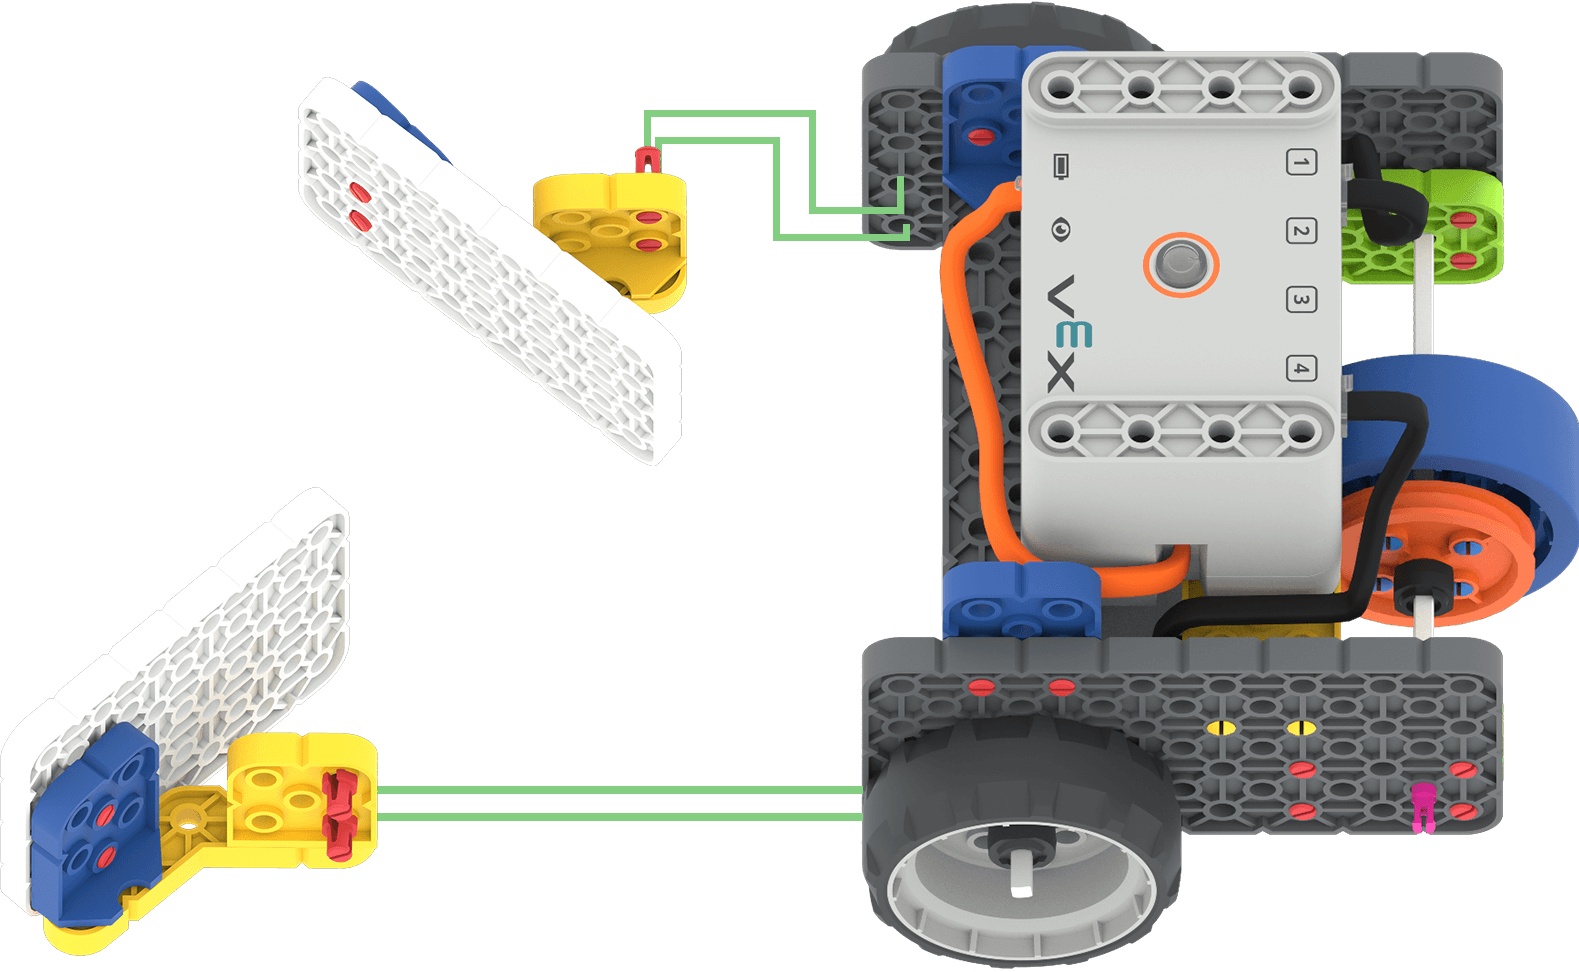
Example Code Base with Plow Extension - Some students may already have attached their group's extensions in the previous Lab. They should use this time to continue improving on their extensions. Remind students to check to make sure the extension does not touch the ground or impede the movement of the Code Base.
- OfferOffer suggestions and note positive team building and problem solving strategies as teams attach the extension arm together.

Teacher Troubleshooting
- Connect all GO Brains to the VEX Classroom App before beginning the Lab and check if any firmware needs updated. For more information about the VEX Classroom App, please read the Using the VEX Classroom App VEX Library article.
- Note: When you first connect your Code Base to your device, the Gyro built into the Brain may calibrate, causing the Code Base to move on its own for a moment. This is an expected behavior, do not touch the Code Base while it's calibrating.
- Use the VEX Classroom App to check the status of the GO Batteries, and charge if necessary before the Lab.
Facilitation Strategies
- If you have students that are stuck or struggling to design an extension, you can guide them to make the plow extension in the Image Slideshow (Google Doc/.pptx/.pdf), and then have them adjust it as they like.
- Have students check the stability of the extension on the Code Base. They will need to make sure the extension stays stable as it moves with the Code Base robot. If students are struggling with stability, remind them about the various types of connection pieces in the kit (pins, standoffs, and connectors). See the Pieces in the VEX GO Kit VEX Library article for detailed information on Kit pieces and how they function in a build.
- Also remind students to make sure their extension does not touch the ground or impede the movement of the Code Base.