Engage
Launch the Engage Section
ACTS is what the teacher will do and ASKS is how the teacher will facilitate.
| ACTS | ASKS |
|---|---|
|
|
Getting the Students Ready to Build
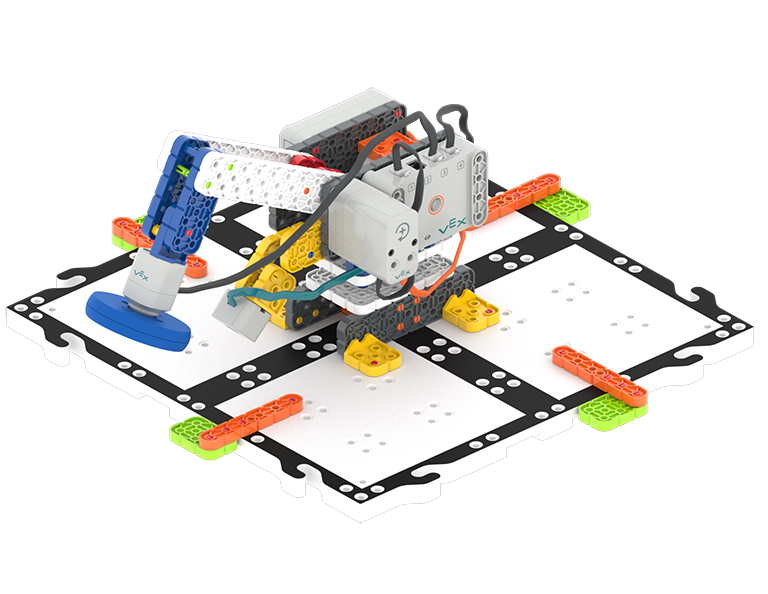
How do you think we can use the Eye Sensor on the Robot Arm to make it more intelligent? Let’s build the Robot Arm (2-Axis) to help us find out!
Facilitate the Build
-
InstructInstruct
students that they are going to build the Robot Arm (2-Axis) today, and use it to explore how the Eye Sensor can be used to help the Robot Arm detect and move objects.

Build the Code Robot Arm (2-Axis) Students should join their groups from the previous Lab, and complete the Robotics Roles & Routines sheet. Use the Suggested Role Responsibilities slide in the Lab Image Slideshow as a guide for students to complete this sheet.
- Encourage students to rotate between the kinds of Builder/Journalist roles they’ve developed as well.
-
DistributeDistribute
Code Robot Arm (2-Axis) Build Instructions to each team. Journalists should gather the materials on the checklist.
-
FacilitateFacilitate
building process and discussions while students work.
Builders can begin building. Journalists should assist with build instructions as needed. To prompt students thinking about how the Eye Sensor works on the Arm ask questions like:
- Where would an object need to be in order for the Eye Sensor to detect it?
- Why do you think we positioned the Eye Sensor here on the build?
- OfferOffer suggestions and note positive team building and problem solving strategies as teams build together.

Teacher Troubleshooting
- Check the Wires and Ports - In order for the VEXcode GO projects to work as intended with the Robot Arm, the wires from each of the sensors and motor must be configured correctly. If students are having difficulty, have them double check the wires and make sure that they match the list of ports when configuring the Robot Arm in VEXcode GO. See the Using the VEX GO Sensors VEX Library Article for information on connecting sensors.
- Eye Sensor fix - Sometimes the Eye Sensor will detect the Electromagnet instead of the Disk. In this situation, the project may not differentiate between the blue and green disk. Try adding a [Wait] block after the Eye Sensor first detects a Disk to solve this.
- Robot Arm turns are not going to be 100% accurate - The arm will put the disk in the wrong spot sometimes. The base will not spin exactly 90 or 180 degrees. Just like humans are not correct 100% of the time, the builds are not going to be correct 100% of the time. This can be a teachable moment. An investigation or discussion on how students might improve the Robot Arm could be a great extension activity!
Facilitation Strategies
- Deconstruct Previous Builds and Work in Smaller Groups - If you would like to return to the smaller groupings for Labs 4 and 5, you can. Deconstruct all Code Robot Arm (1-Axis) builds from Lab 3, and have each smaller group build the Code Robot Arm (2-Axis) from scratch for this Lab. This build will be used again in Lab 5, so the smaller grouping can stay the same.
- Think of a Condition as a True/False Question - If students are struggling to understand the concept of a condition, help them frame it as a True or False question. For instance, “What is your favorite color?” would not be a condition, because it could not be a True/False answer. “Your favorite color is blue?” however, could be either True or False, so it could be a condition. Have students brainstorm a list of condition style questions about things they see to help connect the condition concept to the Eye Sensor in the Lab.
- Note: the Robot Arm moves quickly and a disk may be knocked off of the Electromagnet when it moves around the base. This can be surprising (and fun) for students.