Play
Part 1 - Step by Step
- InstructInstruct students that they will explore how to move their Code Base robot forward! Before they start the project, they’ll predict where the Code Base robot will end up. Watch the animation below to see examples of the Code Base moving forward for different distances. In the animation, the Code Base starts in the lower left corner of the Tile and first drives forward 150mm and stops. It then appears back at the starting location, and drives forward 75mm and stops.
Video file
- ModelModel how to launch VEXcode GO on a device and create a project that moves the Code Base forward with the [Drive for] block.
- Model for students the steps of the Open and Save a Project VEX Library article and have them follow the steps to open and save their project.
- Instruct students to name their project Forward.
- Have the students then connect the Brain of their Code Base robot to their device.
- Once students have named their project and connected the Brain to their device, they need to follow the steps to configure for the Code Base robot. Model the steps from the Configure a Code Base VEX Library article and ensure students can see the Drivetrain blocks in the Toolbox.
-
Show how to drag in the [Drive for] block into the Workspace and place it under the {When started} block.

Add the [Drive for] block -
Change the parameter of the [Drive for] block to 150mm.
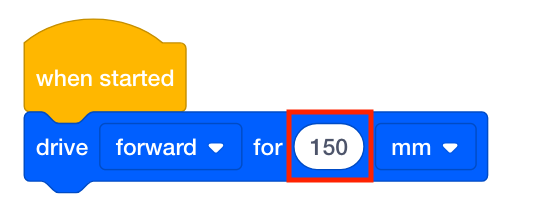
Change the parameter - Model for students how to predict how far the Code Base robot will move based on the parameters in the [Drive for] block. Have students place the Code Base in the starting position, then estimate how far the robot will move. They should place a marker where they think the Code Base will stop.
-
Model for students how to select the ‘Start’ button in the Toolbar to start the project.
- Once the students have observed the behavior, model for students how to go back to their project, edit the parameters of the [Drive for] block from 150mm to another distance, such as 200mm or 250mm. Then, start the project again to see how the change in parameters affected the movement of the Code Base robot.
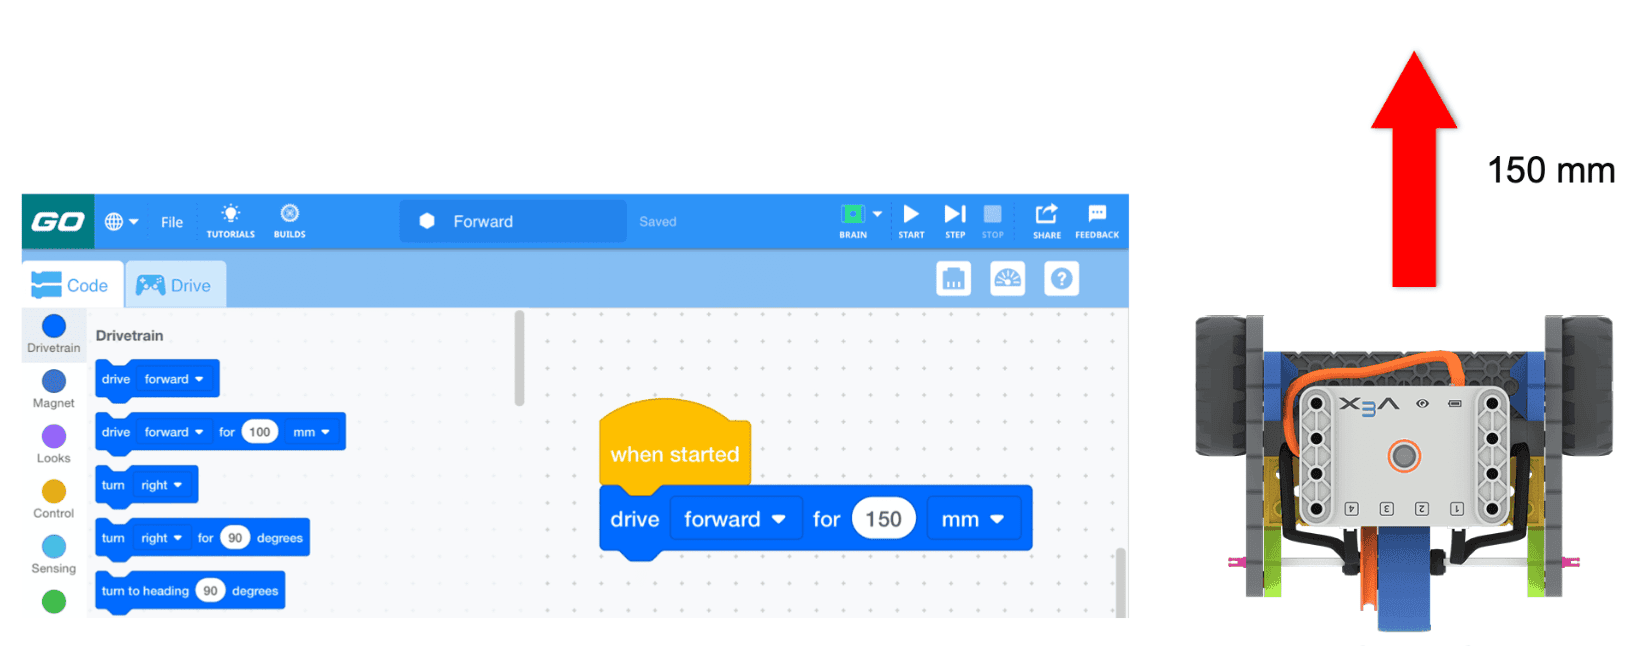
Forward 150 mm - FacilitateFacilitate a discussion around student observations and the goals of the project by asking the following:
- Can you show me using your hands how far you thought the Code Base robot would move before you started the project?
- What did you change the distance parameter to and why? How far do you think the Code Base robot will travel now that the distance has been changed?
- How did the distance travelled compare to your estimation?
- What category of blocks did you use for this project?

Discuss the Code Base Robot's Movement - RemindRemind students that they may have questions when they are creating and starting their project. Remind students that learning new concepts may take multiple tries and encourage them to try again if they are unsuccessful on the first try.
- AskAsk students to think about how far the Code Base robot would need to move to travel across the classroom. Have students make a connection to why this type of planning is useful in everyday life. Ask students how being able to plan and give accurate directions could be useful for a job? Ask the students if they can think of any jobs where directions are needed?
Mid-Play Break & Group Discussion
As soon as every group has completed their project, come together for a brief conversation.
- Did the Code Base robot end up where you thought it was going to? If not, how close was it to your prediction?
- How did you edit your project? What new distance did you choose?
- Did you find any difficulty when changing the distance in the [Drive for] block?
Introduce Drivetrain:
- Now that we explored how to use VEXcode GO to allow our Code Base robot to drive forward, why do you think there is a “Drivetrain” section of blocks?
- What do you think a drivetrain is? Can you explain your thinking?
- Can you show me using gestures where you think the drivetrain is on the Code Base robot?
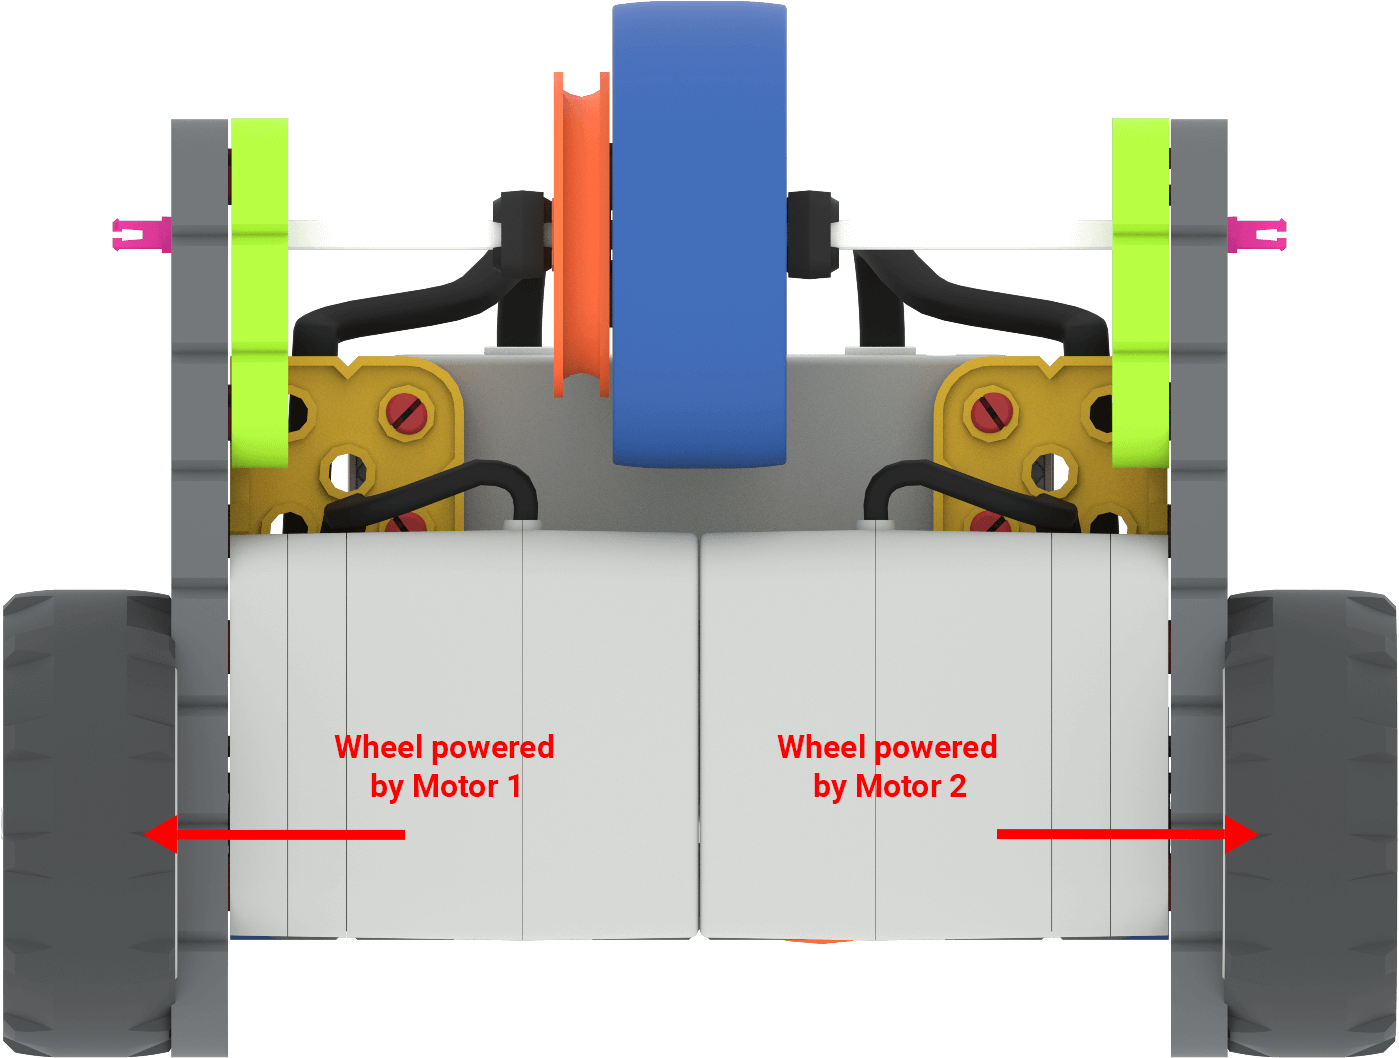
- Can you look at the bottom of your Code Base robot and identify where the motors are in this drivetrain, and which wheels they are attached to?
Part 2 - Step by Step
- InstructInstruct students that they will explore how to move their Code Base robot forward and in reverse!
To begin, each group should have a device, VEXcode GO, at least one placement marker, and a built Code Base. Watch the animation below to see how the Code Base moves in reverse. In the animation, the Code Base starts in the upper left corner of the tile, and drives in reverse 150mm, then stops. It then returns to the starting position and drives reverse for 75 mm.
Video file - ModelModel for students how to launch VEXcode GO on a device and rename their project as Reverse. Show students to select ‘Save As’ to save this project separately from their first.
Refer to the steps in the Open and Save a Project article for more information.
-
Model how to change the parameter on the [Drive for] block to have the Code Base drive in reverse.
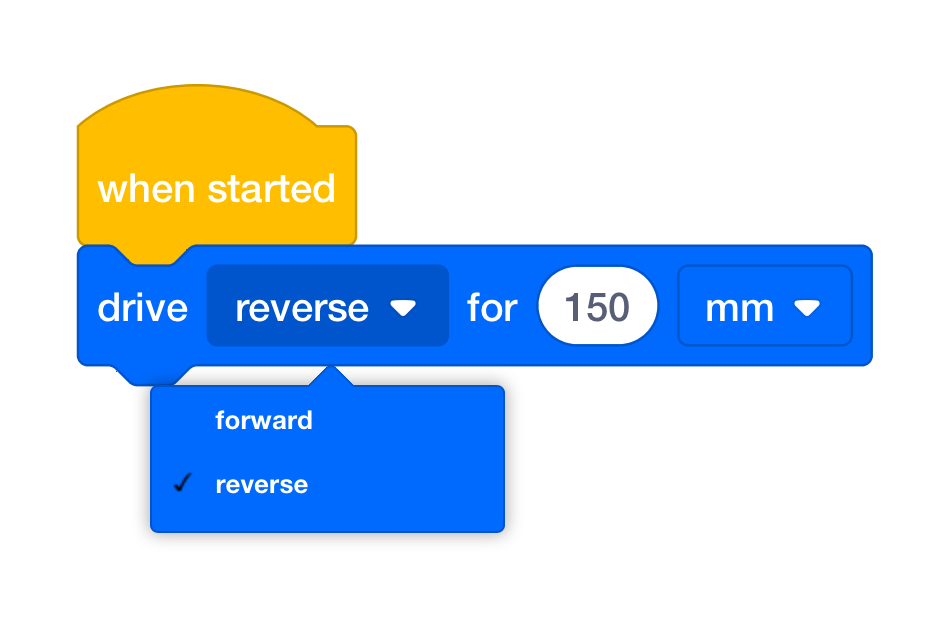
Change the parameter (reverse) - Use the same estimation process as in Play Part 1. Have students place the Code Base in the starting position, then estimate how far the robot will move. They should place a marker where they think the Code Base will stop.
-
Have students start their projects. You may need to remind them of the steps to Connect a VEX GO Brain if connection issues occur.
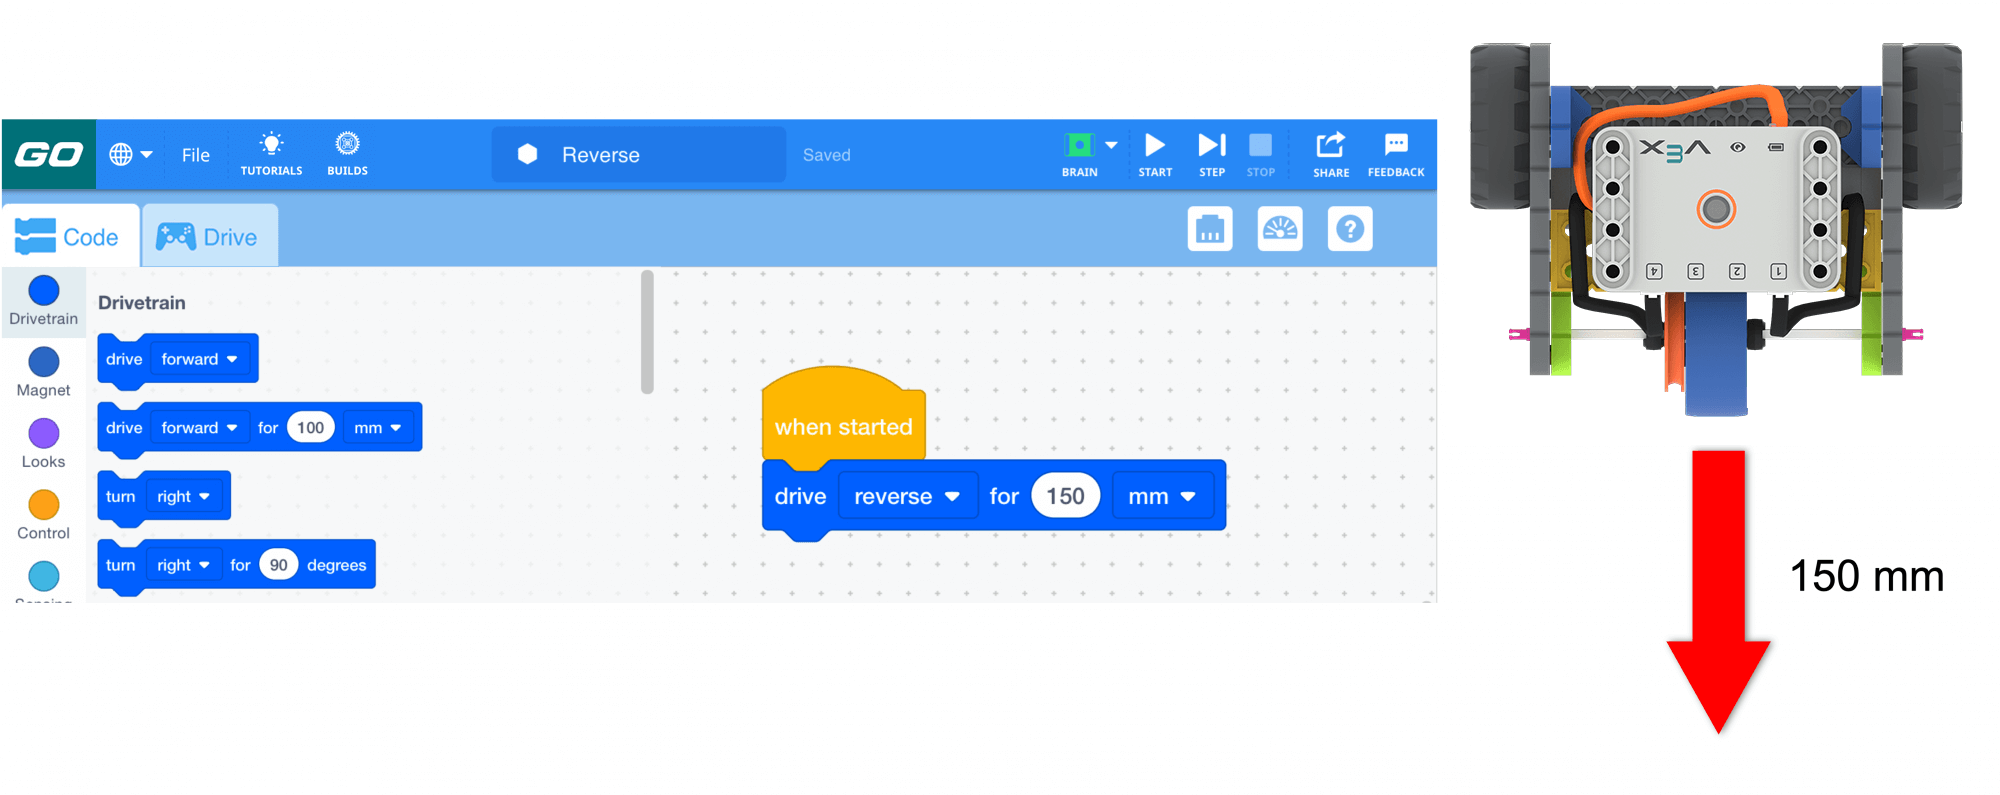
Reverse 150mm - Once the students have observed the behavior of driving in reverse, model for students how to go back to their project. They should then rename their project Forward and Reverse. Refer to the steps in the Open and Save VEX Library article for more information.
-
Model for students how to add a second [Drive for] block. One [Drive for] block should have the robot driving forward, and the second should have the robot driving in reverse. Model how to edit the parameters of the [Drive for] blocks, and then start the project again to see how the change in parameters affected the movement of the Code Base robot.

Forward and Reverse
-
- FacilitateFacilitate a discussion as students are editing their projects and observing the robot’s behavior by asking the following:
- Can you show me using your hands how far you thought the Code Base robot would move before you ran the project?
- What did you change the distance parameter to and why? How far do you think the Code Base robot will travel now that the distance has been changed?
- When you added another [Drive for] block, did you set them to travel the same distance? Do they have to be the same? Why or why not?
- If my Code Base robot is coded to drive forward 100 mm, how far would I need to change the distance if I wanted it to go twice as far?

Discuss the Code Base Robot's Movement - RemindRemind students may have questions when they are editing and starting their project. Remind students that learning new concepts may take multiple tries and encourage them to try again if they are unsuccessful at adding and editing the blocks in the project.
- AskAsk students to think about how the Code Base robot would need to move, if they wanted it to drive to the doorway, and then back up to where it started. What types of tasks or jobs could the Code Base robot now perform that it can move forward and backward? Ask students to suggest a task that the Code Base robot could now complete using forward and backward movements.
Optional: Groups may deconstruct their Code Base robot if needed at this point in the experience. They will use the same build in the subsequent labs, so this is a teacher option.
