
Alternate Coding Methods
Adapt this Unit to Use an Alternate Coding Method
This STEM Lab Unit is written for use with VEXcode 123. However, you can use the buttons on the 123 Robot to code to implement this Unit. You can also use Coder cards with the Coder to implement Lab 1 of the Unit. This flexibility can help you meet the individual needs of your students. For example, if your students are already familiar with using the buttons on the 123 Robot to create touch to code projects, they can complete all the coding activities using the buttons on the 123 Robot. The Summary section of each Lab contains additional information that can help you modify the individual Lab to touch to code or use the Coder.
Touch Adaptation
If using the buttons on the 123 Robot to complete the activities in these Labs, students should understand that each press of a button equals 1 movement of the 123 Robot. Then, they can create a project with a series of button presses. Students should identify that the order in which they press the buttons is the order in which the 123 Robot will execute behaviors. For more information about using the 123 Robot, see the Using the VEX 123 Robot VEX Library Base article. For more information about coding using the Touch buttons on the 123 Robot, see the Coding with the Touch Buttons on the 123 Robot VEX Library article.
You can use printables as manipulative to support project planning in this adaptation as well. See the printable resources available in the VEX Library, and use them with students as they are planning and building their touch projects. You could cut out the touch button symbols and have students lay them out on their desk as they build their projects, or use the color-in sheet for students to color in the sequence of button presses in their projects.
| Button | Name | Behavior |
|---|---|---|
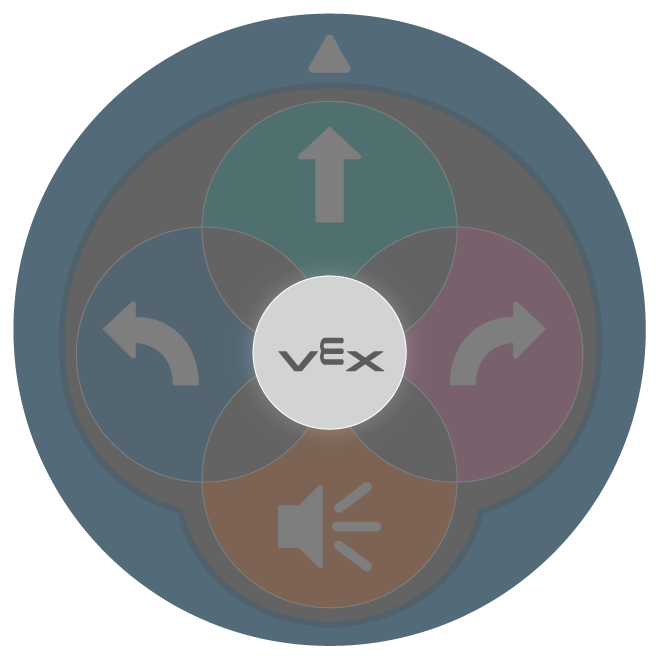 |
Start | Starts the project when pressed. |
 |
Move | 123 Robot will drive forward for 1 robot length, or 1 square on the 123 Field. |
 |
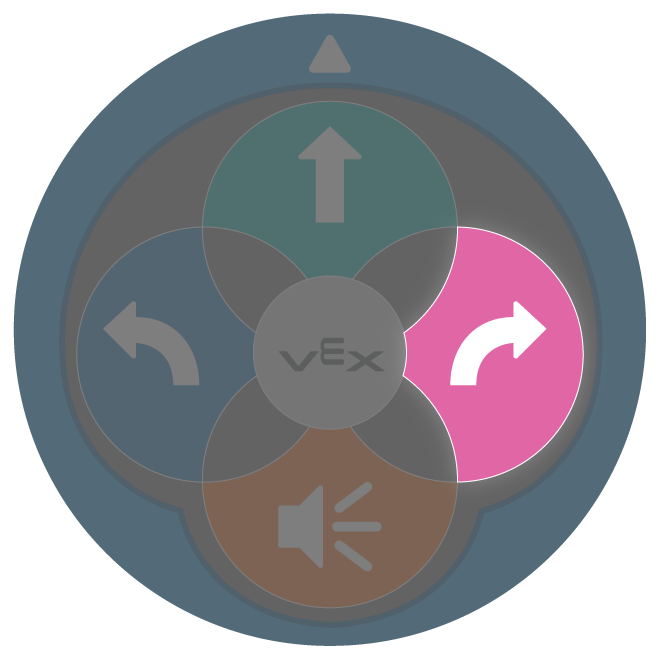
Right | 123 Robot will turn in place 90 degrees to the right. |
 |
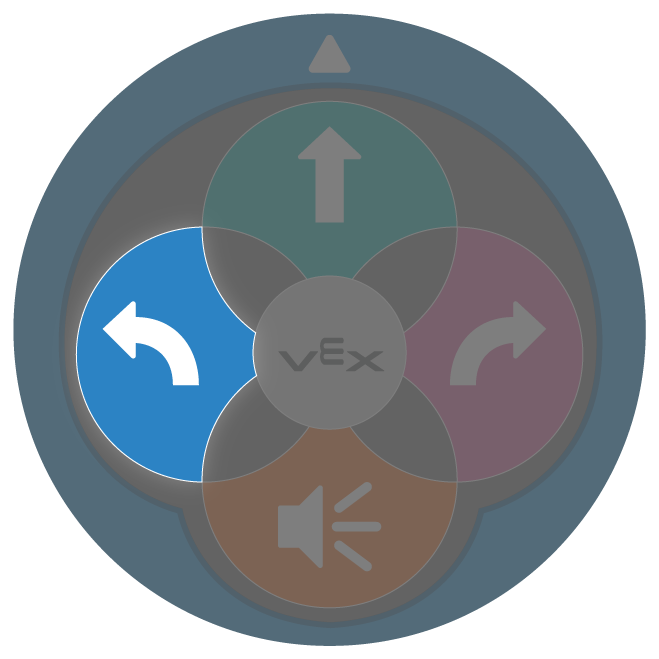
Left | 123 Robot will turn in place 90 degrees to the left. |
 |
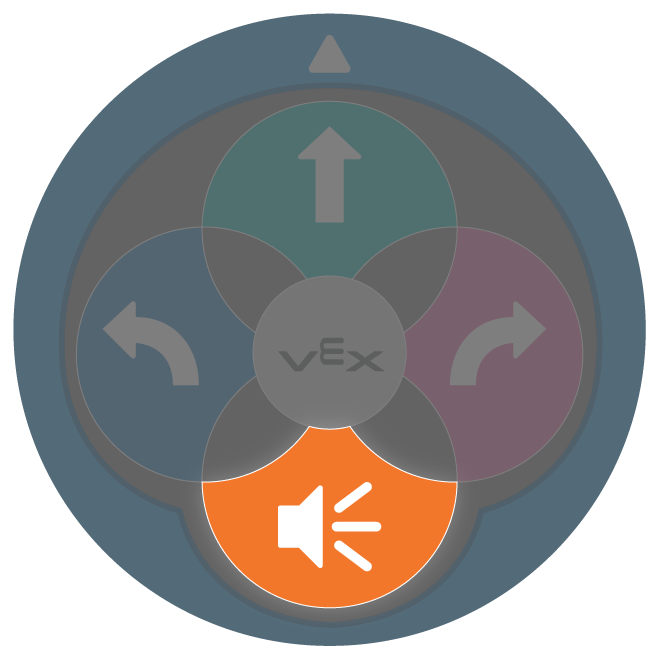
Sound | 123 Robot will play a honk sound. |
- To adapt Lab 1, have students create a project to drive the 123 Robot to collect a sample, then drive back to the base. Have students break down the steps necessary, then create a touch code project with the buttons on the 123 Robot. This is an example of a possible solution to have the 123 Robot drive to collect a sample and return to the base. The 123 Robot will play a honk sound to indicate that it is collecting a sample.
- The solution shows the button press sequence numbered in order from left to right. Number 1 is the start of the sequence.
Note: Since there is not a 'Wait' touch button, the “Wait” command does not appear in the touch sequence.
| 1 | 2 | 3 | 4 | 5 | 6 |
|---|---|---|---|---|---|
 |
 |
 |
 |
 |
 |
| 7 | 8 | 9 | 10 | 11 | 12 |
 |
 |
 |
 |
 |
 |
- To adapt Lab 2, have students create multiple projects to drive the 123 Robot to different locations on the 123 Field to collect samples and return to the base. Have students break down the steps necessary, then create a touch code project with the buttons on the 123 Robot. They will likely need to create 3 different projects to drive to each of the samples. This is an example of a possible solution for Lab 2. The solution shows the button press sequence numbered in order from left to right. Number 1 is the start of the sequence.
Note: Since there is not a 'Wait' touch button, the “Wait” command does not appear in the touch sequence.
Collect Sample 1
| 1 | 2 | 3 | 4 |
|---|---|---|---|
 |
 |
 |
 |
| 5 | 6 | 7 | 8 |
 |
 |
 |
 |
| 9 | 10 | 11 | 12 |
 |
 |
 |
 |
| 13 | 14 | 15 | 16 |
 |
 |
 |
 |
Collect Sample 2
| 1 | 2 | 3 |
|---|---|---|
 |
 |
 |
| 4 | 5 | 6 |
 |
 |
 |
| 7 | 8 | 9 |
 |
 |
 |
Collect Sample 3
| 1 | 2 | 3 | 4 | 5 | 6 | 7 |
|---|---|---|---|---|---|---|
 |
 |
 |
 |
 |
 |
 |
| 8 | 9 | 10 | 11 | 12 | 13 | 14 |
 |
 |
 |
 |
 |
 |
 |
Coder Adaptation
If students are proficient with using the Coder, you can adapt Lab 1 to have students use Coder cards with the Coder to create a project to drive the 123 Robot to collect a sample, then drive back to the base. Students can use the following Coder cards for their projects. It is not recommended to complete Lab 2 with Coder cards, due to the length of the projects for this Lab. For more information about how to use the Coder, see the Using the VEX Coder VEX Library article.
Additional Coder cards from the Sound and Looks categories can also be used to signal that the 123 Robot has collected a sample. For a full list of Coder cards and their behaviors, see the VEX Coder Card Reference Guide VEX Library article.
| Coder Card | Behavior |
|---|---|
 |
Starts the project when the ‘Start’ button on the Coder is pressed. |
 |
123 Robot will drive forward for 1 robot length, or 1 square on the 123 Field. |
 |
123 Robot will drive forward for 2 robot lengths, or 2 squares on the 123 Field. |
 |
123 Robot will drive forward for 4 robot lengths, or 4 squares on the 123 Field. |
 |
123 Robot will turn in place 90 degrees to the left. |
 |
123 Robot will turn in place 90 degrees to the right. |
 |
123 Robot will wait 2 seconds before moving on to the next Coder card in the project. |
This is an example of a possible Coder card project solution to have the 123 Robot drive to collect a sample and then drive back to the base.
