Engage
Launch the Engage Section
ACTS is what the teacher will do and ASKS is how the teacher will facilitate.
| ACTS | ASKS |
|---|---|
|
|
Engage
-
InstructInstruct
students that they are going learn how to debug their projects. They will build a project, start the project and observe the behaviors of the 123 Robot, then step through the project to find the bug.
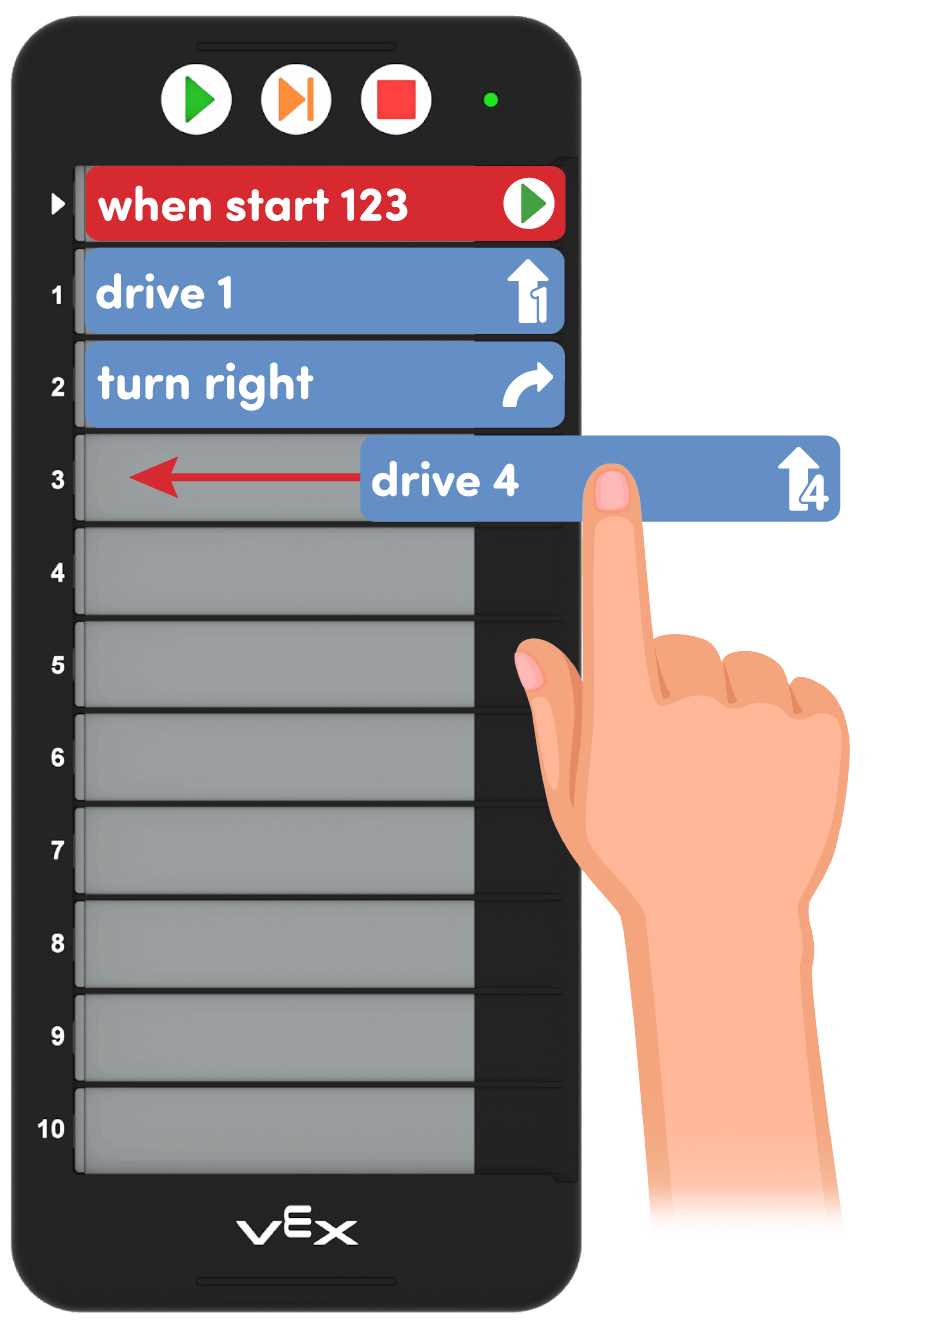
- Have all students gather around a demonstration area that includes a Coder, a 123 Robot, access to a 123 Field, and a set of Coder cards.
- Tell students that you want your 123 Robot to drive from the bottom left square on the 123 Field to the middle of square, as shown here.

Goal of the Project - Create this project in your Coder using the matching Coder cards and show students the project in the Coder.

Coder card Project - Wake and connect the 123 Robot. Have students describe the steps to for waking and connecting, as students have practiced in previous labs. To wake the 123 Robot, push the wheels along a surface until you hear the startup sound, as shown in the animation below. Turn on sound for this animation. For more information about the 123 Robot, see the Using the VEX 123 Robot VEX Library article.
Video file- Then connect the 123 Robot to the Coder. Have students describe the steps that they have learned to connect the robot in previous labs: press and hold the Start and Stop buttons on the Coder, and the Left and Right buttons on the 123 Robot for at least 5 seconds, until you hear the connected sound, and the indicator lights flash in time, as shown in the animation below. Turn on sound for this animation. For more information about the Coder, see the Using the VEX 123 Coder VEX Library article.
Video file- Have students observe the movement of the 123 Robot. The 123 Robot will drive past the center square.
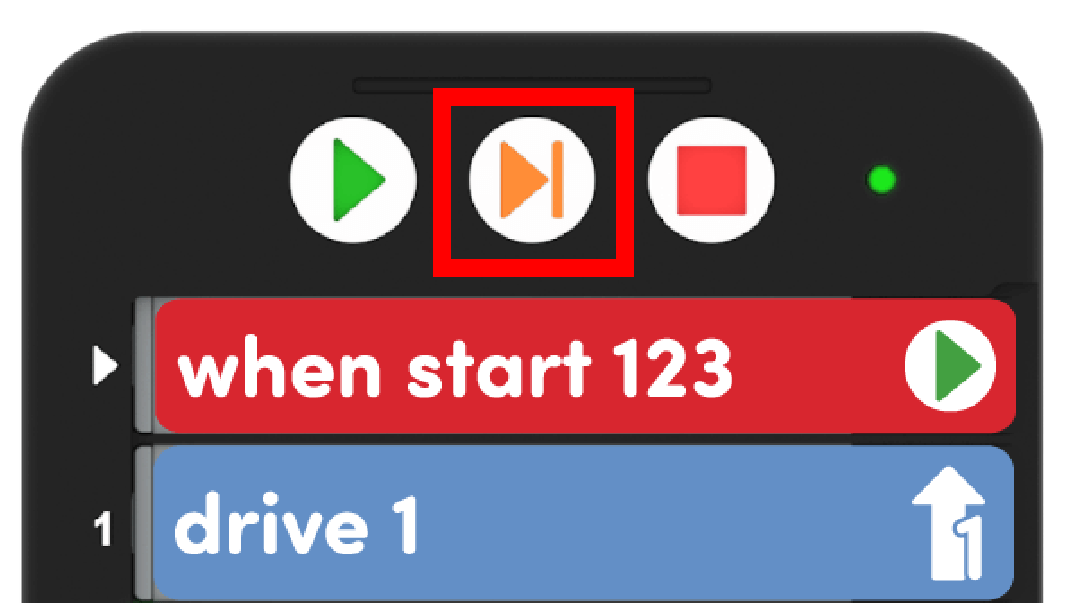
- Tell students that they can use the "Step" button on the Coder to move one card at a time through the project. Show students how to select the Step button to use the Step feature on the Coder to execute one card at a time to identify where the bug is in the project. Students should identify that the last Coder card makes the 123 Robot drive too far forward.

Step Feature on the Coder - Once you have found the bug, show students how to switch the last Coder card to a "Drive 1" and test the project. The 123 Robot should drive from the bottom right corner of the Field to the center square.
-
DistributeDistribute
distribute a 123 Robot, Coder, 123 Field, and a set of Coder cards for demonstration purposes. Also set out the following Coder cards:
- One "When start 123"
- Two "Drive 1"
- One "Drive 4"
- One "Turn left"
- One "Turn right"
-
FacilitateFacilitate
a discussion with students as they observe the movement of the 123 Robot.
- What Coder card needs to be fixed so the 123 Robot drives to the center square?
- How does the step feature help us find the mistakes or "bugs" in a project?
- OfferOffer students additional practice decoding a project if they are struggling with how to find and fix a bug in a project.

Teacher Troubleshooting
- Ensure that each group places the Coder cards into the Coder in the incorrect sequence. This is important for noticing that the sequence of cards and the intended behavior of the 123 Robot did not match.
- Students may forget that the "When start 123" Coder card must come first in the Coder, and may place it in a different sequence. Remind students that this card must be placed in the Coder first.
Facilitation Strategies
- Iteration is a natural part of coding, and this Lab is designed so that students are intentionally put into a situation where they have to fix a problem. Pay particular attention to students who tend to struggle with perfectionist tendencies, or who do not do well with correcting their work in other subjects, and help them see that their success in this experience can be applied to other subject areas as well.
- Use printables as manipulative to support project planning - See the printable resources available in the VEX Library, and use them with students as they are planning and building their Coder projects. You could use the motion planning sheets for students to draw the path they want their 123 Robot to travel, as well as the fill-in project and motion planning sheets for students to document their Coder cards and the path of the 123 Robot. You can also use the fill-in Coder sheet for students to write or draw their Coder cards to "save" their projects.
- Use Coder card posters to reinforce learning with the Coder - Highlight specific Coder cards, or refer to cards as you are teaching with the Coder card posters. Students can use these posters to review terminology as they are working with VEX 123. See the Using Coder Cards Posters in the Classroom VEX Library article to access these printable posters and to see more strategies for using them in your learning environment.