Summary
Materials Needed
The following is a list of all the materials and teaching resources that are needed to complete the VEX 123 Lab. First listed are the materials needed for the entire Lab, including the 123 Robot. In certain Labs, links to teaching resources in a slideshow format have been included. Not all Labs will include a slideshow. These slides can help provide context and inspiration for your students. All slides are editable, and can be projected for students or used as a teacher resource.
| Materials | Purpose | Recommendation |
|---|---|---|
|
123 Robot |
For students to code throughout the Lab. |
1 per group |
|
123 Field |
For teachers or students to arrange into a number line. |
3 tiles per number line |
|
Dry Erase Markers |
For teachers or students to write numbers on the number line. |
1 per group |
|
Visual aids for teacher during the Lab. |
1 for teacher facilitation | |
|
White board eraser |
To erase the marks on the Tiles at the end of the Lab. | 1 per group |
|
VEX 123 PDF Printables (optional) |
To use as manipulatives to support student project planning and saving. | 1 per group |
Environment Setup
- Print or create a list of addition equations for each group: These will be passed out to each group during the Play Part 2 section. No equation should have an answer larger than 9 due to the spacing on the number lines. You may want to have extra in case groups finish early, this will give them additional opportunities to code the 123 Robot.
-
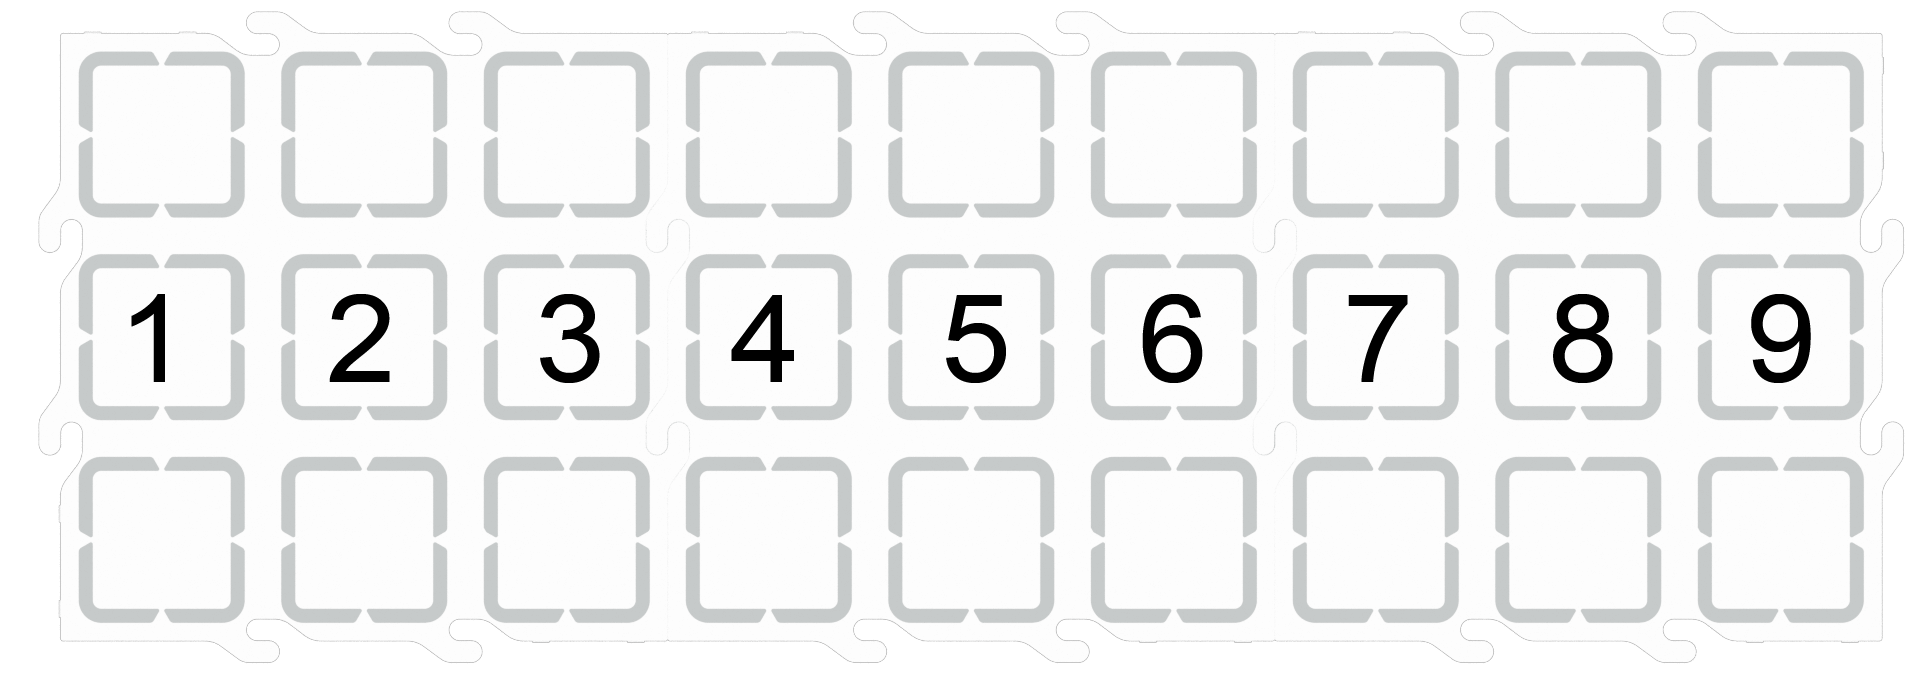
Create a number line with 123 Field: Snap together groups of three 123 tiles per group in a long row. Write the numbers in the middle squares. This will be the area in which the 123 Robot travels. You may choose to write the number line on the 123 Field with dry erase markers during this set up, or have the students write the numbers on the number line during the Engage section.

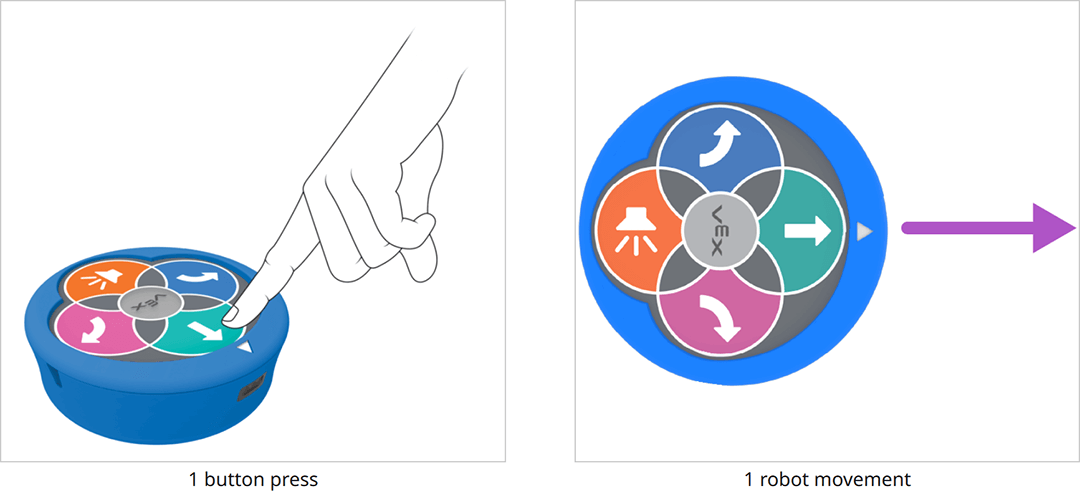
Number Line with 123 Field - Note: one button press moves the 123 Robot one robot length or one block on the 123 Field.

- To help students take turns and stay focused on the Lab activities, give students direction for how to share responsibilities during the Lab. For the recommended groups of two, students can take turns pressing the buttons and placing the 123 Robot, and alternate who shakes to erase the project for each new equation. For groups larger than the recommended two students, provide students with more specific roles. Examples of responsibilities for students in this Lab include:
- Writing the numbers on the number line, or the equations for the group
- Placing the 123 Robot on the number line
- Pressing the move buttons on the 123 Robot
- Pressing the start button to test the project
- Shaking to erase the project
Engage
Begin the lab by engaging with the students.
-
Hook
Ask the class, “Have you ever used a tool? What kind of tools have you used? Tools help us solve equations. Today we are going to use a tool to help us solve equations like a number line! Let’s make a human number line.” Line up students to make a human number line, where each student represents a number. Model solving an equation.
-
Demonstrate
Solve the same equation using the 123 Robot and a number line made with 123 Field, and count together the number of button presses to get the 123 Robot from the first addend to the right answer.
-
Leading Question
Could you solve an addition equation using the 123 Robot and a number line? Let's find out!
Play
Allow students to explore the concepts introduced.
Part 1
The teacher and students will work through one addition equation together using the 123 Robot to move along the number line created using 123 Field in order to find the correct answers. The emphasis will be on starting on the first addend, moving a number of spaces equal to the second addend, then stopping on the sum. The following animation shows 2+4=6. The 123 Robot begins on number 2, moves forward four squares, and stops on the number 6.
Mid-Play Break
Review the steps for solving the equation with the 123 Robot on the number line.
- What are the steps for using the 123 Robot on the number line?
- If I want my 123 Robot to move 1 space, how many times do I need to press the move button? What if I want it to move 3 spaces?
- What direction does the 123 Robot need to face for our addition equations?
- How do I erase the code in the 123 Robot when I want to start again?
Part 2
Have students repeat the same basic procedures to solve an addition equation with their group. The teacher can help guide students, but the students will be responsible for solving the equation on the number line.
Alternate Coding Methods
While this Lab is written to use the buttons on the 123 Robot to touch to code, it can also be completed using the Coder or VEXcode 123. If adapting this Lab for the Coder, give each group a Coder and the Drive 1, Drive 2, and Drive 4 Coder cards to create projects that move the 123 Robot on the number line to solve equations. For more information about how to use the Coder, see the Using the VEX 123 Coder VEX Library article. If modifying the Lab to use VEXcode 123, give students a tablet or computer and build projects using the [Drive for] block in VEXcode 123.
Share
Allow students to discuss and display their learning.
Active Share
Have the students combine their number lines together across the room for one multi-step equation to be solved together.

Discussion Prompts
How did you decide where to place the 123 Robot on the number line to start to solve an equation?