
Engage
Launch the Engage Section
ACTS is what the teacher will do and ASKS is how the teacher will facilitate.
| ACTS | ASKS |
|---|---|
|
|
Engage
-
InstructInstruct
students that they are going to test each of the touch buttons on the 123 Robot to learn about how to communicate using its programming language. Each button will make the 123 Robot do a different behavior. We need to learn what behavior goes with each touch button, so we can do things with our 123 Robots.
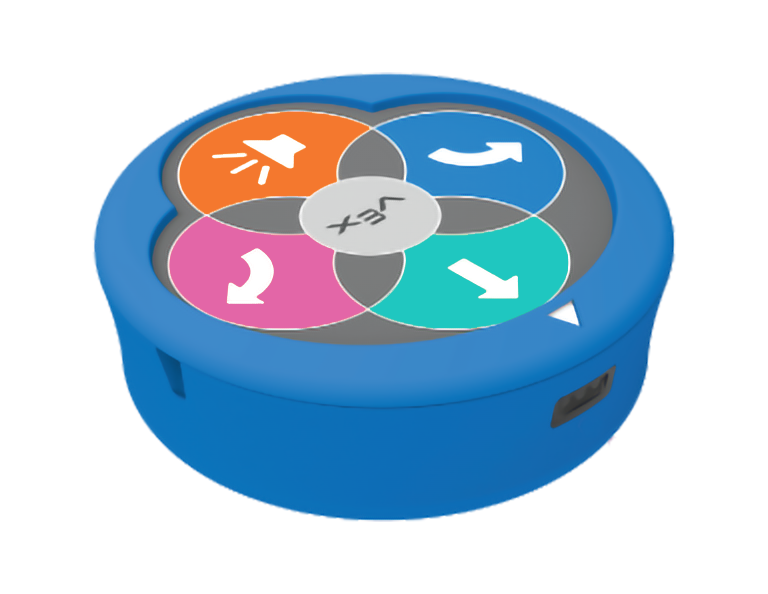
123 Robot -
DistributeDistribute
a 123 Robot and a Tile to each group, and have students wake their 123 Robots. This can be done all together, or by each group as they receive their 123 Robot. View the following animation to show how to wake the 123 Robot. A hand pushes the robot forward with its wheels touching a surface. It makes a beeping sound and the light in the robot's center flashes, to indicate that it is awake.
Video file
-
FacilitateFacilitate
testing and observing the behavior that corresponds to each touch button, by having the whole class test the same button at the same time.
Follow the steps below to test and observe each touch button and behavior together:
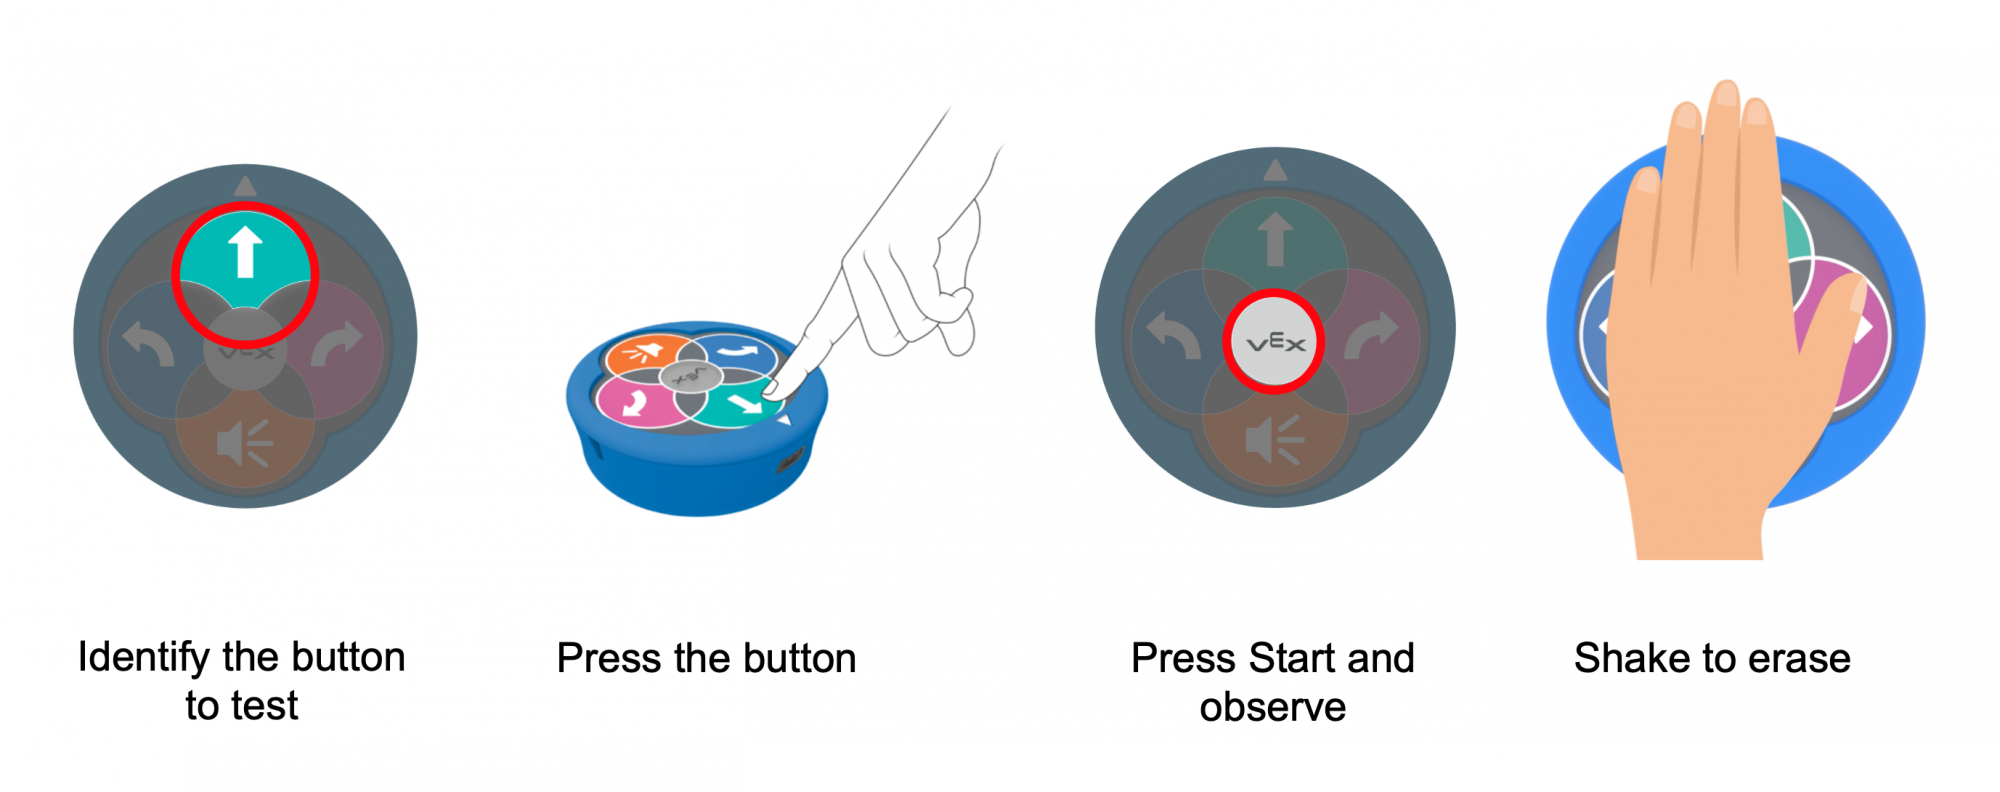
Test the touch buttons - Identify the touch button you are going to test (Move, Left, Right, or Sound).
- Press that button one time, and set the 123 Robot on the Tile, with the white arrow facing away from you.
- Press the Start button, and observe the behavior of the 123 Robot.
- Name the behavior that matches that touch button, and make sure that all students agree.
- Shake the 123 Robot to erase the project, as shown in the animation below. Remind students to shake the 123 Robot until they hear the erase sound so that their 123 Robot is ready for the next project. Repeat this process for each button.
Video fileFor younger students, you may want to do this activity as a teacher-led demonstration, where students are observing the 123 Robot behaviors, but the teacher is pressing the touch buttons on the robot.
You may want to create a Touch Button Chart on the board while you are testing, like the one shown here, so that students can refer back to it during the Lab
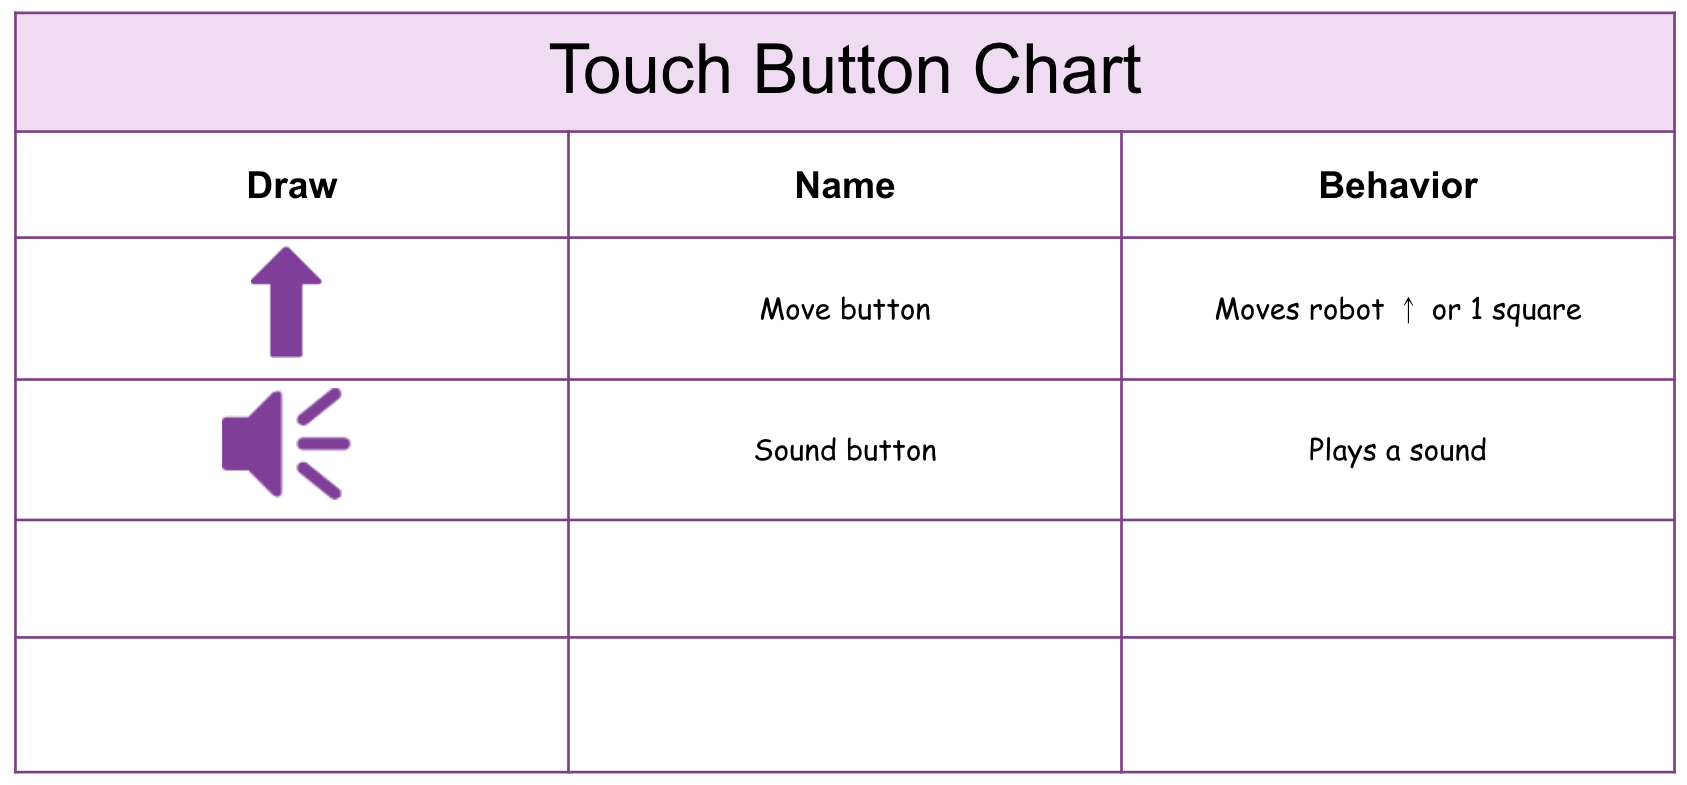
Example of a Touch Button Chart - OfferOffer positive reinforcement for students who are following directions well, and taking turns to press the buttons on the 123 Robot.

Teacher Troubleshooting
- Remind students that one press of a button will cause the 123 Robot to move 1 square on the Tile in the direction that the arrow is pointing.
- Students may need to be reminded to shake the 123 Robot to erase the project. This will come in handy as students troubleshoot their projects and start again.
- For more information on using the touch buttons, see the Coding with the Touch buttons on the 123 Robot VEX Library article.
- For additional information on working with the 123 Robot including charging, waking, and coding the robot, see the Using the VEX 123 Robot VEX Library article.
- See the Identifying the 123 Robot’s Features VEX Library article for detailed information on the physical features of the robot, including the touch buttons.
Facilitation Strategies
- Create a Touch Button Chart - During Engage, capture students’ findings as they test each of the touch buttons. As a class, fill in the chart and hang it prominently for students to reference as they work through the activities in the Lab. See the the Lab 1 Image slideshow for an example of how to structure the chart.
- Take Turns - Throughout the Lab, students should take turns in their groups. Suggestions for facilitating this include:
- During Engage, students can take turns testing each of the touch buttons on the 123 Robot.
- During Play, alternate who creates the touch project, and who places the 123 Robot on the Tile and presses the “Start” button.
- Try a new starting position - If groups complete the challenge quickly, have them start on a different square and code the 123 Robot to drive to the first letter from the new starting position.
- Pre-write words for younger students - You may want to pre-write the words on the Tiles, or assign words to students, so they can focus on the coding activity.
- Divide words by letter sounds on the Tile - To have students practice with digraphs and diphthongs, write one sound per square, instead of one letter. Then students can still sound it out along with the 123 Robot’s behaviors, but can practice more complex decoding. For instance, write “Ship” as “SH - I - P”, or the word “Rain” as “R - AI - N.”
- Use printables as manipulative to support project planning - See the printable resources available in the VEX Library, and use them with students as they are planning and building their touch projects. You could cut out the touch button symbols and have students lay them out on their desk as they build their projects, or use the color-in sheet for students to color in the sequence of button presses in their projects.