Practice
In the last section, you learned about the elements of a robot arm and how different arm mechanisms work. Now, you are going to apply what you have learned to iterate on the build to complete the Improve Your Arm practice activity.
In this activity, your robot will have to drive to a Buckyball, pick up the Buckyball, lift it, and then place it on a ring. You will iterate on the design of the arm to improve your robot's ability to stack the Buckyball onto the ring. Watch the video below to see how you can apply what you have learned to complete the Improve Your Arm practice activity.
Now it's your turn to complete the Improve Your Arm practice activity!
In this animation, a Controller is used to drive the robot to the Buckyball, pick it up, then lift the Buckyball and place it on top of the ring. This animation shows one possible way your robot could move to complete the Improve Your Arm practice activity.
Use this document as a reference to complete the practice activity.
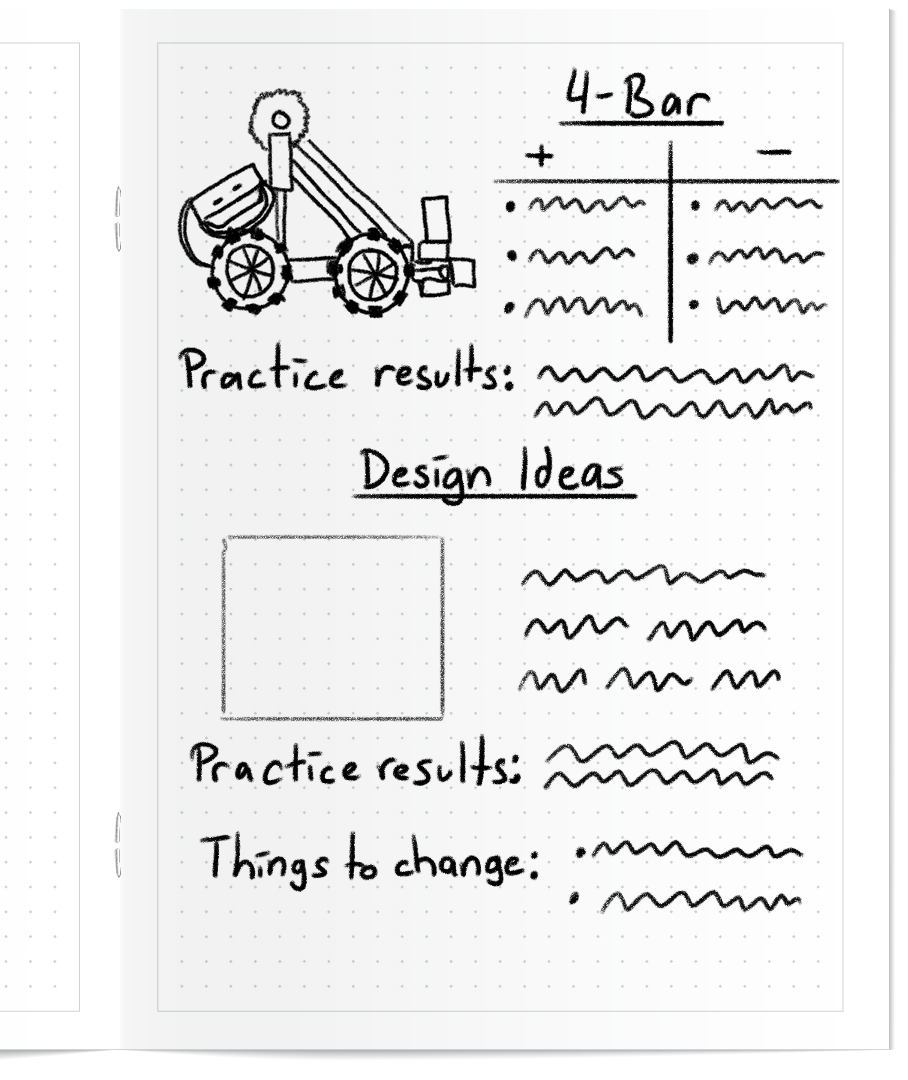
As you complete the Improve Your Arm practice activity, document the following in your engineering notebook:
- Describe and illustrate your robot design.
- How does your claw and arm design work together to complete the activity?
- How can you iterate on this design to improve the robot's performance?
See the image on the left for an example of how you can record your design ideas and tests.

Arm Designs
In the Learn section, you learned about different types of arm designs and were shown these animations during the video. Use these arm animations below to reference while iterating on your arm's design.
Swing Arm
A swing arm is one of the easiest arms to assemble. The end of the arm follows an arc as the gear turns and could pass over the top and reach the other side of the robot as shown in this animation.
4-Bar Arm
This arm is made up of parallel linkages that allow the object being raised to remain level, as shown in the animation. This is the arm design used in the Clawbot build instructions.
6-Bar Arm
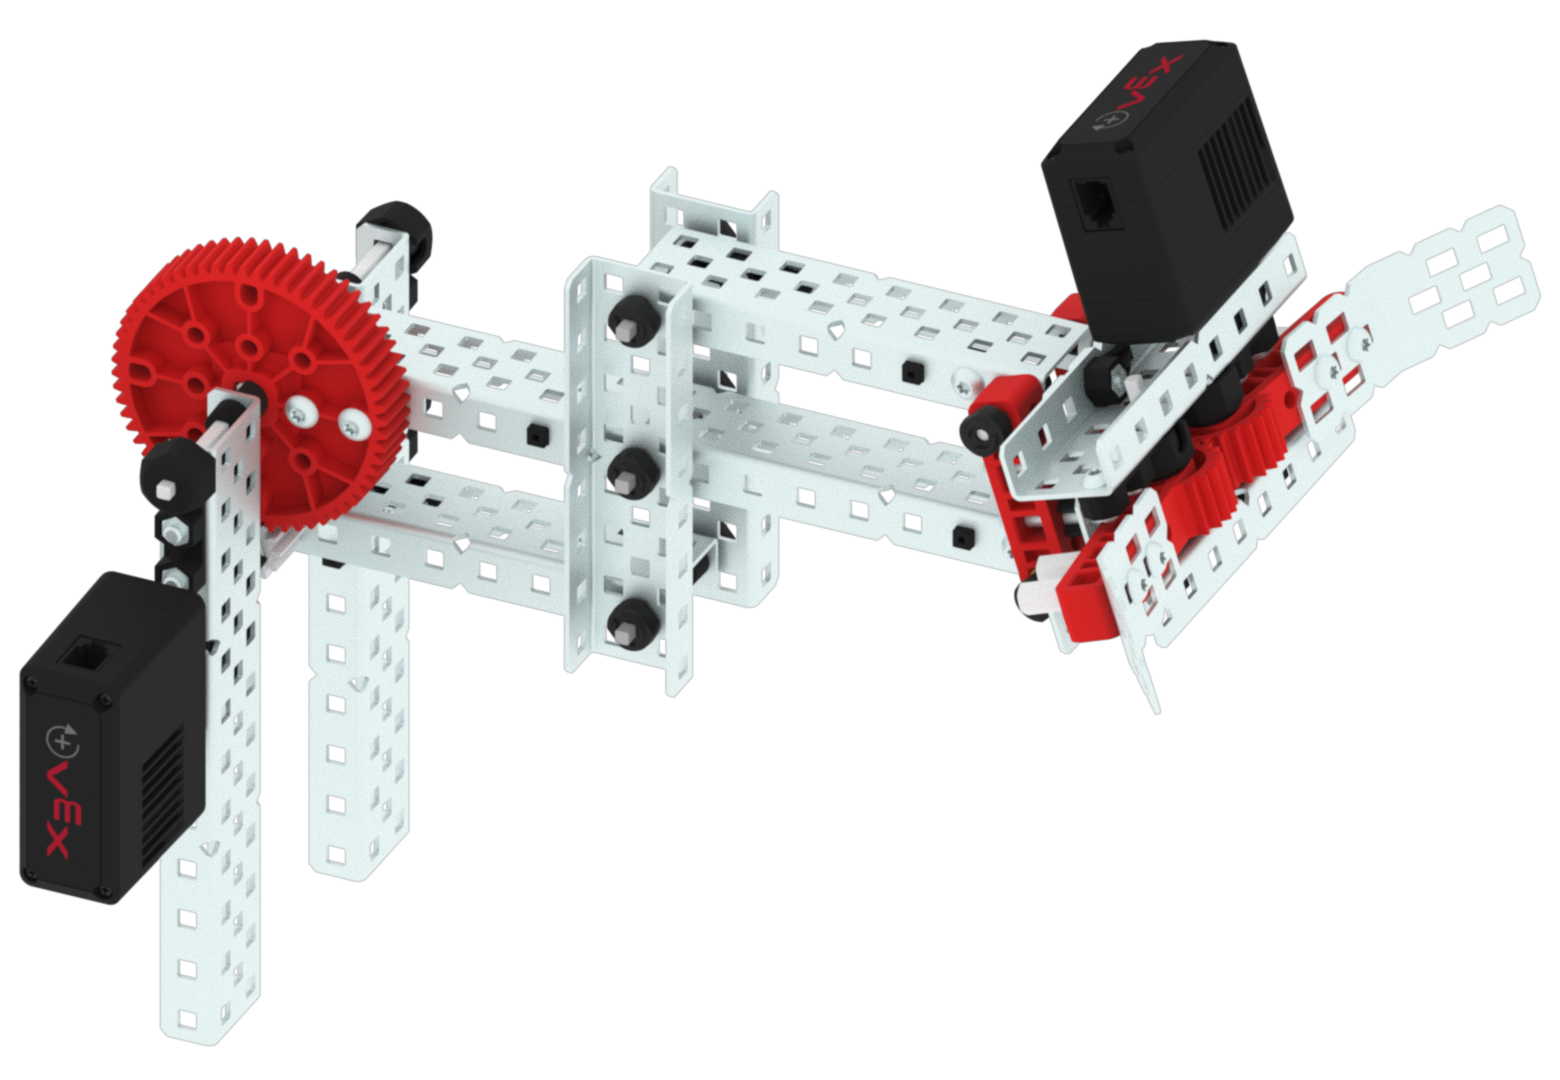
This arm is an extension of the 4-bar arm, as shown in this image. While it can reach higher than the 4-bar, this is a difficult arm to build due to the number of parts and pivot points.

Chain-Bar Arm
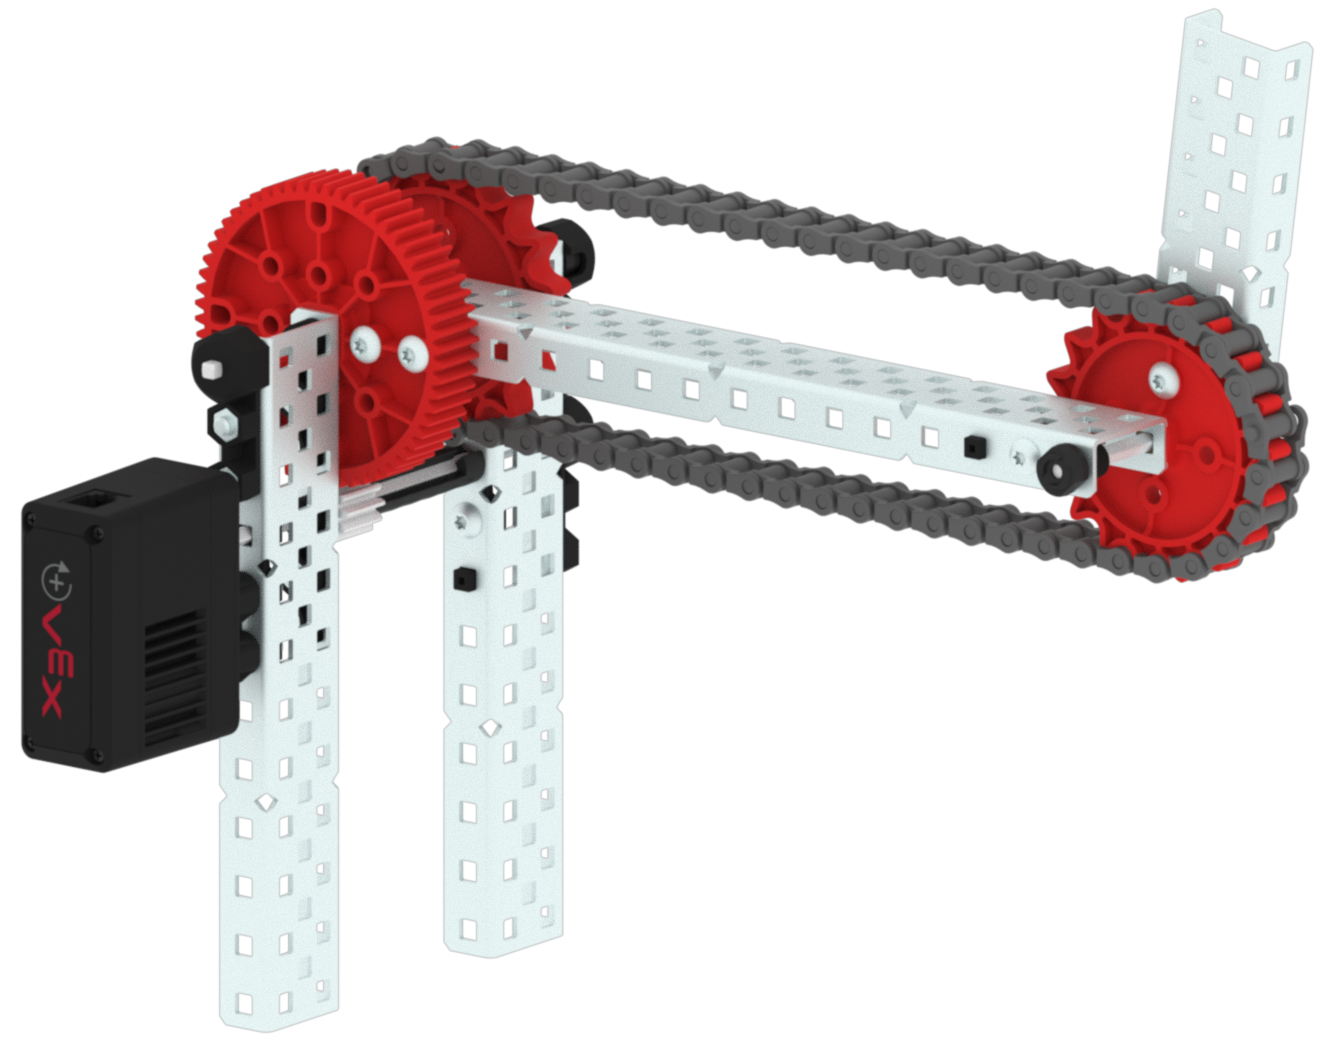
This arm is made up of sprockets and chain to create a linkage arm, as shown in this image. This is most traditionally used with passive manipulators like a scoop.

Prepare for the Challenge
In Compete (on the next page), you will test your arm designs in the Stacked Up Challenge. Learn how to compete in the challenge, check your understanding, then practice for the challenge.
The goal of this challenge is to use the Controller to drive your robot and stack as many Buckyballs onto rings as you can within a minute.
Watch this animation to see an example of a Clawbot stacking Buckyballs onto rings in the Stacked Up Challenge.
Follow the steps in this document to learn more about how to complete this challenge.
Check Your Understanding
Before beginning the challenge, ensure that you understand the rules and setup of the challenge by answering the questions in the document below in your engineering notebook.
Check Your Understanding questions
After completing the questions, try practicing the challenge.
Select Next > to compete in the Stacked Up Challenge.