
Play
Part 1 - Step by Step
- InstructInstruct students that they are going to be following the same process they had in the previous Lab.
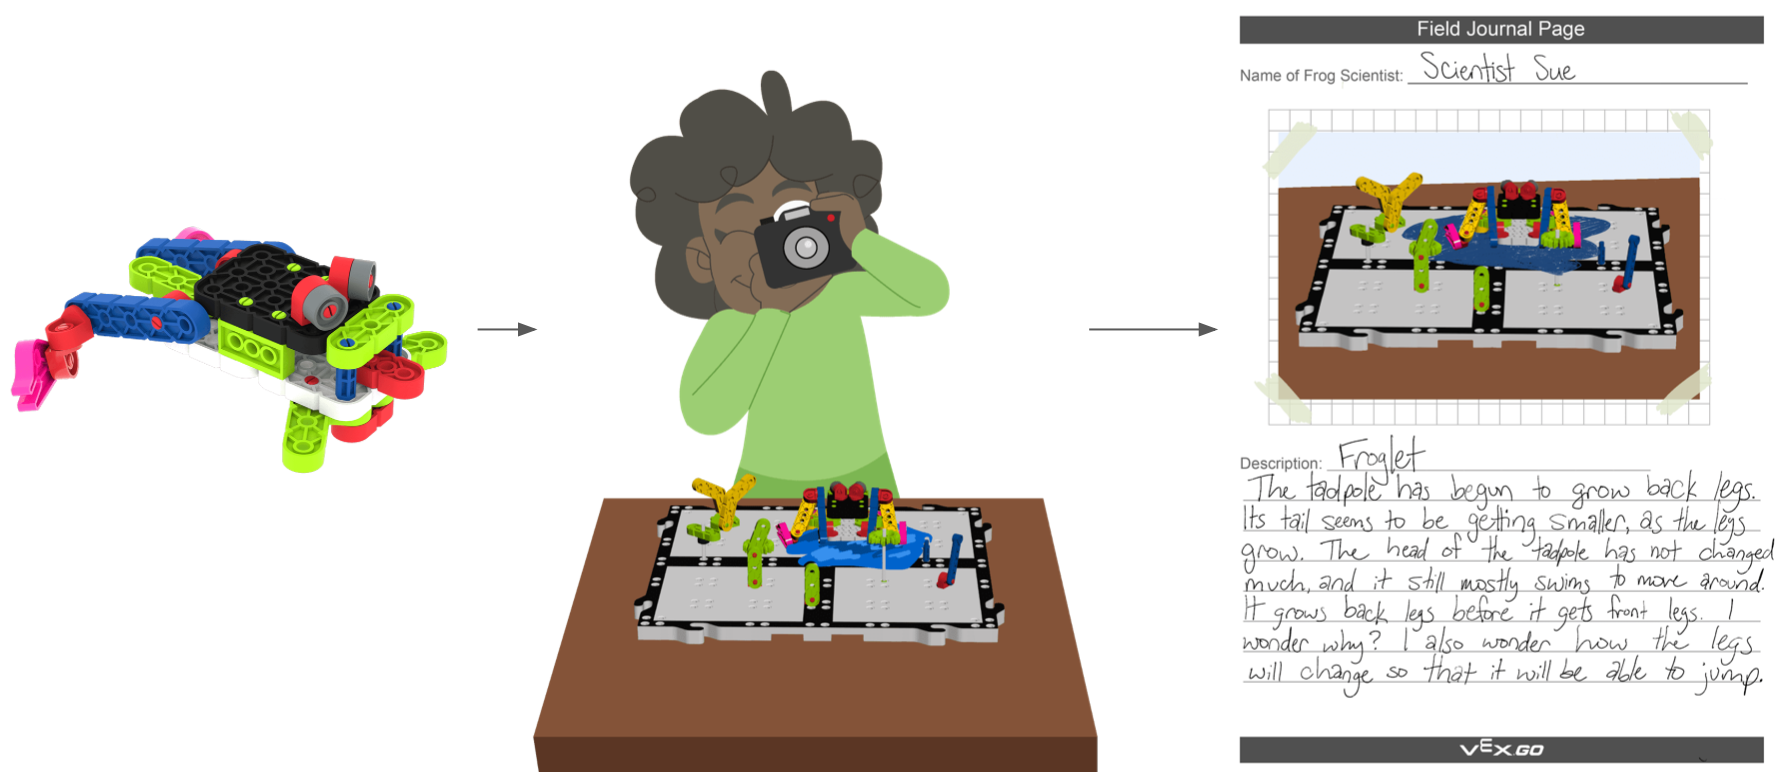
Build, Photograph, and Describe - First, they will use the Build Instructions to adapt their model to be a froglet with the VEX GO Kit.
- Next, they will place their froglet in the habitat, and take a photo of it.
-
Last, they will write a description of the froglet phase of the frog’s life in their Field Journal.
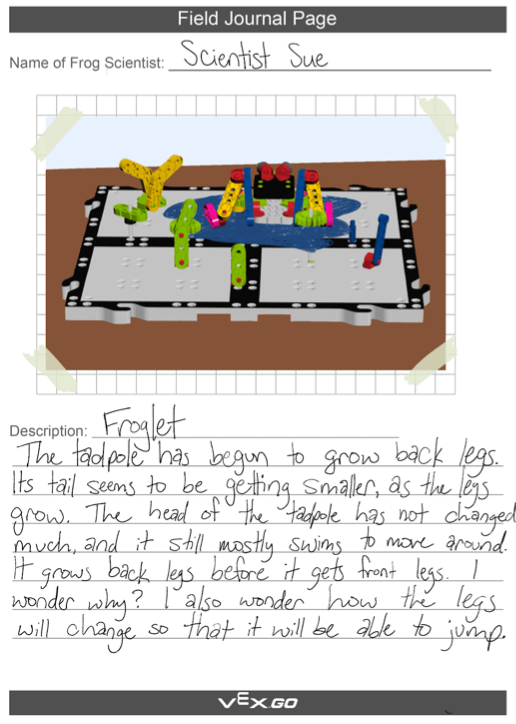
Suggestion for Field Journal Page Set Up - Reminder: the Field Journal should continue to be written in the perspective it was begun. If the first two were from the frog’s perspective, these should be also.
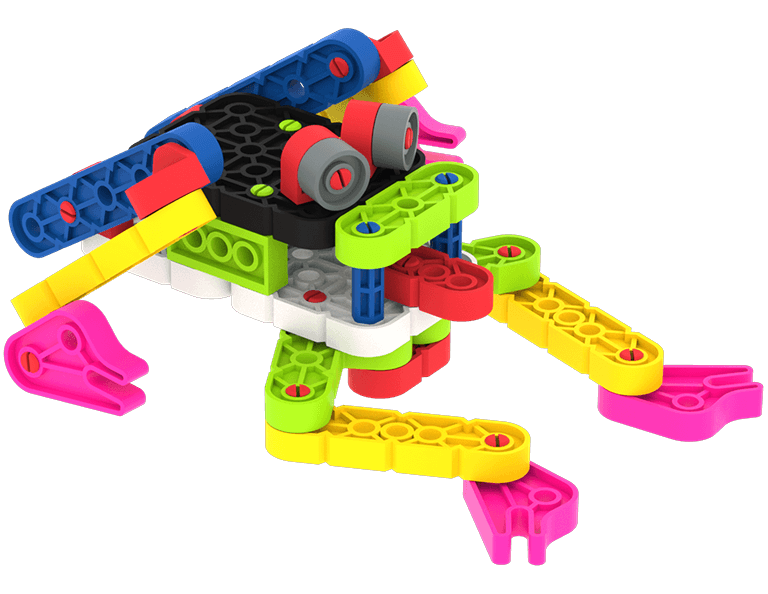
- ModelModel by first displaying the image of the completed froglet build, or a pre-built model.
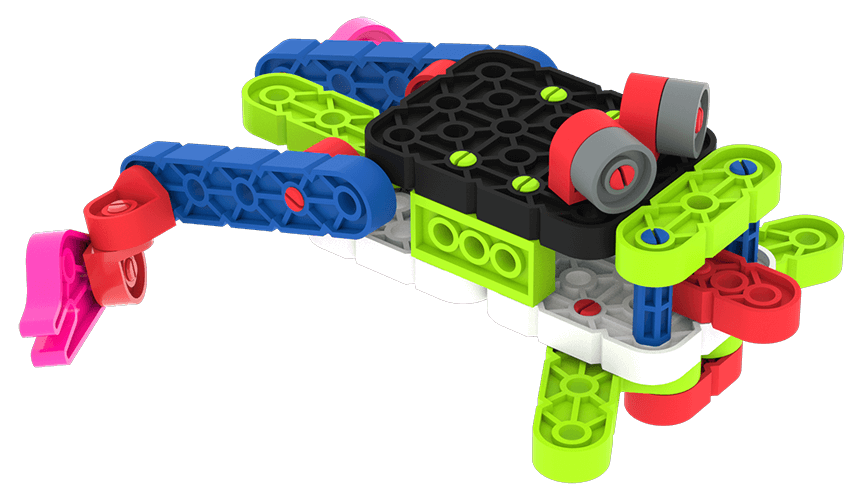
Froglet Build - Then, demonstrate how to place the model into the habitat, without disrupting the new additions, to photograph it.
- The photo can include these new elements.
- Lastly, share a sample Field Journal page.
- Facilitation Note: each group should continue using the materials gathered in the first lab, and the teacher can distribute Field Journal pages and facilitate the camera usage as groups finish their models.
- FacilitateFacilitate conversations about spatial reasoning during the Build.

Discuss How the Frog has Changed - What is different about adapting your Build than building a new model?
- Can you explain how the legs have changed from your previous Build?
- Can you explain what the images in the Build Instructions are telling you to do?
- RemindRemind groups to be patient and persistent as they problem solve any issues within the Build. Encourage students to ask each other for explanations or clarity on steps, or use the 3D Build Instructions to see the steps in a new way.
- AskAsk students to share how the use of Build Instructions helped them to see the directions more clearly. Ask about what creative successes and challenges they had in writing their Field Journals - what will they improve or change for the next phase of their frogs?
Mid-Play Break & Group Discussion
As soon as every group has accomplished their Field Journal page for the tadpole, come together for a brief conversation.
- Build Related:
- Is it easier or more challenging for you to adapt your build, instead of creating a new one from scratch? Why do you think that is?
- Field Journal Related:
- How did your group describe the froglet in your journal?
Part 2 - Step by Step
- InstructInstruct each group that they are to switch Roles from Part 1.
They are going to follow the same steps they did in Part 1, but this time, they will be adapting their froglet to become a full adult frog!
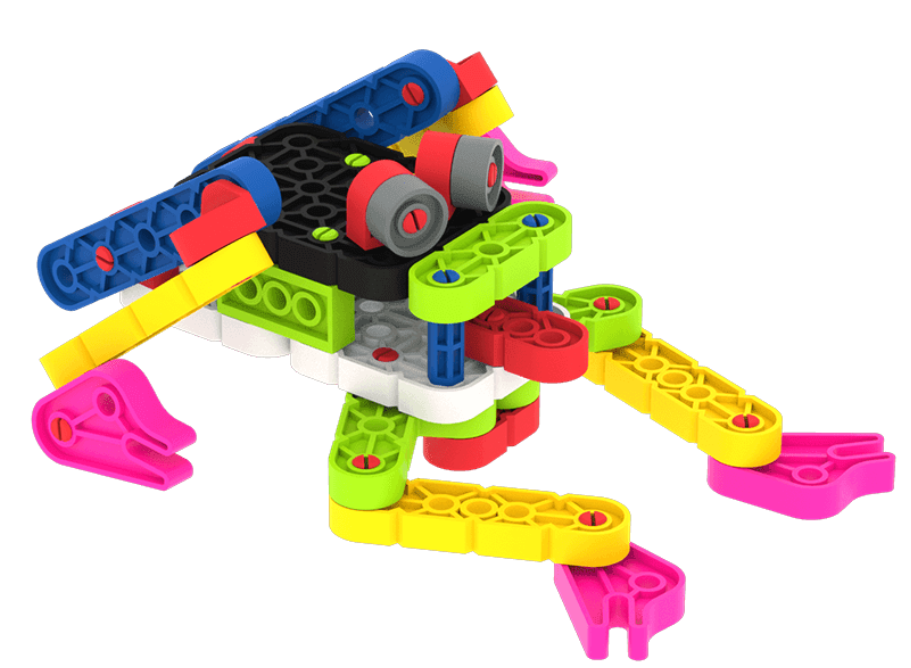
Adult Frog Build - First, they will complete the adult frog Build.
- Next they will photograph it in the habitat.
- Then, they will write the final description in their Field Journal.
- ModelModel by displaying an image of the completed adult frog Build, or sharing a pre-built model.
Adult Frog Build - Remind students of strategies for getting a good Field Journal photograph, and offer samples of the completed Field Journal.
- Answer any questions students may have about the process and the goals.
- FacilitateFacilitate questions about the adult frog’s’ interactions within the environment as students work.

Discuss How a Frog Interacts with its Environment - Why do you think the frog’s legs continue to change as it grows?
- How can the frog move differently than it could before?
- Do you think the adult frog is surprised at how well it can still swim?
- RemindRemind groups to be patient and persistent as they problem solve any issues within the Build. Encourage students to ask each other for explanations or clarity on steps, or use the 3D Build Instructions to see the steps in a new way.
- AskAsk students to share what went well in their Build, photo, writing process and what they could improve for the next time.