
Engage
Launch the Engage Section
ACTS is what the teacher will do and ASKS is how the teacher will facilitate.
| ACTS | ASKS |
|---|---|
|
|
Getting the Students Ready to Build
Let’s make sure we have everything ready to code our robots to travel the parade route successfully.
- If students do not have a Code Base 2.0 from the previous Lab, allow 10 - 15 minutes for students to build it prior to the Lab activities.
Facilitate the Build
-
InstructInstruct
students that they are going to work together to code their robot to drive the exact length of the parade route, and that you are going to spend a few minutes getting set up to do so. Place five attached tiles in a central location, allowing students to see the parade route. Measure the distance and ensure that students know the length of parade route (48 inches / 122 cm). View the animation below to see how the Code Base robot should correctly travel the parade route. In the animation the Code Base drives straight across the five tiles, and when it reaches the end a line appears to indicate the total distance it has traveled.
Video file
-
DistributeDistribute
one pre-built Code Base 2.0 and a computer or tablet to each group, along with a Blue Standoff, a measuring device such as a ruler or a Printable VEX GO ruler, paper, and a pencil. Students should be able to see the materials and workspace clearly.
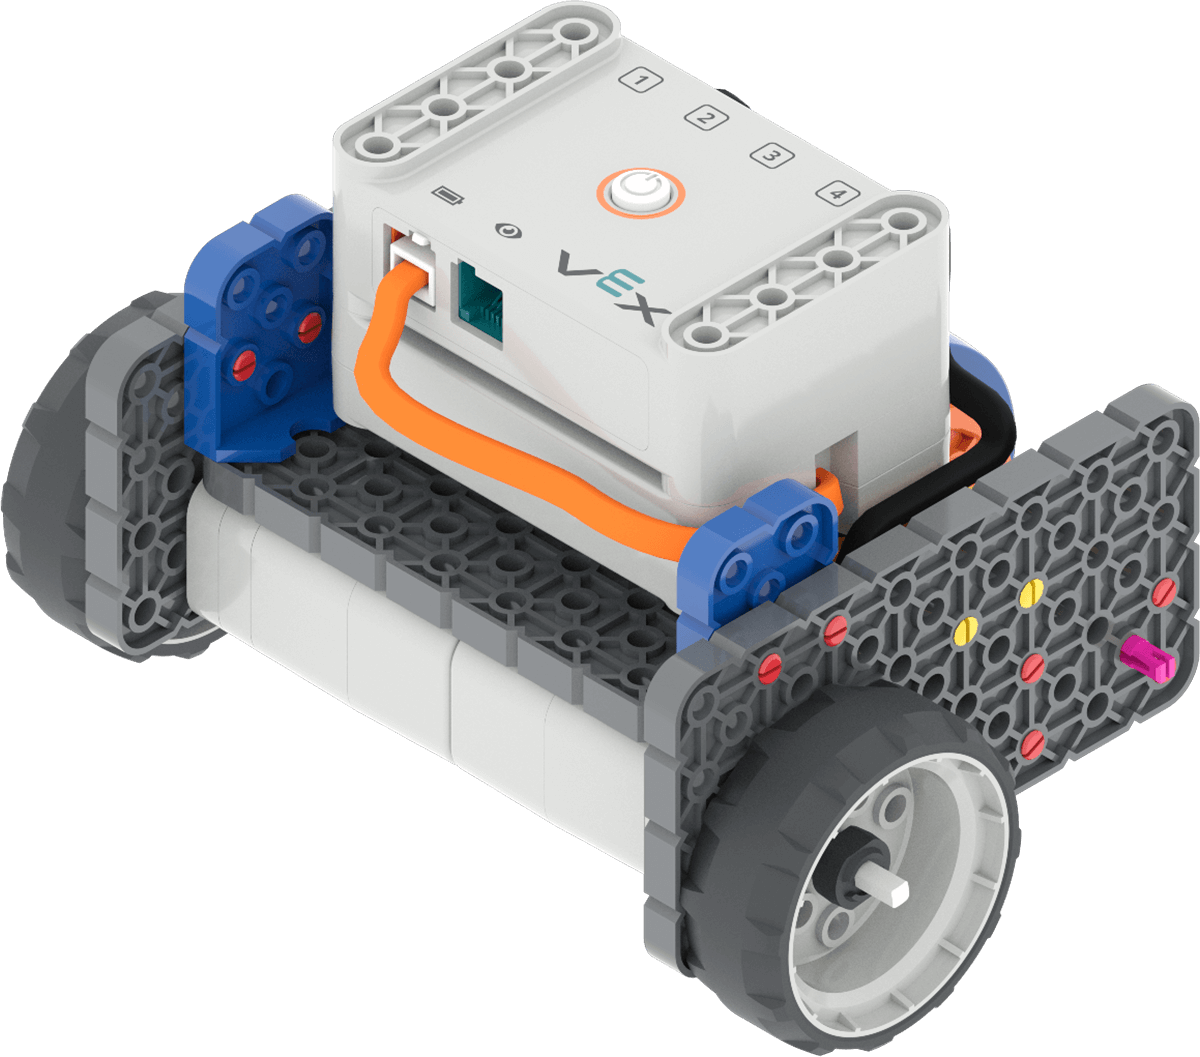
Code Base 2.0 - FacilitateFacilitate students' getting ready to measure the distance of one wheel turn by demonstrating how to remove one Gray Wheel from the Code Base robot and placing a Blue Standoff in the wheel as shown in this image.
-
OfferOffer
students the opportunity to ask any questions they may have.

Setup for measuring distance of wheel turn

Teacher Troubleshooting
- Check Your Ports - Remind students to check to make sure that their right motor is plugged into port 1, and their left motor is plugged into port 4.
- Connect - all GO Brains to the VEX Classroom App before beginning the Lab to help facilitate the use of VEX GO in your classroom.
- Check your Batteries - Use the VEX Classroom App or the indicator lights to check the status of the GO Batteries, and charge if necessary before the Lab.
- Troubleshoot Connecting - If students are having trouble connecting their Code Base to their computer or tablet in Play Part 2, view the Connect to VEXcode GO articles, to see details on how to connect the Code Base to the device being used.
Facilitation Strategies
- Think about how your students will access VEXcode GO in Play Part 2. Ensure that the computers or tablets that students will use have access to VEXcode GO. For more information about setting up VEXcode GO, see this article.
- Gather the materials each group needs before class. For this Lab, each group of two students will need a GO Kit, Build instructions, a computer or tablet to access VEXcode GO, access to a parade route to test their coding projects, a pencil, paper, a blue standoff and a ruler, such as the VEX GO Printable Ruler.
- Set up your Parade Route ahead of time, as shown in the image below. The parade route can be made with 5 GO Tiles. The red lines in the image below show the start and finish lines for a 48 in (122 cm) parade route. You may want to have multiple parade routes set up around the room for students to test their project in Play Part 2, so multiple groups can test at the same time.
