
Play
Part 1 - Step by Step
- InstructInstruct students that they are going to test their Code Super Car, with the goal of getting it to drive forward.
Test the Code Super Car - ModelModel for students the steps to using VEXcode GO to drive their Code Super Car forward.
-
First, show students the steps to create a new project, using the Opening and Saving VEX Library section as a guide. Have students save their project as Drive.

Name Project -
Students will then need to connect their GO Brain to their device.

Brain Connected
Note: When you first connect your Code Super Car to your device, the Gyro built into the Brain may calibrate, causing the Code Super Car to move on its own for a moment. This is an expected behavior, do not touch the Code Super Car while it's calibrating.
-
After students have connected their Code Super Car, model the steps in the Configure a VEX GO Super Car article to configure VEXcode GO for the Super Car.
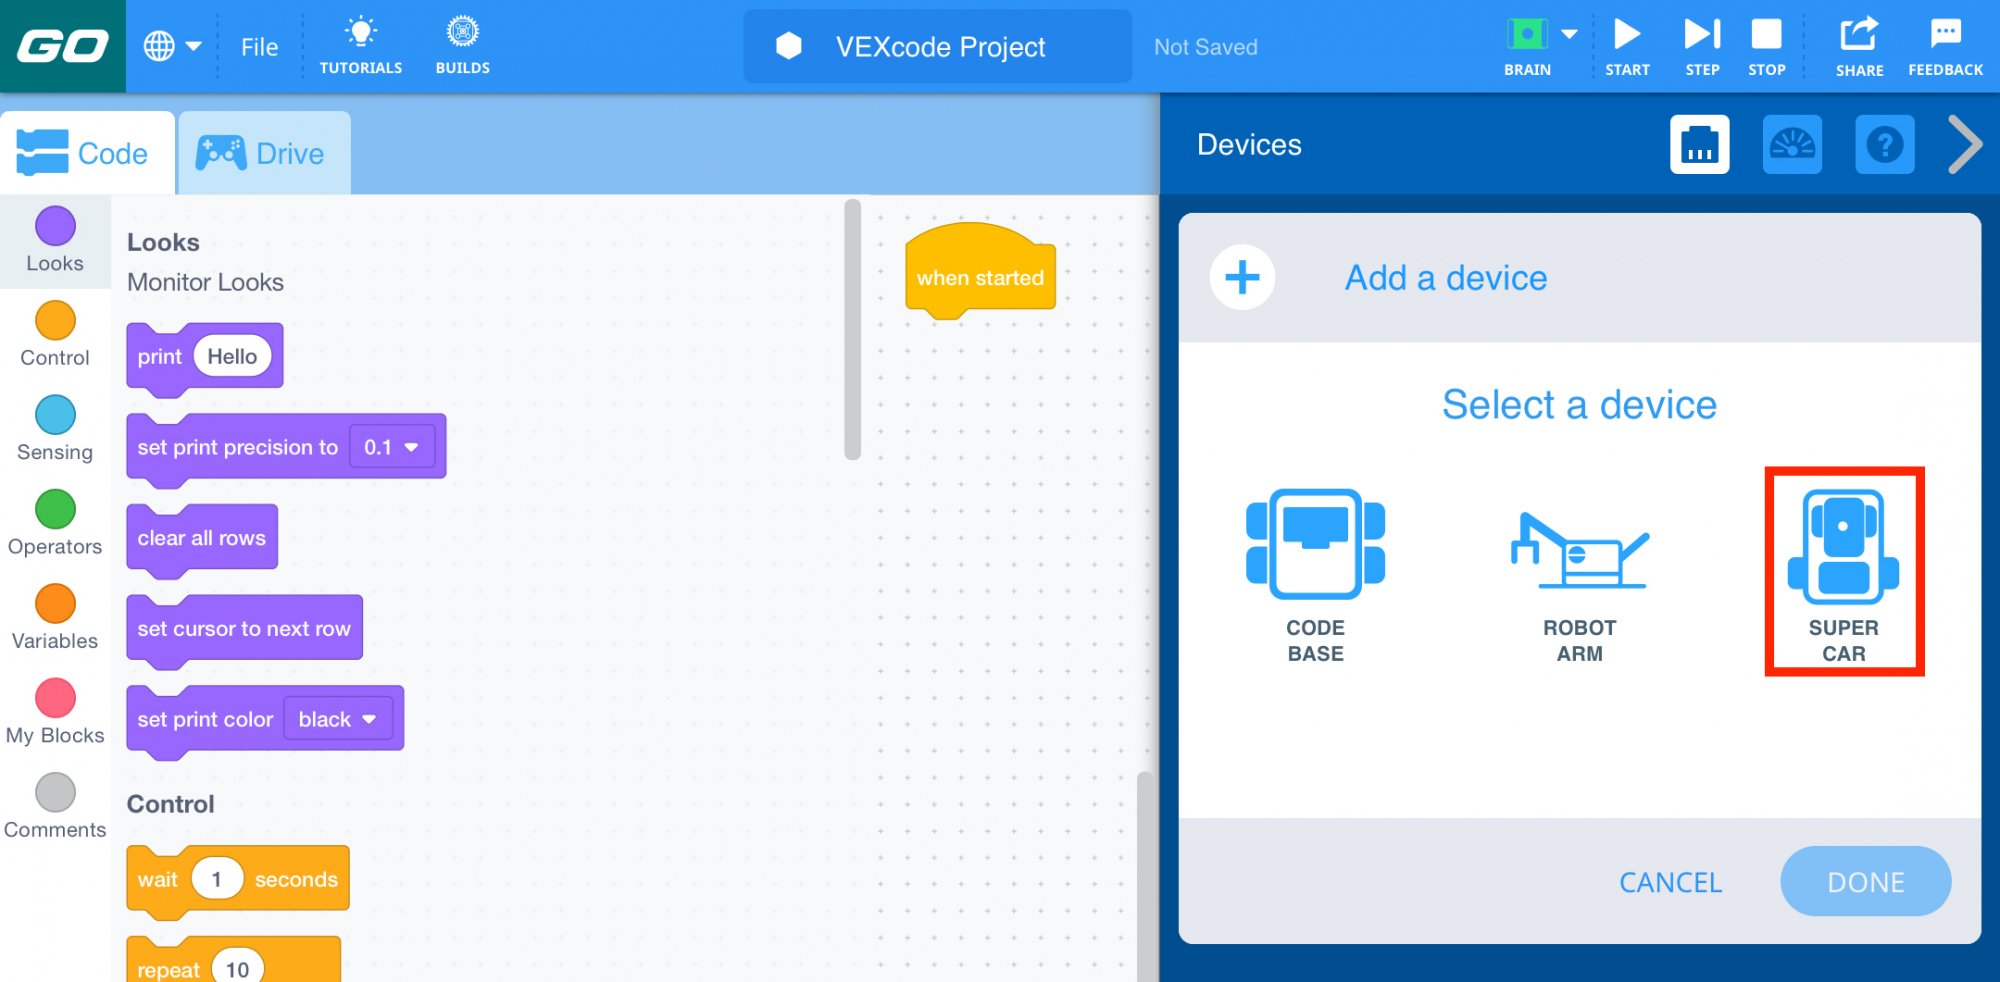
Super Car Configuration -
Show students how to add a block to the Workspace and attach it to the {When started} hat block. Have students follow along with you as you drag a [Drive for] block into your project, or display the project using the Lab 5 Image Slideshow.
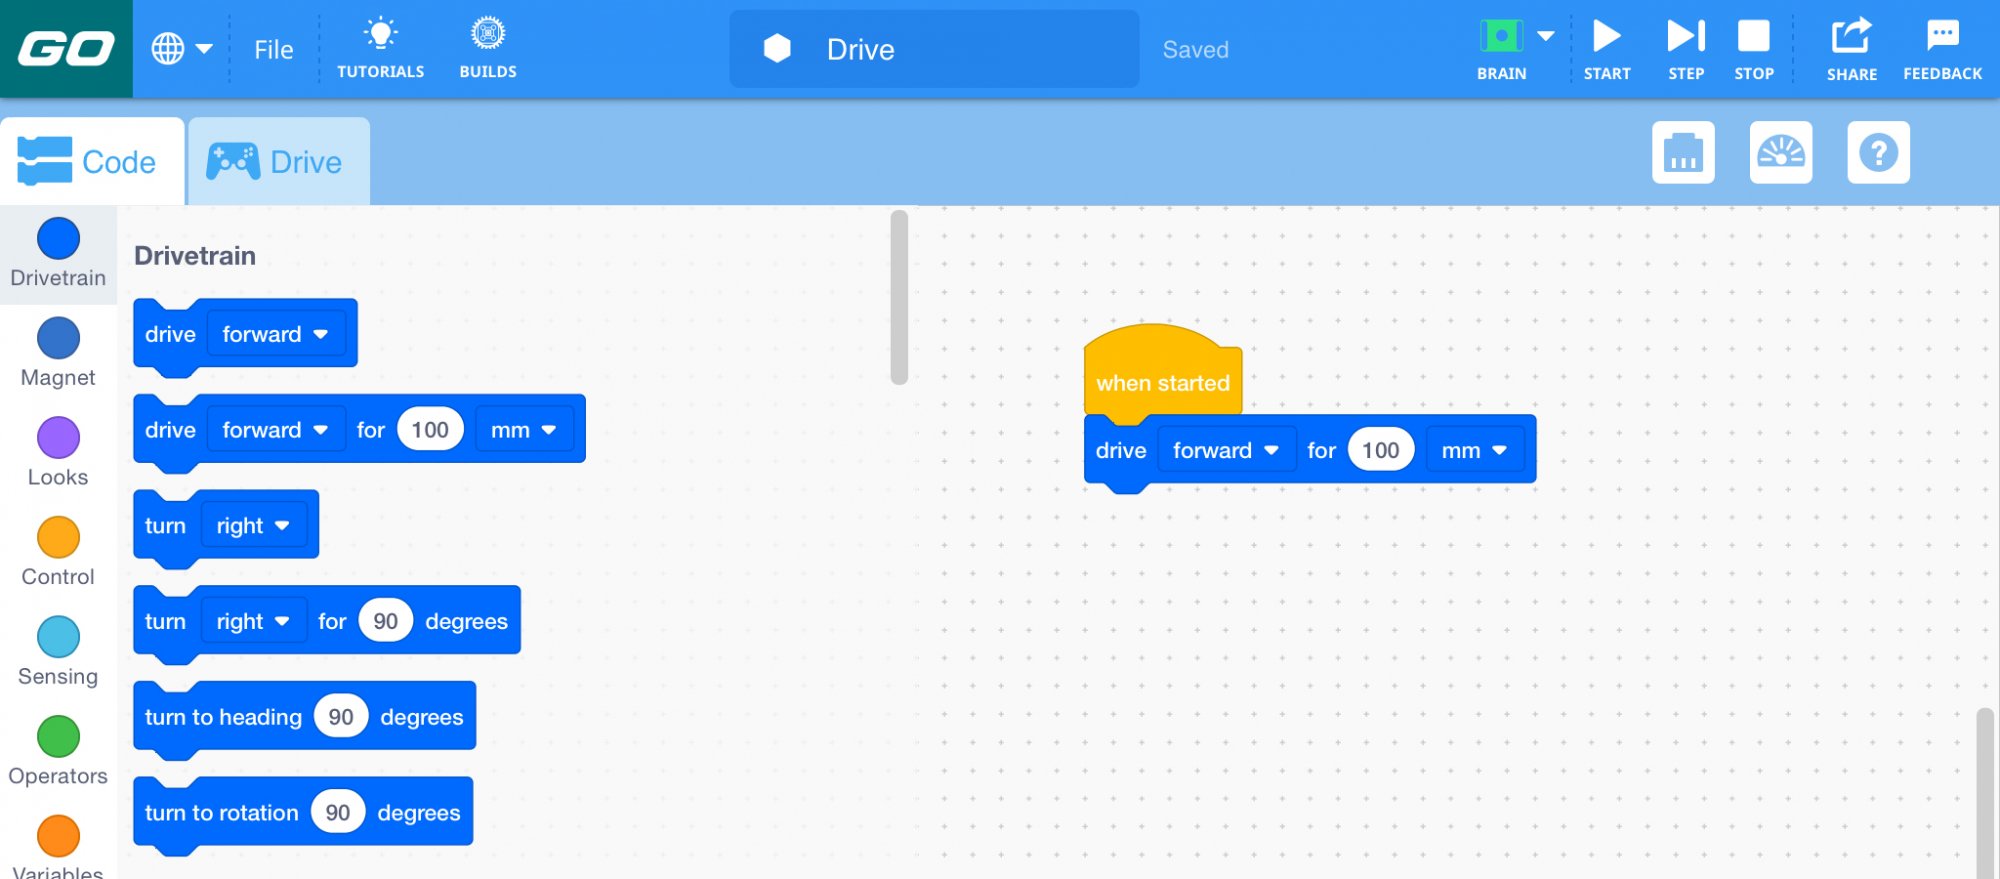
Drag a [Drive for] block into the project -
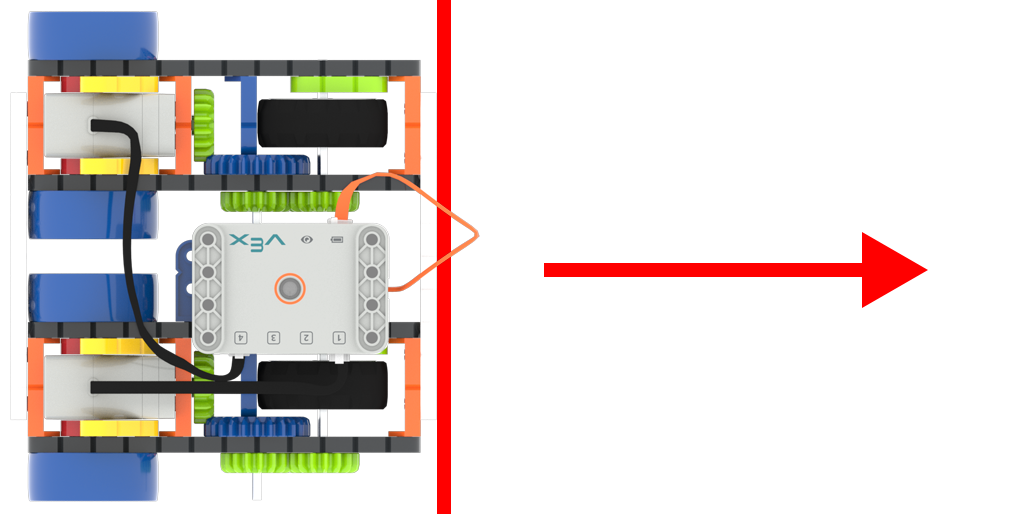
Show students how to select the ‘Start’ button to start the project and have the Code Super Car drive forward.
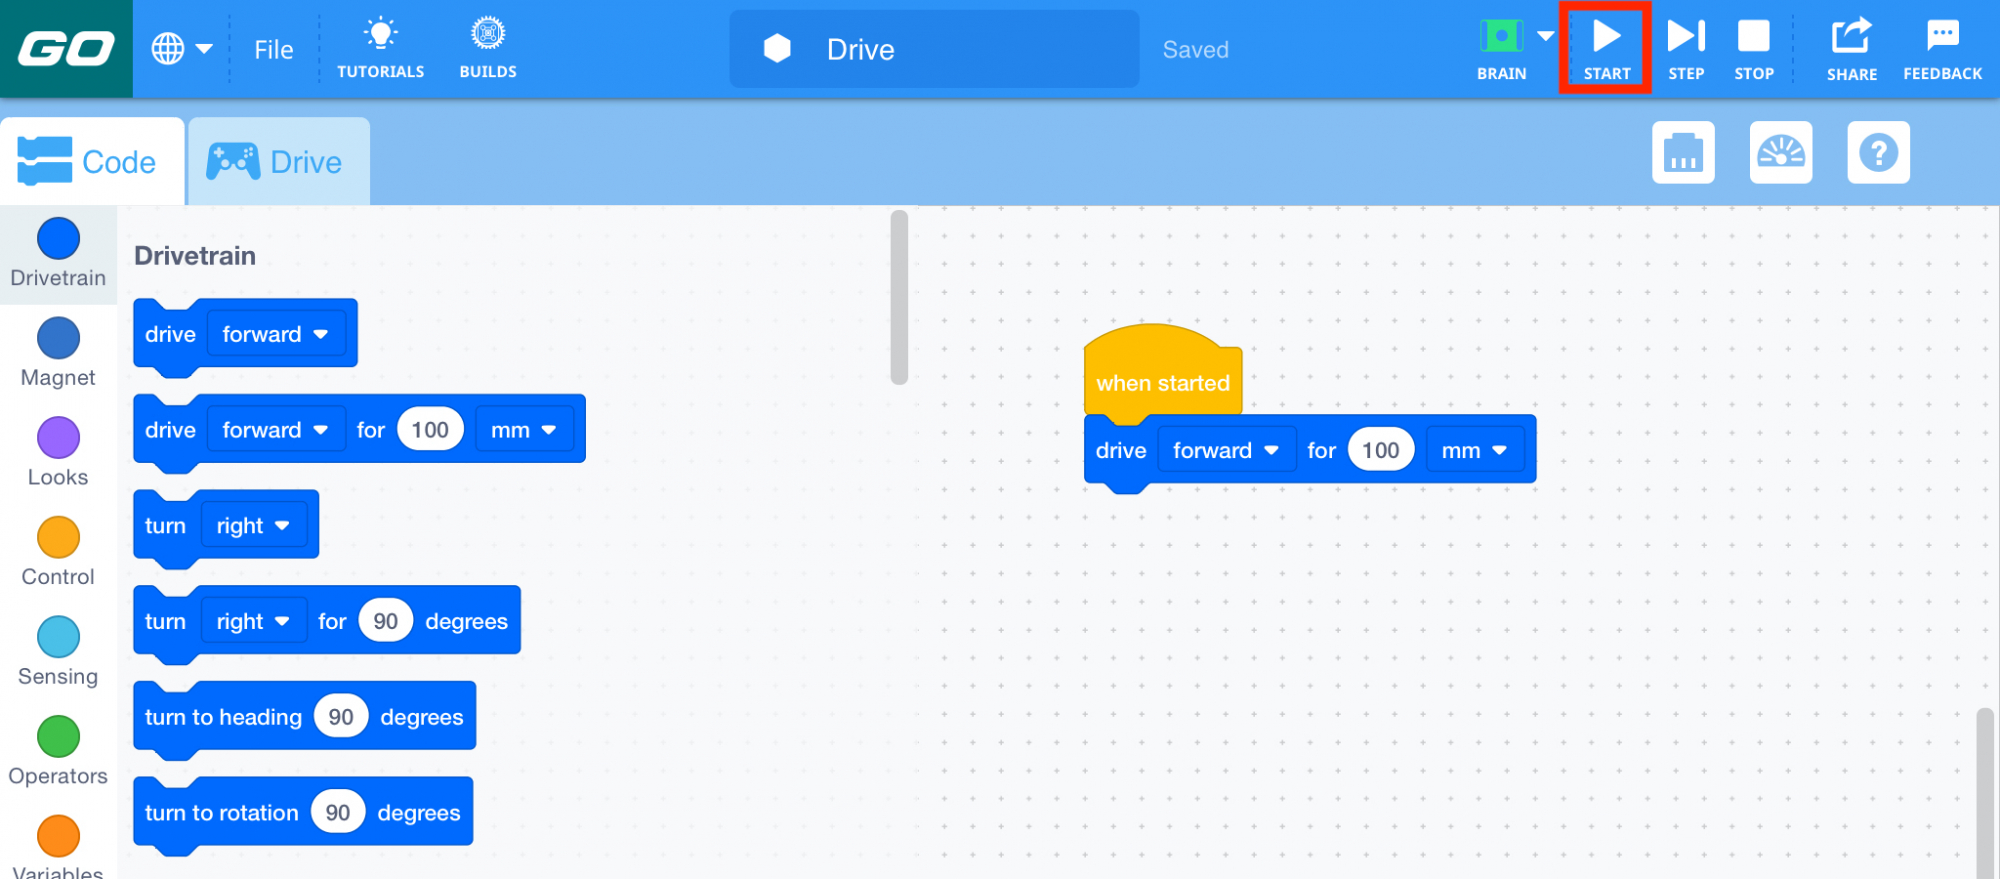
Select the Start button -
Let students know that they will need to select ‘Stop’ in the Toolbar when the Code Super Car has completed the project.

Stop Project
-
- FacilitateFacilitate conversations about using VEXcode GO with the Code Super Car as students test their projects.
Ask questions to encourage them to think about the motion of the car in relation to the code, like:
- What do you think would happen if you changed the distance in the [Drive for] block?
- Do you think the Code Super Car could go faster or slower? How could you tell it to do that?
- What force is acting on the Code Super Car to make it drive forward?
- RemindRemind students that it might take them a few tries to get their Code Super Car working correctly.
Reference the VEX Library articles and follow the steps again if needed to help students troubleshoot. Positively reinforce student driven troubleshooting during this process, and highlight it to the class.
- AskAsk students about the forces acting on the Code Super Car to make it drive. How would the forces change if the direction the car was driving changed? What about the speed of the car?
Mid-Play Break & Group Discussion
As soon as every group has successfully created and started a project to make their Code Super Car drive forward, come together for a brief conversation.
- Students will discuss how balanced and unbalanced forces affect velocity.
- Unbalanced forces change the speed and direction of the motion of an object.
- Students will hypothesize about how to change the velocity on their Code Super Car using VEXcode GO, and how it can be used to change the time it takes for the car to travel a certain distance.
- Imagine I want my car to go twice as far in the same time. What would I need to change in my project?
- Why might we want to change the velocity of our Code Super Car?
- What kinds of predictions could we make about the movement of our car if we know about its velocity?
Part 2 - Step by Step
- InstructInstruct groups that they will be testing changing the velocity of their Code Super Car.
- Students will create a project where the Code Super Car drives for three seconds at 25%, 50%, 75%, and 100% velocity.
- For the trials, students will need to place their cars on the start line and then mark where it stops after it has moved forward. Have them use pieces of tape to mark the starting point for their trials.
- They will then use another piece of tape to mark where the car stops. Ensure that the starting position does not change during each of the four trials.
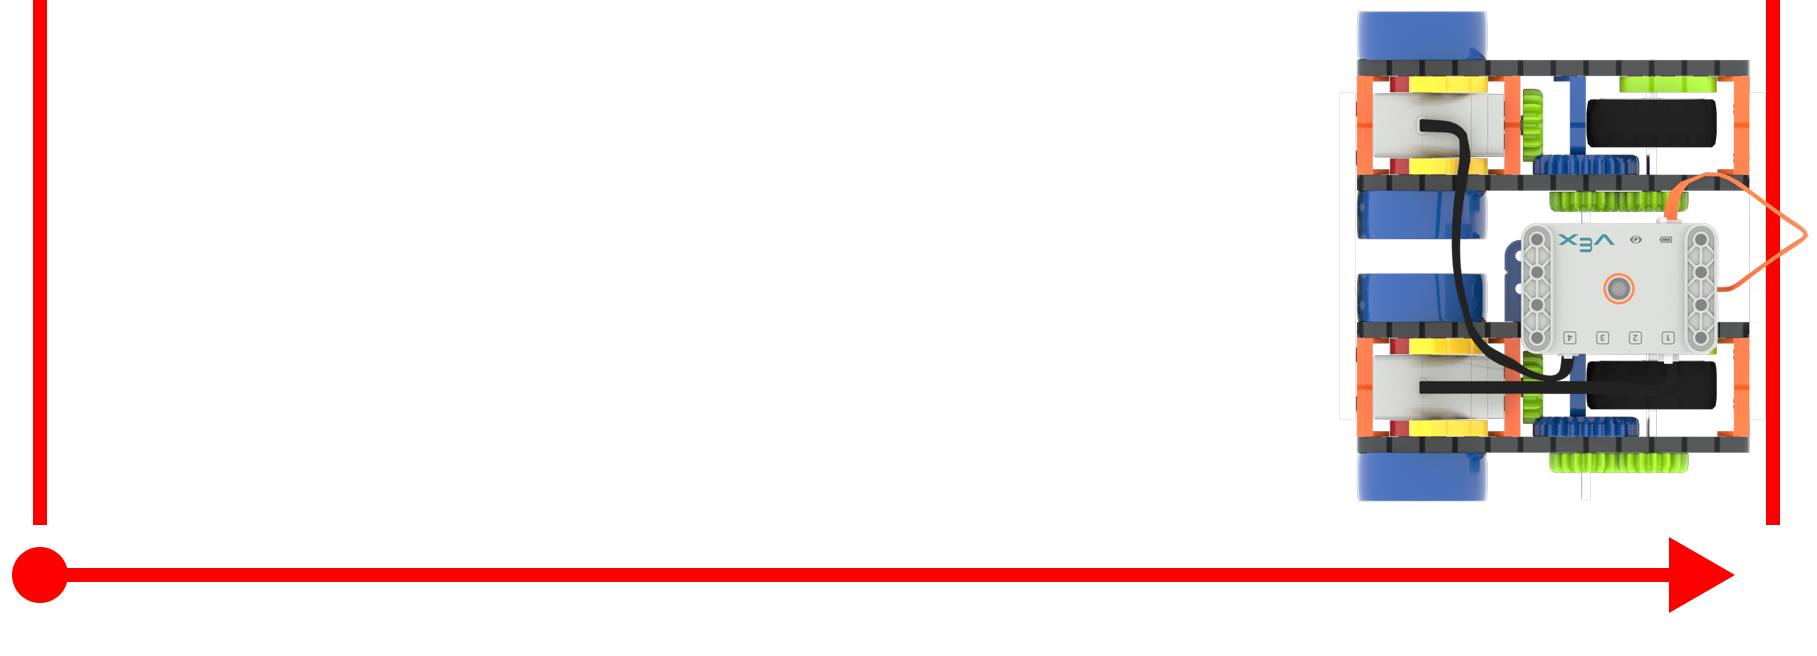
Watch the animation below to see how velocity can affect the distance driven over time, with a faster velocity traveling farther in the same amount of time. In this animation, the Code Super Car will run four times, first at 25% velocity for the shortest distance, then at 50%, 75%, and 100% velocity - traveling further each time.
Measure the distance traveled - ModelModel for students the steps to create a project that drives the Code Super Car for three seconds at 25%, 50%, 75%, and 100% velocity.
- Show students how to remove the [Drive for] block from their current project, by dragging it to the Toolbox. (Use the Deleting Blocks in VEXcode GO VEX Library article as a guide if students need additional help with this step.)
-
Have students follow along as you build the project to test velocity. Students can follow along with you, or build the project from the image in the Lab 5 Slideshow.

Drive Project to test velocity -
Change the value (parameter) in the [Set drive velocity] block to 25%.
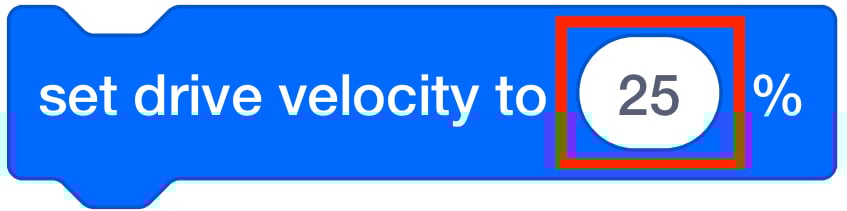
Set Drive Velocity Value -
Demonstrate how to place the car at the starting line and Start the project, as you did in Play Part 1.

Test the Code Super Car -
Remind students that they will need to select ‘Stop’ in the Toolbar when the Code Super Car has completed the project.
Stop Project -
Mark where the front of the car stops using tape. Then, Measure and record the distance on the Data Collection Sheet. Emphasize to students that it is important to mark the place where the car has stopped before measuring.
Measure the distance traveled - Have students change the velocity to 50% in their project and run a second trial. Remind them to add their measurements to the Data Collection Sheet.
- Groups should continue changing the velocity and running trials until they have recorded the distance that the Code Super Car has travelled for three seconds at 25%, 50%, 75% and 100% velocity.
- Show students how to use the Help Feature if they have questions about how to set the drive velocity.
- FacilitateFacilitate a conversation with students about their projects as you circle the room. Ask them some of the following questions to spark a discussion.
- What patterns do you see in the data that you are collecting?
- How would you change your project if you wanted to make the Code Super Car drive more slowly?
- What predictions could you make about the movement of the Code Super Car and velocity based on your observations? What could you predict about the car’s movement if you only knew its velocity? What if you knew the time it took to travel a certain distance?
- RemindRemind students that not every attempt will run properly. Trial and error is expected.
- AskAsk students how velocity affects the distance traveled in a specific amount of time.
- How is velocity used in everyday life?
- Do higher velocities lead to more or less force?
- How do they know based on their trial runs?