Engage
Launch the Engage Section
ACTS is what the teacher will do and ASKS is how the teacher will facilitate.
| ACTS | ASKS |
|---|---|
|
|
Getting the Students Ready to Build
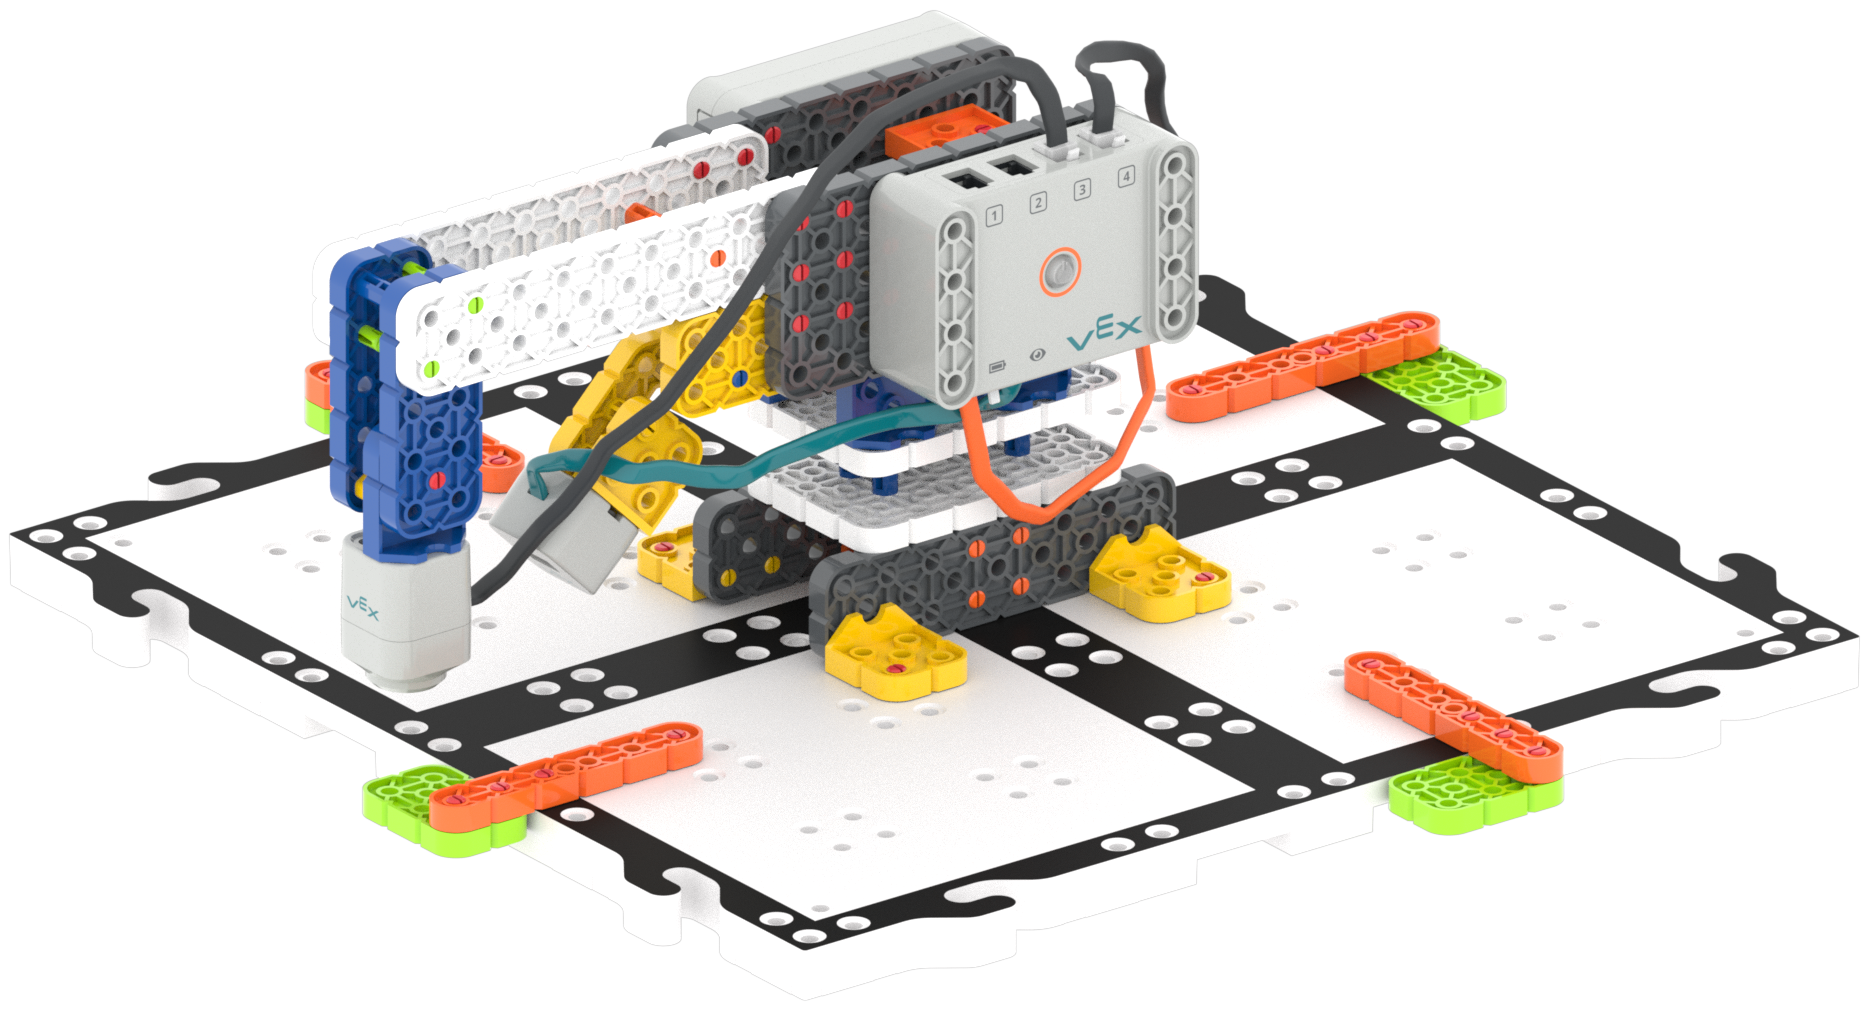
In order to use coding to control the Robot Arm, we will have to add a brain and change our build. We’re going to build the Robot Arm (1-Axis) to help us explore this more.
Facilitate the Build
-
InstructInstruct
students that they are going to build the Code Robot Arm (1-Axis) today.
- Instruct students to join their groups from the previous Lab, and have them complete the Robotics Roles & Routines sheet. Use the Suggested Role Responsibilities slide in the Lab Image Slideshow as a guide for students to complete this sheet.
- Remind students that they will be sharing roles, so they should distribute responsibilities again, and use what they learned in Lab 2 to make this successful.
-
DistributeDistribute
build instructions to each team. Journalists should gather the materials on the checklist.

Code Robot Arm 1-Axis Build -
FacilitateFacilitate
the building process.
- Builders can begin building.
- Journalists should assist with build instructions as needed.
- Ask students questions to prompt their thinking about the connections between coding and hardware.
- Can you explain the order of events to get the Robot Arm to move with coding? (VEXcode GO → Brain → Motor, etc.)
- How do you think the Robot Arm will move with the motor in that location?
- OfferOffer suggestions and note positive team building and problem solving strategies as groups build together.

Teacher Troubleshooting
- Look closely! - The build instructions have an eye icon in areas where students can easily get tripped up. This tells students to look closely at the instructions. When students see an eye icon, encourage every member of the team to check that the piece was put together correctly.
- Update Your Firmware and Check Your Batteries - Prior to the start of the Lab, it can be helpful to check your Brains for the most up to date firmware using the Classroom App, as well as your GO Batteries, to make sure that these components are ready to go. Plug in your batteries in to charge overnight, or first thing in the morning, to make sure they are ready for use in the Lab.
- Robot Arm turns are not going to be 100% accurate - The arm will put the disk in the wrong spot sometimes. The base will not spin exactly 90 or 180 degrees. Just like humans are not correct 100% of the time, the builds are not going to be correct 100% of the time. This can be a teachable moment. An investigation or discussion on how students might improve the Robot Arm could be a great extension activity!
Facilitation Strategies
- Deconstruct Previous Builds to Work in Smaller Groups - If you would like to return to the smaller groupings for the rest of this Robot Arm Unit, you can. Deconstruct all Motorized Robot Arm builds from previous labs, and have each group build the Robot Arm (1-Axis) on its own for this Lab. This build can be adapted to the Robot Arm (2-Axis), which will be used in Labs 4 and 5.
- Specify Roles within Builder and Journalist - If you choose to keep the same groups as Lab 2, there will be more students in each group. Since there will be multiple students in each role, help students share their responsibilities in a tangible way. Use the Suggested Role Responsibilities slide in the Lab 3 Image Slideshow as a guide, have students take turns within each role.
- Note: In Play Part 2, students will disconnect a stack of blocks and move them to the side while they iterate on their project. Let students know that this stack will not run because is it not attached to the stack connected to the {When started} block.