Engage
Launch the Engage Section
ACTS is what the teacher will do and ASKS is how the teacher will facilitate.
| ACTS | ASKS |
|---|---|
|
|
Getting the Students Ready to Build
What will happen if we remove the wheels?
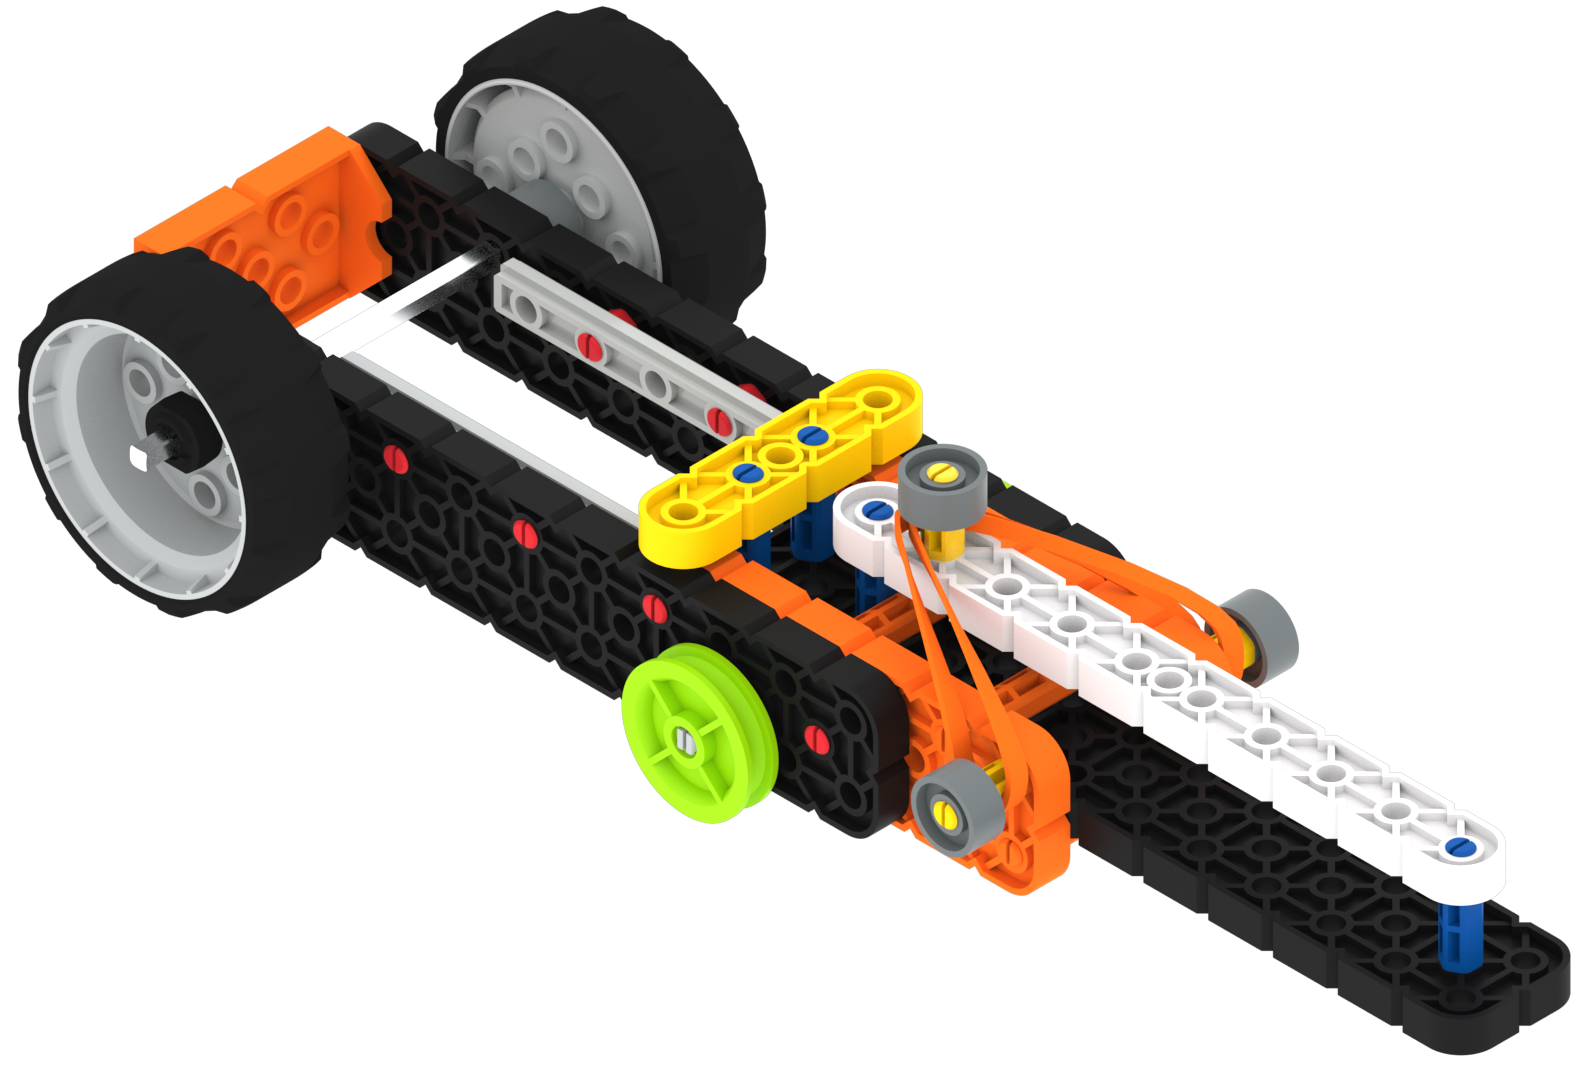
In science, we plan and carry out investigations to answer questions or test solutions to problems. We are going to build a Spring Car to see how simple machines, like the wheel and axle, make work easier.
Facilitate the Build
- InstructInstruct students to join their team, and have them complete the Robotics Roles & Routines sheet. Use the Suggested Role Responsibilities slide in the Lab Image Slideshow as a guide for students to complete this sheet.
- DistributeDistribute build instructions to each team. Journalists should gather the materials on the checklist.
-
FacilitateFacilitate
building process.

Spring Car with Wheel and Axle - Builders can begin building. If there are multiple builders, they should alternate steps to complete the build.
- Journalists should assist with build instructions as needed and document all Lab results.
-
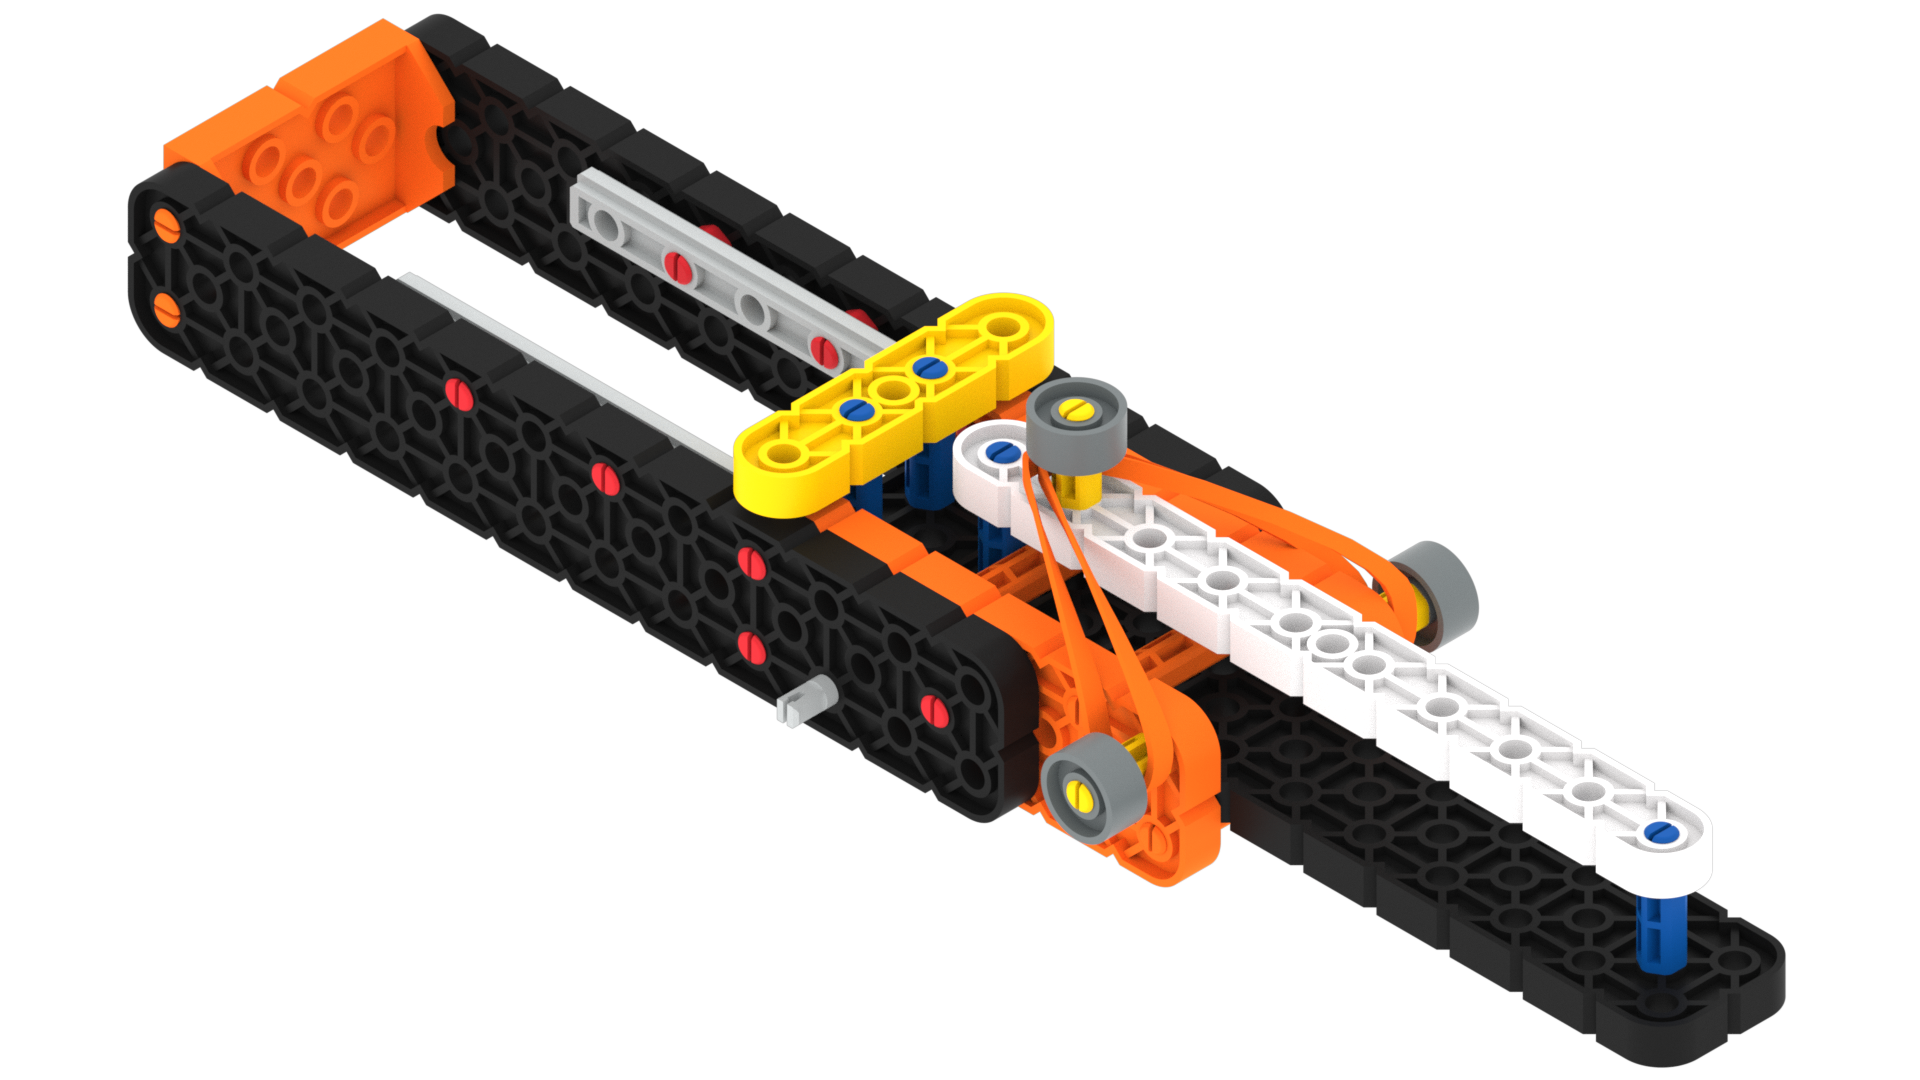
Remind students that they are removing the wheel and axle for the first experiment. They should build the entire Spring Car first and then remove the wheel and axle. They will add the wheel and axle back to the build in the second round of test trials. Also, remind students to place the Spring Car against a wall or hard surface for the trials.

Spring Car without Wheel and Axle
- Model for students how to take off the wheels and axle. Note: the Green Pulleys will also need to be removed. The Green Pulleys will act as wheels and propel the Spring Car in this lab if they are not taken off. For more information on wheels and pulleys, see the Pieces of the VEX GO Kit VEX Library article. Watch the animation below to see how the wheels and axle can be removed from the Spring Car.
Video file - OfferOffer suggestions and note positive team building and problem solving strategies as teams build together

Teacher Troubleshooting
- If students are having trouble with the pins, offer the Pin Tool as support.
Facilitation Strategies
- Encourage students to use descriptive, spatial language when talking about how to assemble the build. Model this for students whenever possible: “Are you saying that the blue beam sits inside the two white beams?”
- Scaffold the build process while students are building by holding up examples of student “builds in progress,” calling attention to proper orientation of the parts of the car.
- Clarify with the students that “wheel and axle” is the name of the simple machine that they are testing. It refers to both wheels attached to the axle in the Spring Car build.
- If time allows, see which group's car can travel the farthest distance now that the wheels are attached.
- Use the Get Ready...Get VEX...GO! PDF Book and Teacher’s Guide - If students are new to VEX GO, read the PDF book and use the prompts in the Teacher’s Guide (Google / .pptx / .pdf) to facilitate an introduction to building and using VEX GO before beginning the Lab activities. Students can join their groups and gather their VEX GO Kits, and follow along with the building activity within the book as you read.
- Use the Teacher’s Guide to facilitate student engagement. To focus on VEX GO connections in a more concrete or tangible way, use the Share, Show, or Find prompts on each page to give students an opportunity to get to know their kits in more depth.
- To focus on the habits of mind that support building and learning with VEX GO, like persistence, patience, and teamwork, use the Think prompts on each page to engage students in conversations about mindset and strategies to support successful group work and creative thinking.
- To learn more about using the PDF book and accompanying Teacher’s Guide as a teaching tool any time you are using VEX GO in your classroom, see this VEX Library article.