
Play
Part 1 - Step by Step
- InstructInstruct each group that they will design and build a Mars Buggy for their Astronaut using the new pieces introduced from the kit (wheels and axles). Students will document trial runs to test if their buggy moves or not using wheels and axles.
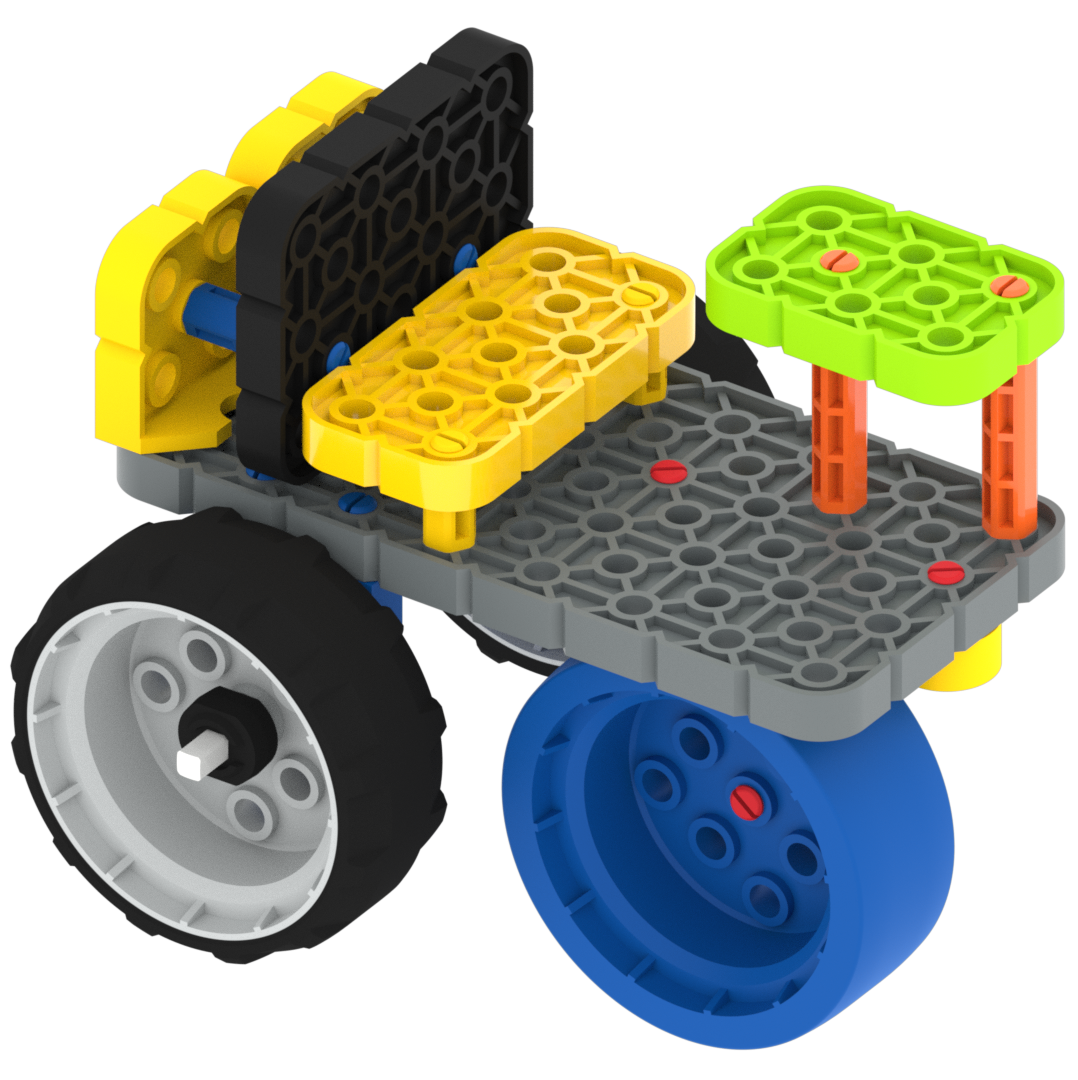
Example Buggy 
Bottom of Example Buggy - ModelModel how students to use their Date Collection Sheet to keep track of the design sketches and the different trials for testing the movement of the wheels. Encourage students to draw images if they struggle to write effectively.
- Model for students how to record all their trials in the Data Collection Sheet.
- Their designs can be sketched in any of the blank space and they should also keep track of how the materials affect the wheel’s ability to spin.
- Encourage students to draw images if they struggle to write effectively.
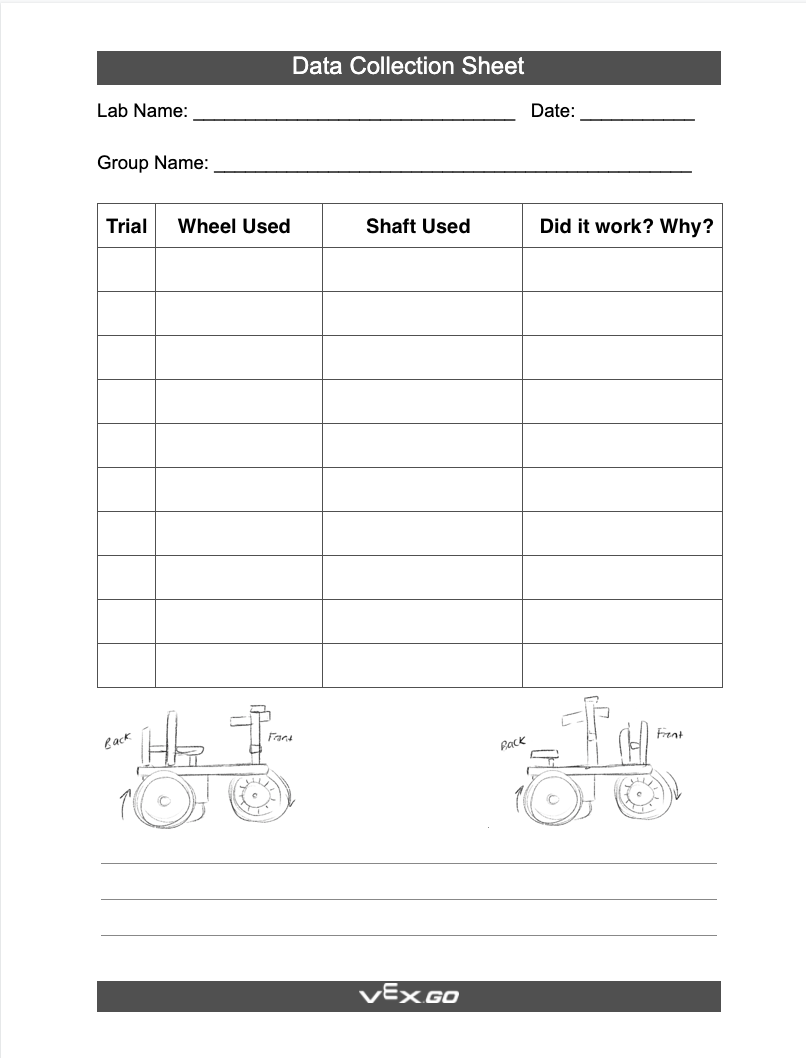
Model Using a Data Collection Sheet - Model for students how to record all their trials in the Data Collection Sheet.
- FacilitateFacilitate the building by walking around the room and asking groups about their ideas or their processes in testing the various materials.
Encourage a discussion by asking the following questions:
-
What pieces did you use so far in your build?
-
Why did you choose those pieces?
-
How did you get your wheels to move?
-
- RemindRemind groups to keep trying and documenting their trials on their Data Collection Sheet.
- Building can easily get frustrating, but they can keep going back and trying again to best incorporate the wheels and axles.
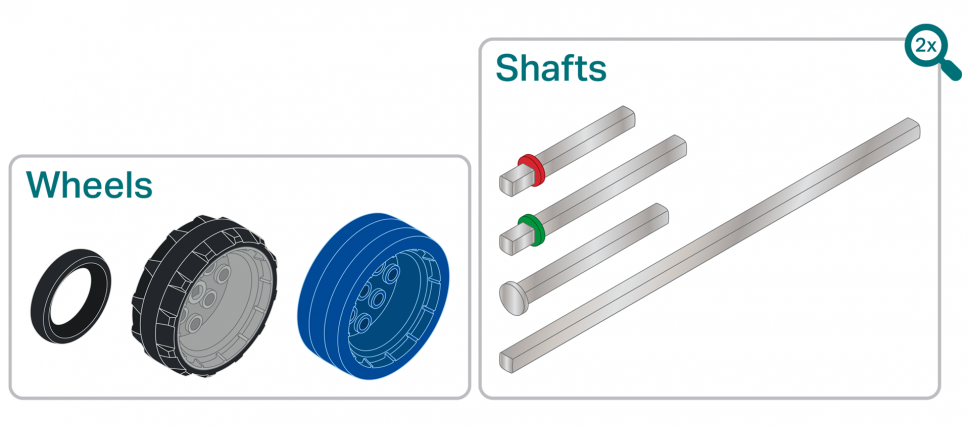
- Remind students that axles are called 'Shafts' in the VEX GO Kit.
- AskAsk students how they have changed their build between each trial. What went well, and what did not?
- How did students solve the problems that they faced when building and designing?
Optional: If students are unable to answer a question in the moment, encourage them to use their Data Collection Sheet to keep track of questions to ask at the Mid-Play Break.
Mid-Play Break & Group Discussion
As soon as every group has built a Mars buggy with functioning wheels and axles, come together for a brief conversation.
- What did you find most difficult when adding or removing wheels and axles from your Buggy?
- Ask students to explain the positions of their wheels and axles using spatial language.
- Where on your buggy did the wheels go? Under? On top? Inside? Outside?
- Which kind of wheel did your team use? Why?
- Are your wheels centered on the buggy? Or are they towards the front, back, sides?
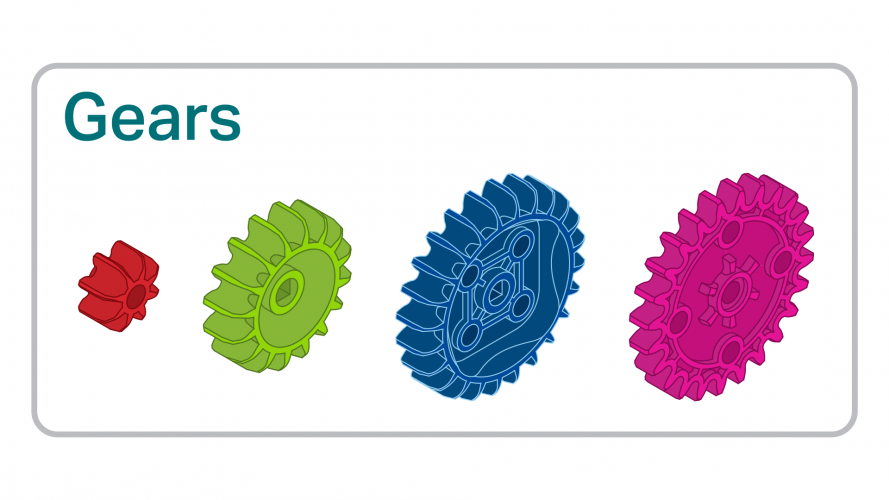
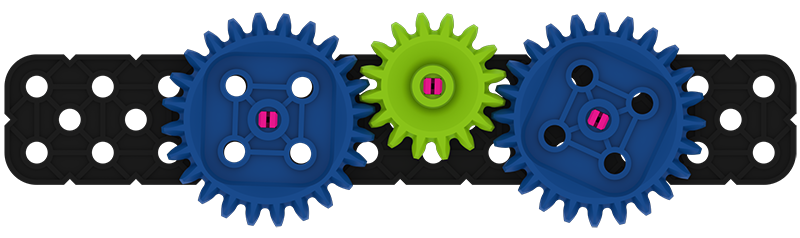
This Mid-Play Break will also be used to introduce gears and their functions. Watch the animation below to see two gears rotating together in opposite directions.
Video file
| ACTS | ASKS |
|---|---|
|
|
Part 2 - Step by Step
- InstructInstruct each group that they will now add at least two gears to their buggy build.
- ModelModel construction methods with gears using the demo from the Mid-Play Break. Show students how the pieces can be connected or removed.
Gear Demo Build - FacilitateFacilitate the addition of the gears by circling the room and helping groups troubleshoot the addition of the gears. Make sure all gears are stable just like the wheels needed to be stable.
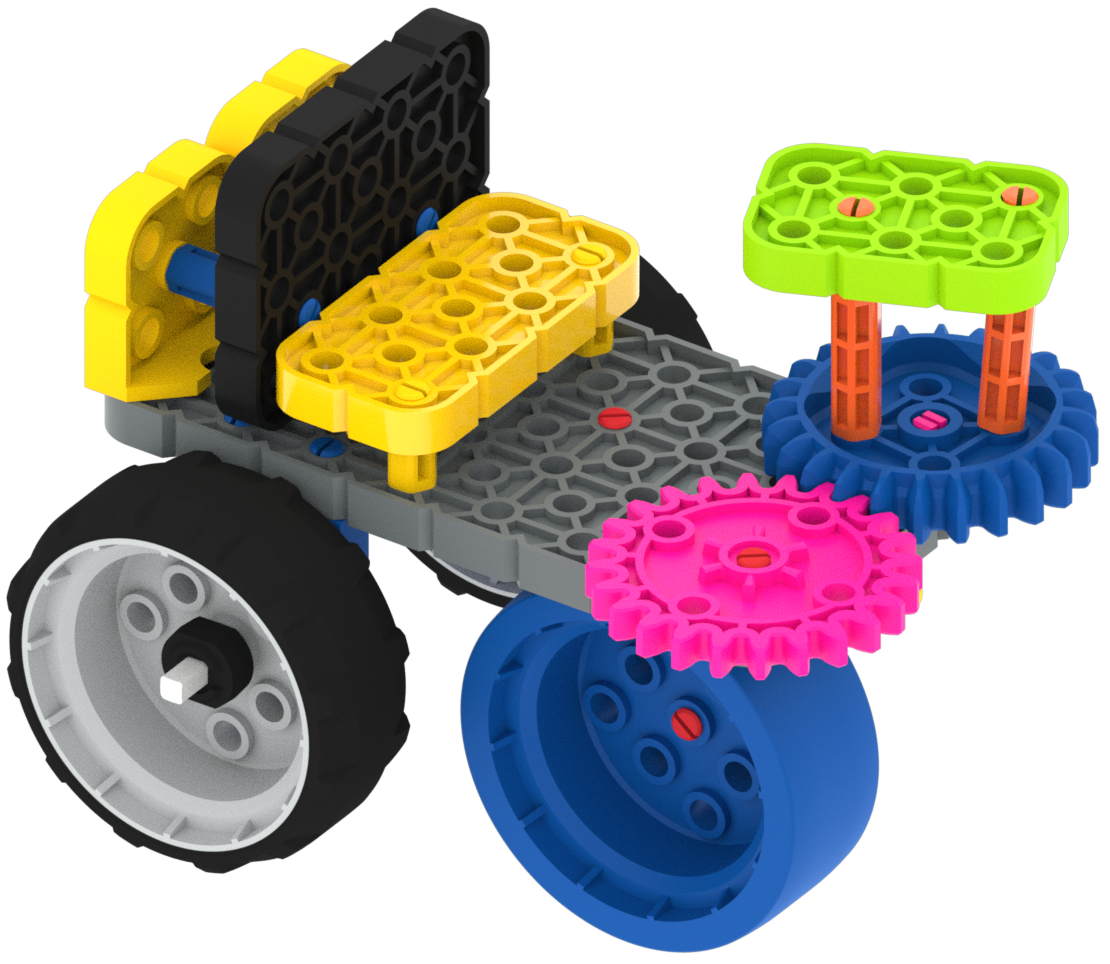
Example Buggy with Gears Encourage a discussion by asking the following questions:
- What gears did you decide to add to your build?
- How do the gears connect? Are they connected to any other pieces?
- RemindRemind groups to try different gear sizes if they cannot get the gear to reach the right spot. You can also remind them to test the stability of their designs by rolling it across a desk or table. All the parts should remain connected.
- AskAsk students if the addition of gears changed how their buggy moves. What parts of your buggy move now that gears were added? How could this addition help their astronaut?