
Alternate Coding Methods
Adapt this Unit to Use an Alternate Coding Method
This STEM Lab Unit is written for use with the Coder and Coder Cards. However, you can use the buttons on the 123 Robot to touch to code, or use VEXcode 123 to implement the Unit. This flexibility can help you meet the individual needs of your students. For example, if your students are already familiar with VEXcode 123, they can complete all the coding activities with VEXcode 123. The Summary section of each Lab contains additional information that can help you modify the individual Lab to use VEXcode 123 or the buttons on the 123 Robot.
VEXcode 123 Adaptation
If using VEXcode 123 with this Unit, students can use the following blocks to drive the 123 Robot in the coding activities. For more information on how to work with VEXcode 123, see the VEXcode 123 Section of the STEM Library.
| VEXcode 123 Block | Behavior |
|---|---|
 |
The [Drive for] block moves the 123 Robot forward or in reverse a given distance. Set how far the 123 Robot will move by entering a value into the oval. |
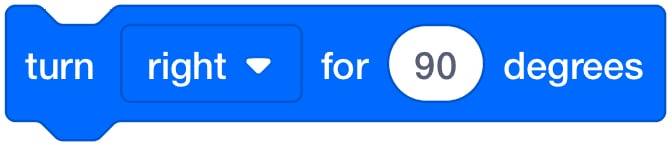 |
The [Turn for] block turns the 123 Robot in place to the left or right for a specified number of degrees. |
-
In Lab 1, Play Part 2, students will create a project to have the 123 Robot execute a complex action such as spinning in a circle. See below for a possible solution for Play Part 2 to have the 123 Robot spin in a circle.
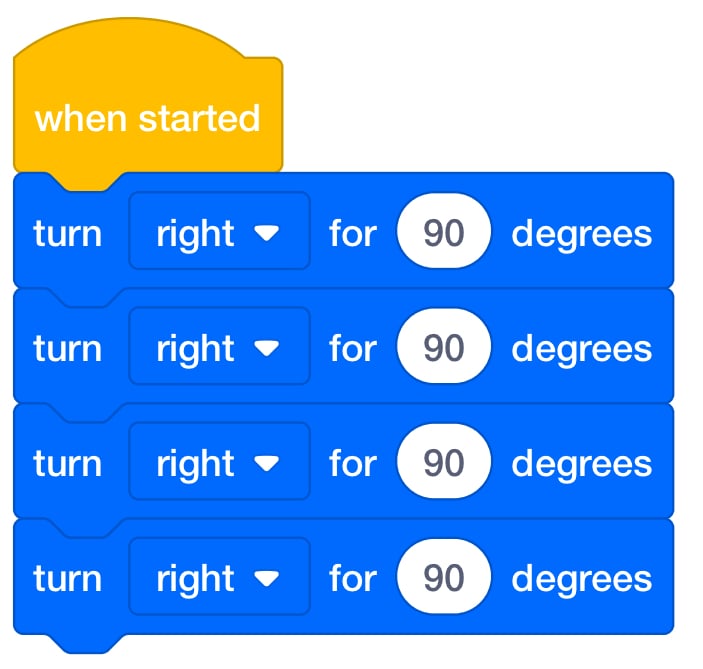
Lab 1 - Play Part 2 Solution - Spin in a Circle -
In Lab 2, students can observe the behaviors for the [Drive for] and [Turn for} VEXcode 123 blocks above. Have students explore how they can change the parameters in the blocks to have the 123 Robot move various distances, turn different directions , or turn for a specified number of degrees. Then for Play Part 2, have them create a VEXcode project that has the 123 Robot drive in a square. See below for a possible VEXcode 123 solution for Play Part 2 —drive in a square.
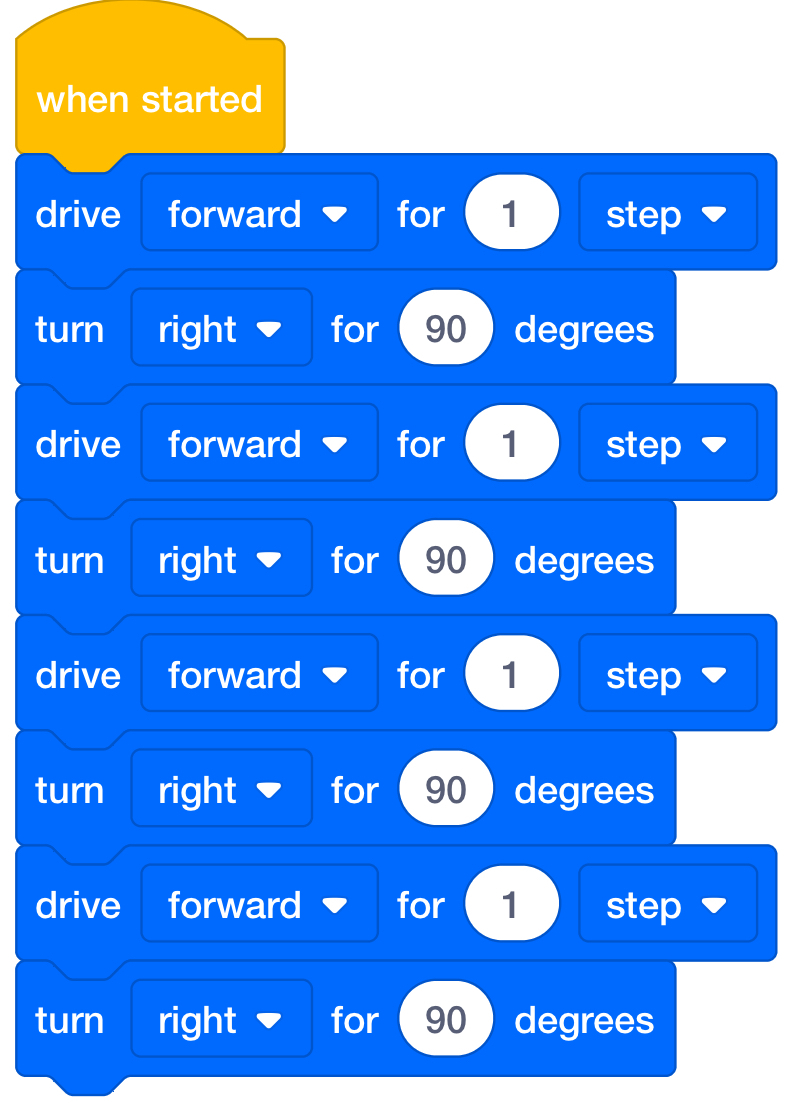
Possible solution to drive in a square -
In Lab 3, students will create a project to have the 123 Robot drive from a starting point to a destination specified by a Map Challenge Prompt. This is a possible VEXcode 123 solution for the prompt to drive from the Park to the House based on the Play Part 1 map layout.
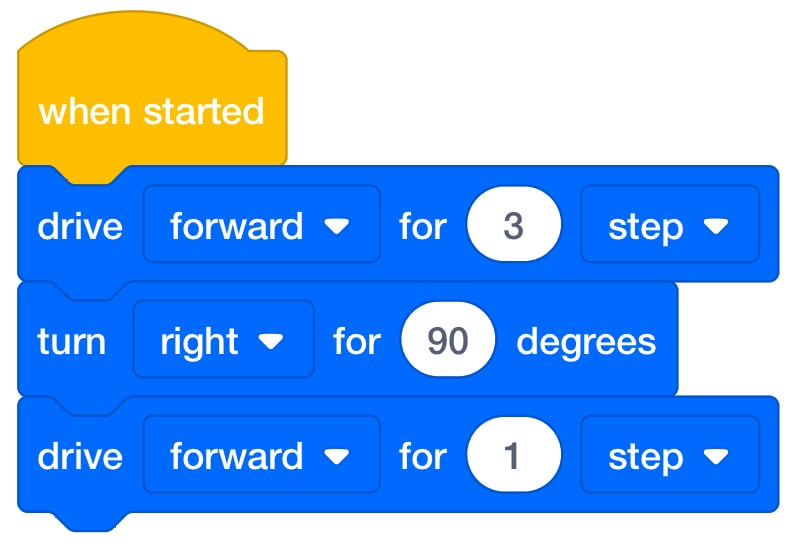
Possible solution to drive from the Park to the House -
In Lab 4, students practice debugging projects. Give students the intended behaviors and incorrect VEXcode 123 project to debug. Intended behaviors: Drive four spaces, turn left and glow purple, drive one space, turn right, then honk. Give students the project on the Left to debug. The VEXcode 123 project on the right is the solution.
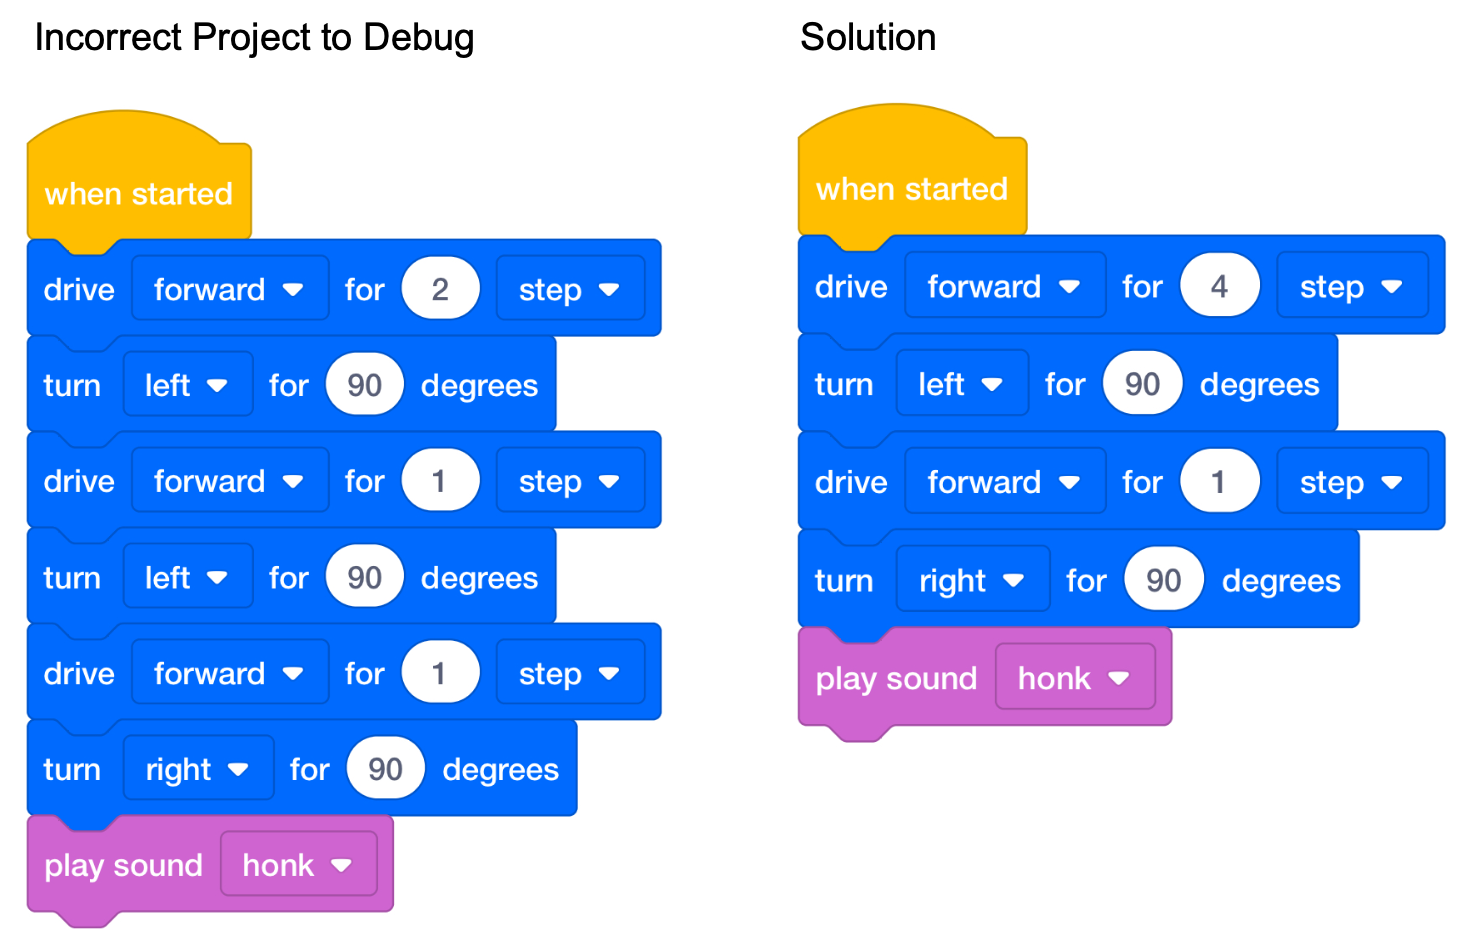
Coding Fundamentals Lab 4 Solution
Touch Adaptation
You can also adapt this Unit to use the buttons on the 123 Robot to complete the activities in these Labs. Students should understand that each press of a button equals 1 movement of the 123 Robot. Then, they can create a project with a series of button presses. Students should identify that the order in which they press the buttons is the order in which the 123 Robot will execute behaviors. For more information about how to use the 123 Robot, see the Using the 123 Robot STEM Library article. For more information about coding using the Touch buttons on the 123 Robot, see the Coding with the Touch Buttons on the 123 Robot STEM Library article.
| Button | Name | Behavior |
|---|---|---|
 |
Start | Starts the project when pressed. |
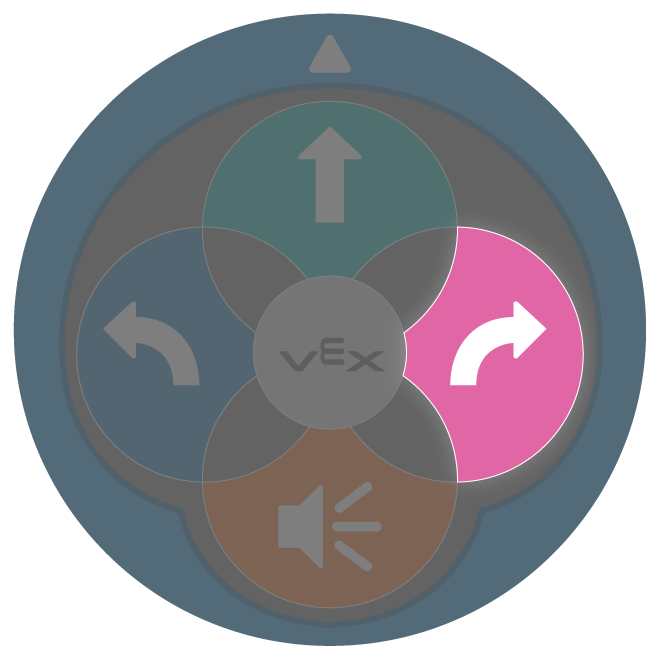
 |
Move | 123 Robot will drive forward for 1 robot length, or 1 square on the 123 Field. |
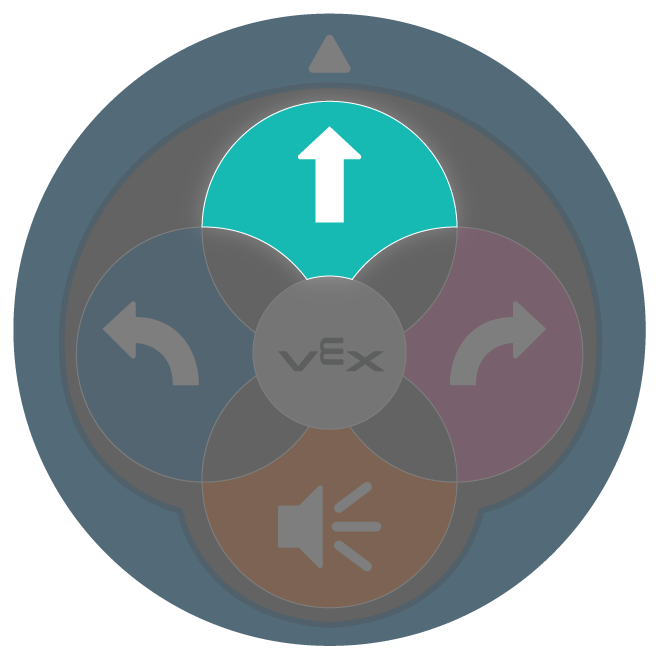
 |
Right | 123 Robot will turn in place 90 degrees to the right. |
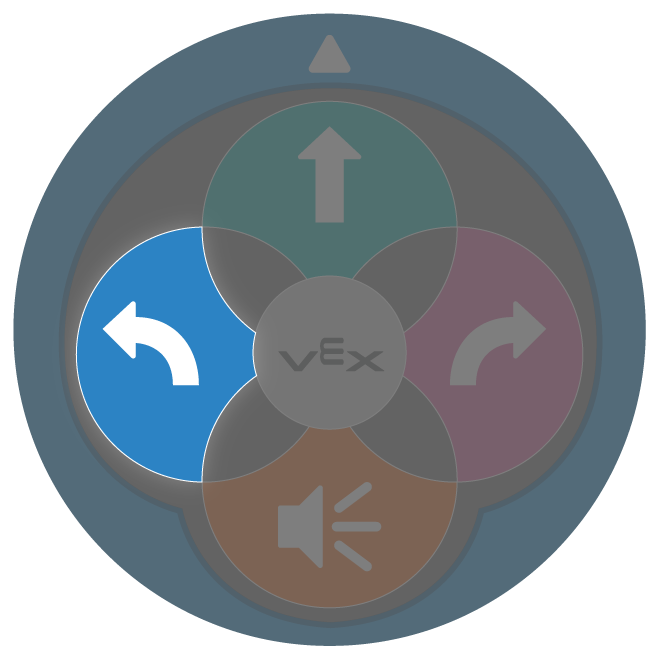 |
Left | 123 Robot will turn in place 90 degrees to the left. |
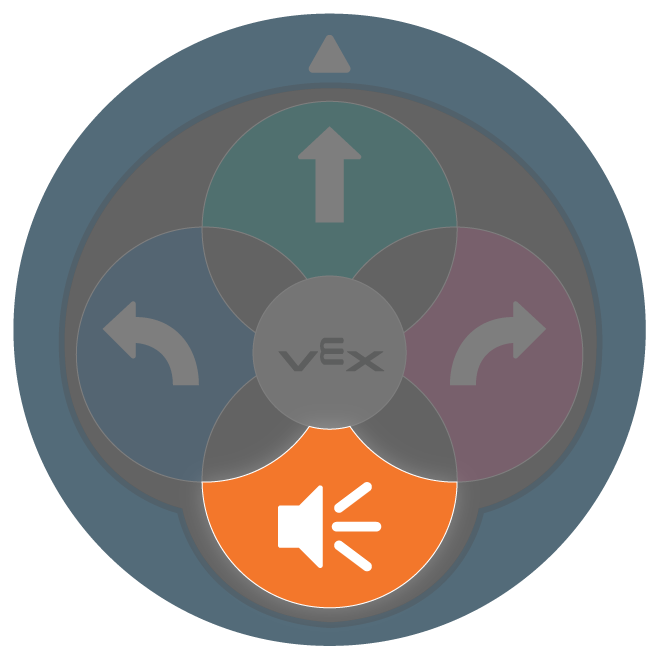 |
Sound | 123 Robot will play a honk sound. |
- To adapt Lab 1, have students create a project to have the 123 Robot execute a complex behavior such as spinning in a circle. Have students break down the steps necessary, then create a touch code project with the buttons on the 123 Robot. This is an example of a possible solution to have the robot spin in a circle. The solution shows the button press sequence from left to right.
| 1 | 2 | 3 | 4 |
|---|---|---|---|
|
|
|
|
- To adapt Lab 2, focus on the button icons in the Engage section, and how the symbols on the buttons represent 123 Robot behaviors. Then, have students use the buttons on the 123 Robot to create a project to have the robot drive in a square. There are different ways have the robot drive in a square. This is a possible solution that shows the button presses in sequence from left to right.
| 1 | 2 | 3 | 4 | 5 | 6 | 7 | 8 |
|---|---|---|---|---|---|---|---|
|
|
|
|
|
|
|
|
- To adapt Lab 3, have students use the buttons on the 123 Robot to create a project where the robot drives from start to a destination as specified by a Map Challenge Prompt. This example solution will drive the 123 Robot from the park to the house on the map setup in Play Part 1. The solution shows the button press sequence from left to right.
| 1 | 2 | 3 | 4 | 5 |
|---|---|---|---|---|
|
|
|
|
|
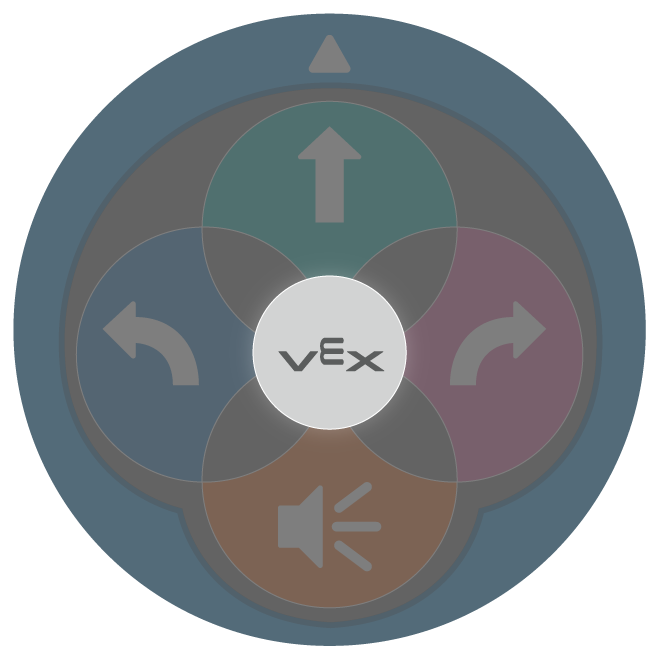
- Debugging is the focus of Lab 4. Give students the intended behavior and an incorrect touch project to debug. Use the following as the intended behaviors: Drive four spaces, turn left, drive one space, turn right, then honk. Give students the project on the top to debug. The touch project on the bottom is the solution. Touch code projects below show the button press sequence from left to right.
- The first table shows a project to be debugged in order to have the 123 Robot complete the "Intended behaviors listed above. Button presses are sequenced from left to right.
| 1 | 2 | 3 | 4 | 5 | 6 | 7 | 8 |
|---|---|---|---|---|---|---|---|
|
|
|
|
|
|
|
|
- This table shows the touch project solution for the intended behaviors listed above. Button presses are sequenced from left to right.
| 1 | 2 | 3 | 4 | 5 | 6 | 7 | 8 |
|---|---|---|---|---|---|---|---|
|
|
|
|
|
|
|
|