
Lesson 2: Plan the Project
In this Lesson, you will learn how to use the energize command to pick up and drop disks on the Disk Mover Playground. You will use the energize command with Drivetrain commands to pick up and move three blue disks into the blue goal in the mini challenge.
Learning Outcomes
- Describe how comments can be used to plan and organize a VEXcode VR Python project.
- Describe the program flow in a project that has the VR Robot use the Electromagnet to pick up, carry, then drop a disk.
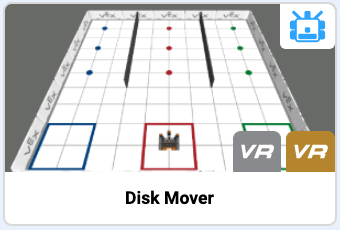
Planning a Project with the Electromagnet
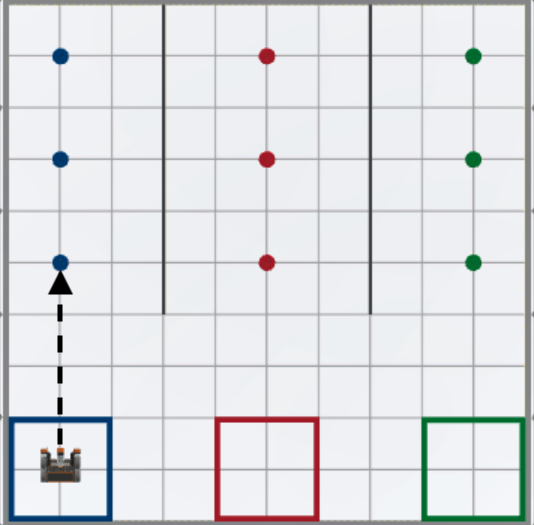
To begin the Disk Mover challenge, the VR Robot will pick up and move the first blue disk into the blue goal. In order to do this, the VR Robot will complete four behaviors, using the Electromagnet and the Drivetrain commands. It is useful to plan the behaviors needed to complete a project prior to beginning to build your code, so that you can ensure that you have a conceptual understanding of the goal of the coding project. The goal of moving the first blue disk can be broken down as follows:
-
First, the VR Robot will drive forward to the first blue disk.
-
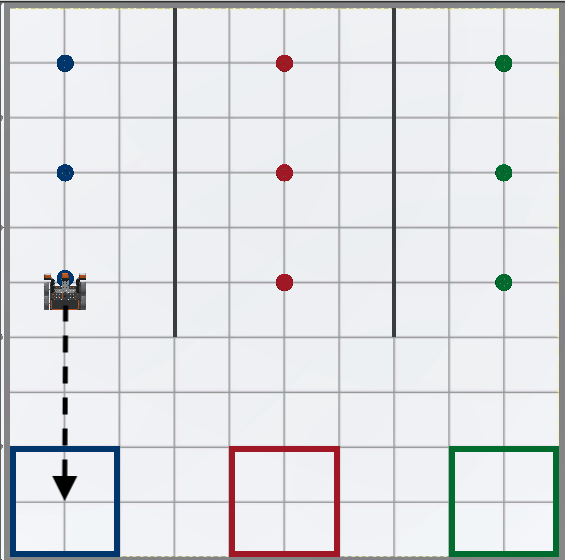
Second, the VR Robot will use the Electromagnet to pick up the first blue disk.
-
Third, the VR Robot will drive in reverse back to the blue goal.
-
Lastly, the VR Robot will use the Electromagnet to drop the blue disk into the blue goal.
Now that the behaviors in the project have been identified, those behaviors can be used to create comments in the project.
Using Comments for Project Planning
You can use comments in a VEXcode VR Python project to help plan the behaviors of the VR Robot, by organizing them into smaller sections within the project. While building the project, the commands associated with each desired behavior are placed beneath the matching comment.
- Start a new project and select the Disk Mover Playground when prompted.
-
Name the project Unit8Lesson2.

-
Type 4 comments into the workspace. Comments in Python start with the # (pound) sign. Add comments for each of the steps outlined above.
def main():
    # 1. Drive to the first blue disk

    # 2. Pick up the first blue disk

    # 3. Drive in reverse to the blue goal

    # 4. Drop the blue disk in the blue goal
With comments in place, we can begin building our project one command at a time.
Select the Next button to continue with the rest of this Lesson.