
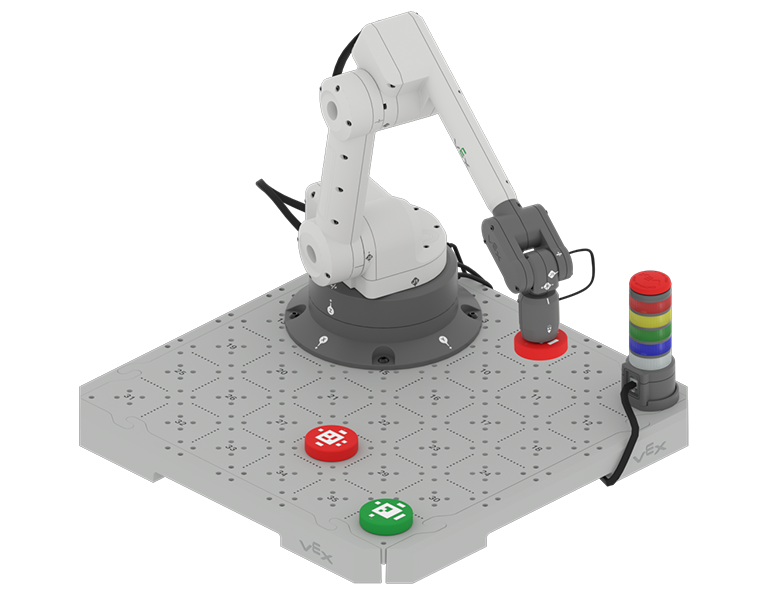
In the previous Unit, you learned about manual movements with the 6-Axis Robotic Arm and found coordinates of CTE Tile locations with the Teach Pendant in VEXcode EXP.
In this Unit, you will learn more about the Teach Pendant and how to use the Magnet Pickup Tool, so that you can pick up and move Disks on the Tile.
Watch the following introduction video for an overview of what you will learn in this Unit.
Co-Create Learning Targets
Now that you have watched the video, you know that you will be using the Teach Pendant to move the 6-Axis Arm to pick up and move Disks with the Magnet Pickup Tool. First you will learn about what teach pendants are and how they are used in industry, as well as how to use features on the Teach Pendant in VEXcode. You will also learn about end effectors, like the Magnet, and how it can be used to pick up and move a Disk. Then you will put it all together to use the Teach Pendant to move three Disks to new locations on the Tile. Think about what you will need to know and learn to accomplish those tasks.
You will co-create learning targets with your group and your teacher to capture these goals, so that you have a shared understanding of your learning goals for the Unit. You will write your learning targets in your engineering notebook so you can refer to them throughout the Unit.
It is helpful to phrase learning targets in the form of "I can" statements. Example learning targets for this Unit could include:
- I can identify how to enable and release the Magnet with the Teach Pendant.
- I can use the Teach Pendant to jog the 6-Axis Arm along the x, y, and z-axes.
- I can use the Teach Pendant to move a Disk from one location to another the 6-Axis Arm.
To create your learning targets, first brainstorm what you will need to know to be able to complete the activities shown in the video above. Make a list in your engineering notebook of what you will need to know, learn, and do, like this:
- Stop the movement of the 6-Axis Arm.
- Jog the 6-Axis Arm along the x-axis.
- Enable the Magnet on the 6-Axis Arm.
- Document the features of the Teach Pendant in my engineering notebook.
- Work together with my group to complete the activity collaboratively.
Next, co-create learning targets based on your list. Think about how each of the things you listed can be framed into a learning target, using "I can" statements. You can use this template to help you write your learning targets in your engineering notebook. (Google Doc / .docx / .pdf)
For example, the list item "Jog the 6-Axis Arm along the x-axis" can be shifted to the learning target of I can use the Teach Pendant to jog the 6-Axis Arm along the x, y, and z-axes.
The following table shows an example of how the Learning Target Organizer in your engineering notebook could be filled out.
| Learning Target Category | Learning Targets |
|---|---|
|
Knowledge Targets What do I need to know and understand in order to be successful in the Unit? |
|
|
Reasoning Targets What can I do with what I know and understand in order to be successful in the Unit? |
|
|
Skill Targets What can I demonstrate to show I understand the concepts and skills needed to be successful in the Unit? |
|
Share your learning targets with your teacher. Adjust them as needed so that you, your group, and your teacher are all in agreement.
Vocabulary
In this Unit, you will learn about teach pendants and end effectors, so that you can use the Teach Pendant in VEXcode EXP to move Disks with the 6-Axis Arm. This vocabulary list is here to provide reference for any new terms you may come across. Record this vocabulary in your engineering notebook. Use this list as reference as you work through the Unit and encounter words you may not be familiar with.
- End Effector
- The device at the end of a robotic arm designed to interact with the environment; also known as the End of Arm Tooling (EOAT).
- Jogging
- The process of incrementally moving a robotic arm in specific directions using a control interface (like the Teach Pendant), typically in small, precise movements.
- Teach Pendant
- A device used to manually control the actions of a robotic arm.
| Quantity | Materials Needed |
|---|---|
| 1 per group | |
| 3 per group |
Disks |
| 1 per group |
Computer |
| 1 per group |
VEXcode EXP |
| 1 per student |
Engineering Notebook |
Select Next > to learn about the Teach Pendant.