Engage
Launch the Engage Section
ACTS is what the teacher will do and ASKS is how the teacher will facilitate.
| ACTS | ASKS |
|---|---|
|
|
Getting the Students Ready to Build
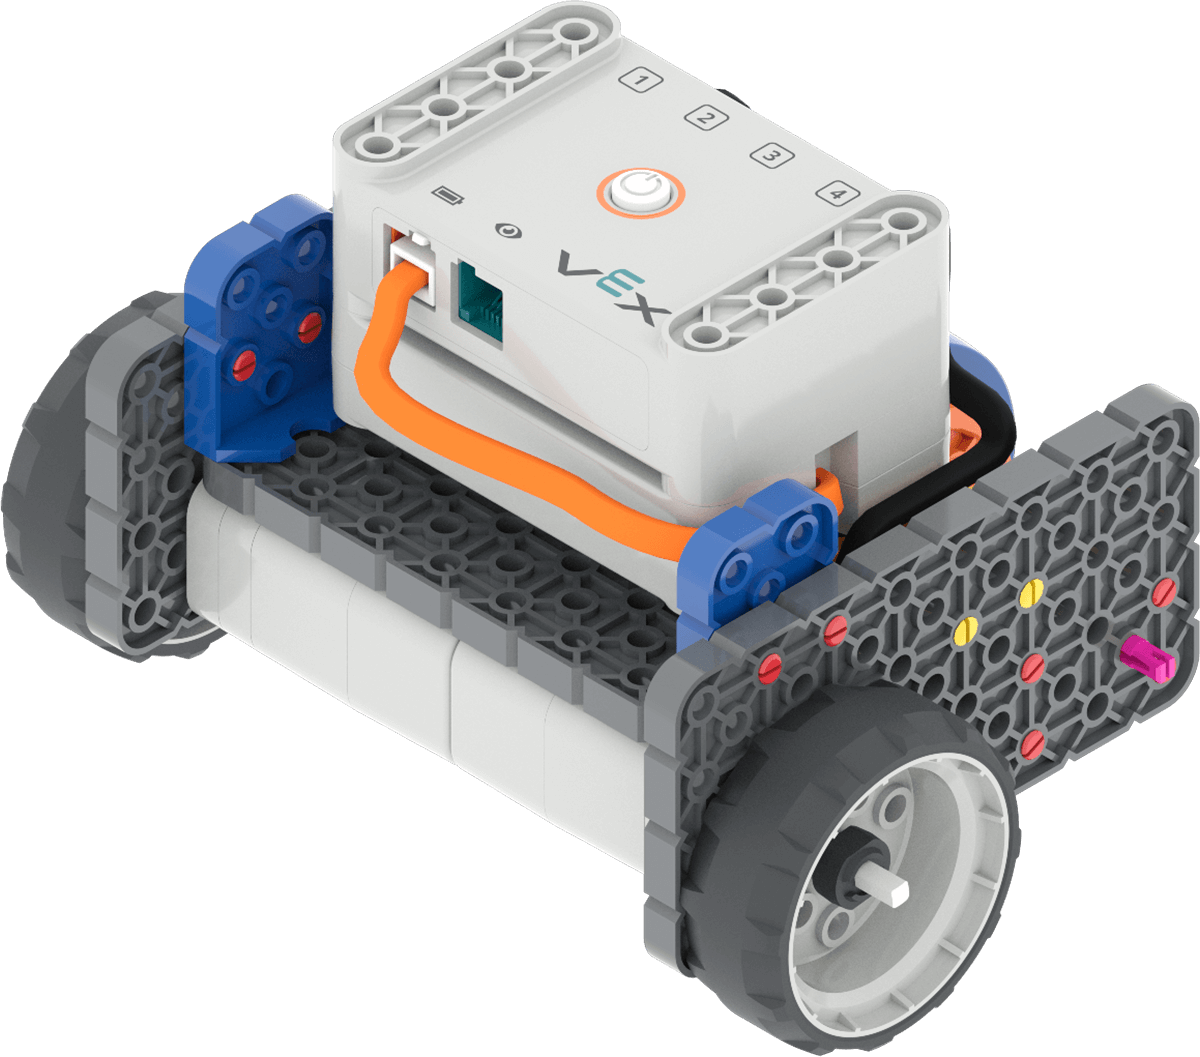
Before we can start remote control driving the Code Base, we need to build the Code Base 2.0!
Facilitate the Build
- InstructInstruct students to join their group, and have them complete the Robotics Roles & Routines sheet. Use the Suggested Role Responsibilities slide in the Lab 1 Image Slideshow as a guide for students to complete this sheet.
-
DistributeDistribute
build instructions to each team. Journalists should gather the materials on the checklist.

Code Base 2.0 -
FacilitateFacilitate
the building process.
- Builders and Journalists should begin building based on their responsibilities in the Lab 1 Image Slideshow.
- Circulate around the room to help students with building or reading instructions where needed. Ask questions about how the build is being constructed to keep all students engaged in the buildings process, and remind students to follow their Role Responsibilities if they need help taking turns.
- OfferOffer suggestions and note positive team building and problem solving strategies as groups build together.

Teacher Troubleshooting
- Remind students that forward/reverse is based on the location and position of the Code Base. If the Code Base is backwards at the start of the course and facing the student, moving the controls forward will drive the Code Base towards the student, not towards the course.
- Set up the course before class. The suggested slalom course uses Tiles for the base and Yellow Connectors and Orange Beams to create the slalom gates. The course can also be replicated using masking tape, plastic cups or other classroom items as needed!
- If the Code Base does not respond, try disconnecting and reconnecting the Brain and try again. This may happen if too much time passes between turns driving the Code Base.
Facilitation Strategies
- Have students change the controls!
- Tank Mode: Each joystick controls the spin of a different motor.
- Left Arcade: One joystick that controls both motors. On the left-hand side of the screen.
- Right Arcade: One joystick that controls both motors. On the right-hand side of the screen.
- Split Arcade: Two joysticks. One controls left and right movements and the other controls forward and reverse movements.
- The speed of the Code Base depends on how slow or quickly the controls are moved in Drive mode. The slower the joystick is pushed, the slower the Code Base will move. For more information about remote control driving in VEXcode GO, read the Using the Drive Tab in VEXcode GO article.
- Use the Get Ready...Get VEX...GO! PDF Book and Teacher’s Guide - If students are new to VEX GO, read the PDF book and use the prompts in the Teacher’s Guide (Google / .pptx / .pdf) to facilitate an introduction to building and using VEX GO before beginning the Lab activities. Students can join their groups and gather their VEX GO Kits, and follow along with the building activity within the book as you read.
- Use the Teacher’s Guide to facilitate student engagement. To focus on VEX GO connections in a more concrete or tangible way, use the Share, Show, or Find prompts on each page to give students an opportunity to get to know their kits in more depth.
- To focus on the habits of mind that support building and learning with VEX GO, like persistence, patience, and teamwork, use the Think prompts on each page to engage students in conversations about mindset and strategies to support successful group work and creative thinking.
- To learn more about using the PDF book and accompanying Teacher’s Guide as a teaching tool any time you are using VEX GO in your classroom, see this VEX Library article.