Engage
Launch the Engage Section
ACTS is what the teacher will do and ASKS is how the teacher will facilitate.
| ACTS | ASKS |
|---|---|
|
|
Getting the Students Ready to Build
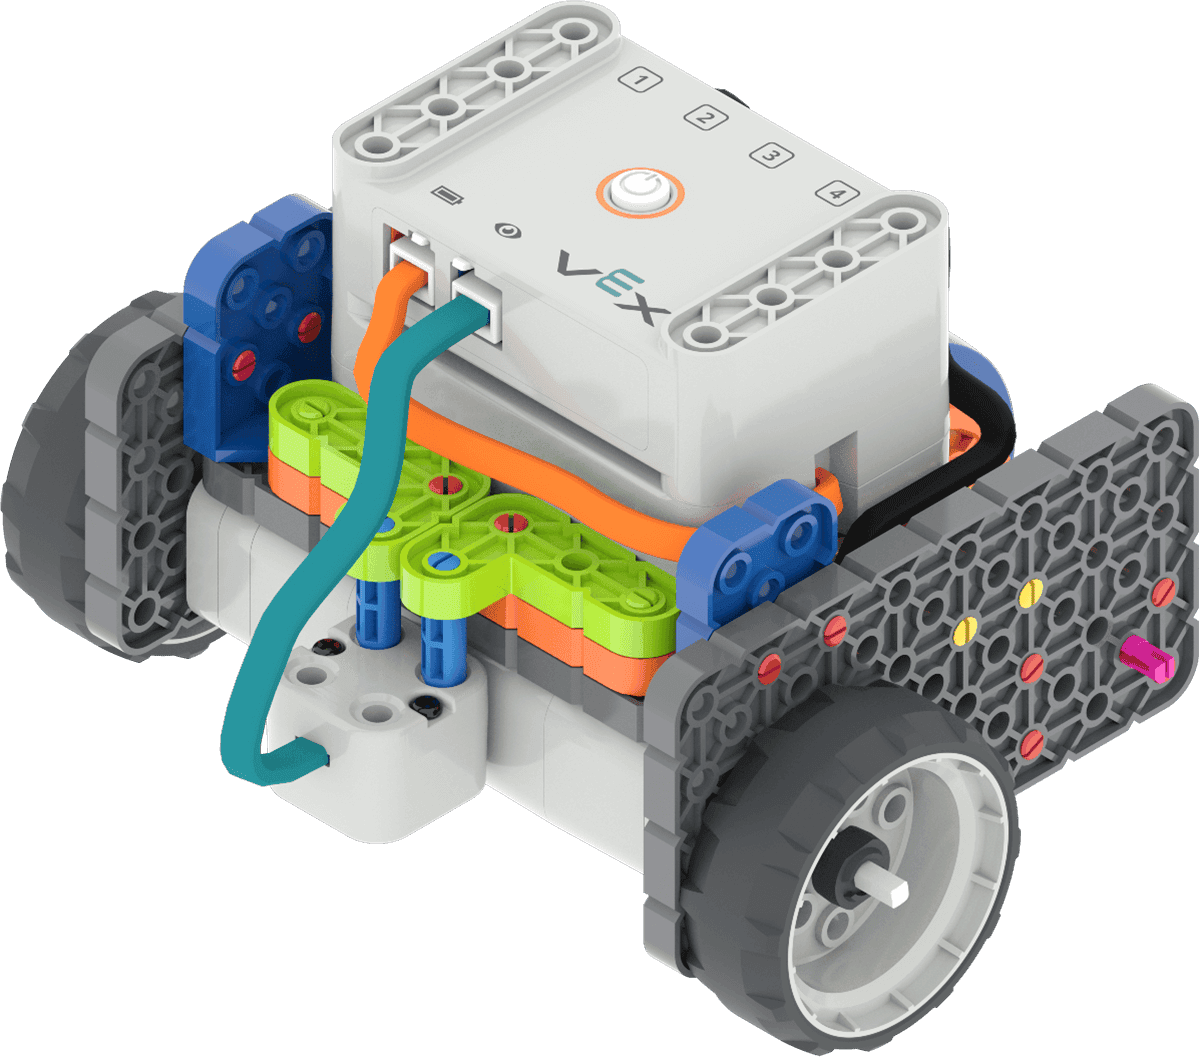
Before we can start working with data from the Eye Sensor, we have to build the Code Base and add the Eye Sensor!
Facilitate the Build
- InstructInstruct students to join their group, and have them complete the Robotics Roles & Routines sheet. Use the Suggested Role Responsibilities slide in the Lab 1 Image Slideshow as a guide for students to complete this sheet.
-
DistributeDistribute
build instructions to each group. Students will first follow the build instruction to build the Code Base 2.0, and will then follow the Code Base 2.0 - Eye Down instructions to add the Eye Sensor to the robot.

Code Base 2.0 - Eye Down build -
FacilitateFacilitate
the building process.
- Builders and Journalists should begin building based on their roles and responsibilities, like those shown in the Lab 1 Image Slideshow.
-
Circulate around the room to help students with building or using build instructions where needed. Ask questions about how the build is being constructed to keep all students engaged in the building process, and remind students to follow their Role Responsibilities if they need help taking turns.
- OfferOffer suggestions and note positive turn taking, communication, and problem solving strategies as groups are building together.

Teacher Troubleshooting
- Students will be moving the robot manually in this Lab. Be sure that students are holding the robot with the wheels touching or nearly touching the Tile, so that the Eye Sensor is in close enough proximity to the pieces to report hue value data effectively. Students should move the robot slowly so that they can effectively view and record the data from the Monitor onto their Data Collection Sheet.
- Keep in mind that while hue value data may not be exactly the same from group to group, the reported values should be within a range of that color on the Hue Chart. For example, a student's data for the Yellow Beam should be around '60' to align with yellow on the chart. If the student is getting hue values demonstrably out of the range of yellow on the chart, they may not be positioning the Eye Sensor accurately over the beams.
Facilitation Strategies
-
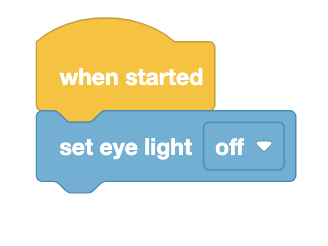
Get set up for the Engage demonstration before class. Build the project below and have it ready to run before beginning the Acts and Asks, so you are ready to show students how the Eye Sensor reports data in the VEXcode GO monitor.

VEXcode GO project for viewing Hue Value Data in the Monitor. - If students have never used the Eye Sensor, this Lab should not be their first experience. Complete the Mars Rover-Landing Challenge and the Mars Rover - Exploring Mars Geology Labs first.
- Consider how you will implement the Play section of the Lab. For students who need more support, think about implementing the Play section of the Lab as a whole-class guided demonstration. You could choose to do this for Play Part 1 only, and have students work in groups in Play Part 2, or do the entire Play section in this manner.
- Think about how your students will access VEXcode GO. Ensure that the computers or tablets that students will use have access to VEXcode GO. For more information about setting up VEXcode GO, see this article.
- Gather the materials each group needs before class. For this Lab, each group of two students will need a GO Kit, build instructions, a computer or tablet to access VEXcode GO, a bridge with colored sections, and a Data Collection Sheet. Students will need pencils to fill in the Data Collection Sheet as well.
-
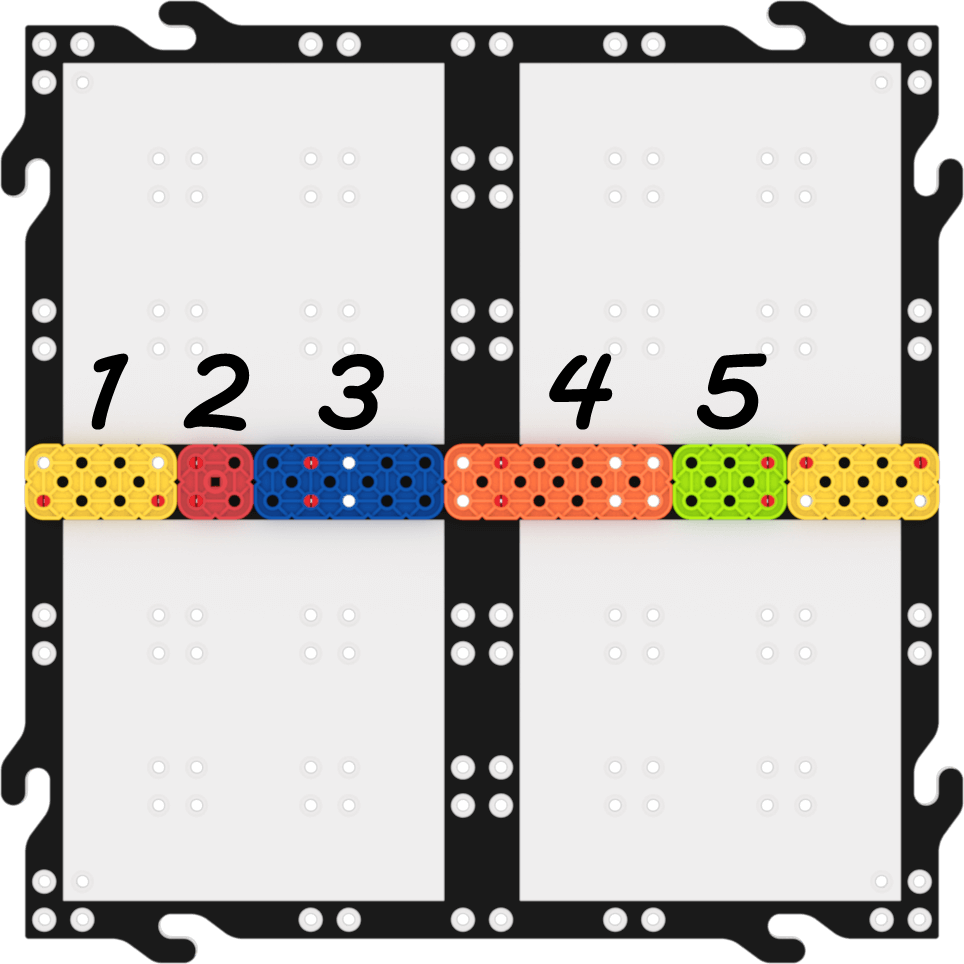
Pre-build the bridges before class. For this Lab, each group of two students will need a Tile with the sections of the bridge attached. Pre-build the bridges for the groups, so that they are ready to be used when students begin. Use this image for reference as you construct the bridges.

Bridge Tile with Numbered Sections -
Try a different eye light brightness. If students finish collecting data from each section of the bridge with both the eye light on and off early, have them add the [Set eye light power] block to the project and explore the affect the different brightness level have on the hue value data reported by the Eye Sensor.

[Set eye light power] block - Test other colors. If students are having trouble connecting the numerical hue value data to colors on the Hue Chart, have them test other colors of pieces from the Kit to see if they can effectively record the sensor data and connect it to a color on the chart.