
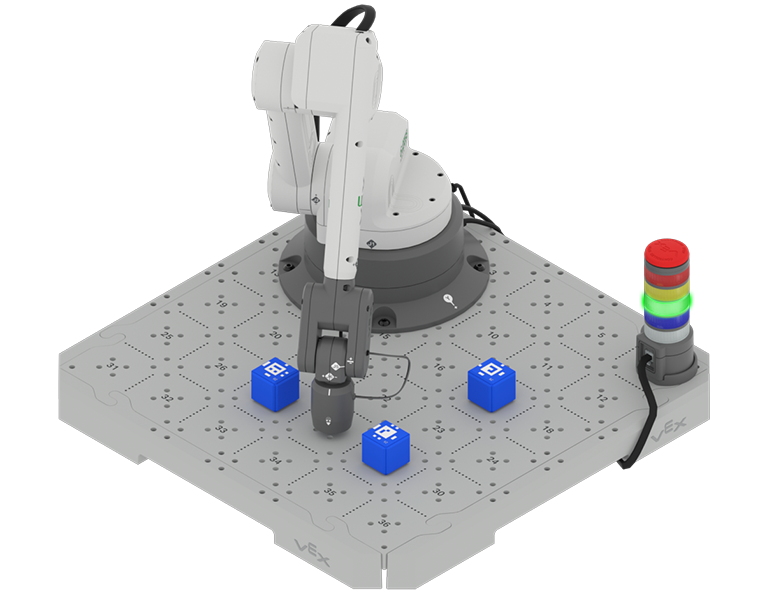
In this Unit, you will begin to explore block-based coding with the 6-Axis Arm. You will learn to code the 6-Axis Arm to move along the x, y and z-axes. Then you will combine those skills to create a project to move the 6-Axis Arm in all three axes to touch down on specific Tile locations without colliding into any Cubes.
Watch the introduction video below for an overview of what you will do and learn in this Unit.
Co-Create Learning Targets
Now that you have watched the video, you know that you code the 6-Axis Arm to move along the x, y, and z-axes in order to touch specific Tile locations. You will begin by modifying code to change the colors of the Signal Tower. Then you will code the 6-Axis Arm to move along the x, y, and z-axes. Then you will put it all together to code the Arm to move and touch locations on the Tile. Think about what you will need to know and learn to accomplish those tasks.
You will co-create learning targets with your group and your teacher to capture these goals, so that you have a shared understanding of your learning goals for the Unit. You will write your learning targets in your engineering notebook so you can refer to them throughout the Unit.
It is helpful to phrase learning targets in the form of "I can" statements. Example learning targets for this Unit could include:
- I can define programming language and robot behavior.
- I can code the 6-Axis Arm to move to multiple locations on the x-axis.
- I can document the sequence of behaviors needed to move the 6-Axis Arm over an obstacle.
To create your learning targets, first brainstorm what you will need to know to be able to complete the activities shown in the video above. Make a list in your engineering notebook of what you will need to know, learn, and do, like this:
- Change the coordinates in the block to move the 6-Axis Arm along the x-axis.
- Code the 6-Axis Arm to move along the z-axis to go over an obstacle.
- Document the behaviors in a project in my engineering notebook.
- Identify the behaviors needed to complete a task.
- Work together with my group to sequence behaviors to complete the activity collaboratively.
Next, co-create learning targets based on your list. Think about how each of the things you listed can be framed into a learning target, using "I can" statements. You can use this template to help you write your learning targets in your engineering notebook. (Google Doc / .docx / .pdf)
For example, the list item "Change the coordinates in the block to move the 6-Axis Arm along the x-axis" can be shifted to the learning target of I can code the 6-Axis Arm to move to multiple locations on the x-axis.
The following table shows an example of how the Learning Target Organizer in your engineering notebook could be filled out.
| Learning Target Category | Learning Targets |
|---|---|
|
Knowledge Targets What do I need to know and understand in order to be successful in the Unit? |
|
|
Skill Targets What can I demonstrate to show I understand the concepts and skills needed to be successful in the Unit? |
|
|
Product Targets What can I record in my engineering notebook to demonstrate and expand my knowledge about the concepts and skills to be successful in the Unit? |
|
Share your learning targets with your teacher. Adjust them as needed so that you, your group, and your teacher are all in agreement.
Vocabulary
In this Unit, you will be introduced to block-based coding as a way to control the movements of the 6-Axis Arm. This vocabulary list is here to provide reference for any new terms you may come across. Record this vocabulary in your engineering notebook. Use this list as reference as you work through the Unit and encounter words you may not be familiar with.
- Behavior
- Actions performed by a robot and defined by the programming language.
- Programming Language
- A set of rules in which symbols represent actions. VEXcode is the programming language for the 6-Axis Arm.
- Command
- Programming blocks that change the behavior of the robotic arm.
- Controlled Stop
- A safety feature that allows the immediate stopping of the 6-Axis Arm's movement in a controlled manner to prevent accidents or damage.
| Quantity | Materials Needed |
|---|---|
| 1 per group | |
| 1 per group |
Computer |
| 1 per group |
VEXcode EXP |
| 1 per student |
Engineering Notebook |
| 3 per group |
Cubes |
Loading, Naming, and Saving a Project
Before you can code the 6-Axis Arm using VEXcode, you will need to learn how to open, name, and save a project. Use the steps below as reference when loading, naming, and saving a project.
- To load an existing project, select Open in the File menu.

2. Next, navigate through your device's files to locate the project with a .cteblocks extension and open the project.

3. To save a project, first select the project name field. A dialog box will open where you can name your project. Give your project a name you will be easily be able to reference later, and select Save.

Select Next > to learn about downloading and running a project.