
In Lesson 3, you learned how to code the 6-Axis Arm to move along the x-axis.
In this Lesson, you will learn how to code the 6-Axis Arm along the y-axis.
At the end of this Lesson, you will code the 6-Axis Arm to move along the y-axis to find the minimum and maximum y-value that the 6-Axis Arm can move to.
Coding the 6-Axis Arm Along the Y-Axis
The 6-Axis Arm can be coded to autonomously move along the y-axis, similarly to how it can move along the x-axis. Follow along with the steps below to code the 6-Axis Arm to move along the y-axis.
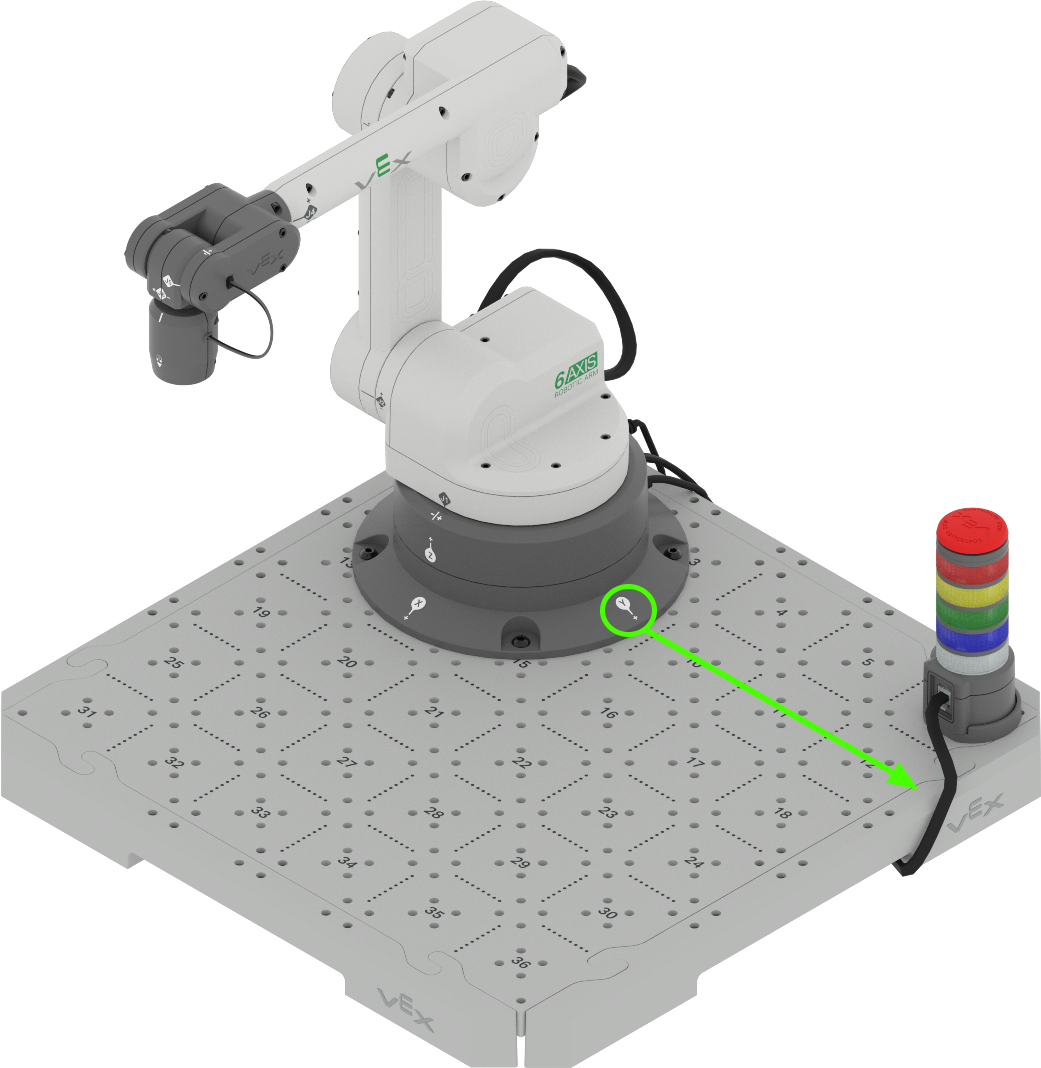
Open your saved project from Lesson 3, or recreate the project shown here.
Rename the project Change y values and save it to your device.

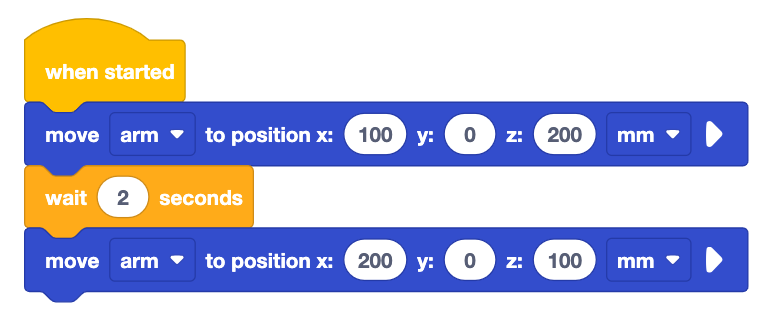
Set the parameters of the first Move to position block to (0, 100, 200).
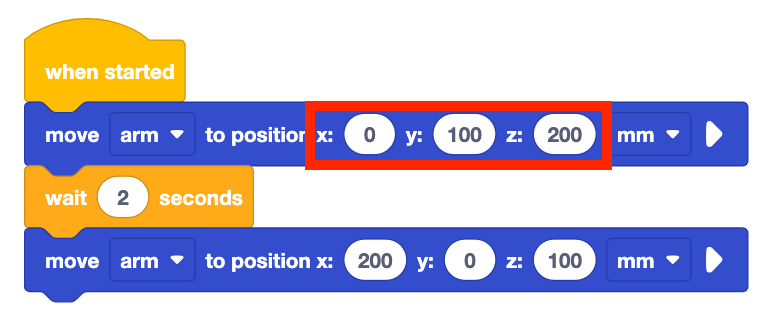
Set the parameters of the second Move to position block to (0, 250, 200).
What do you think this project will cause the 6-Axis Arm to do? Record your prediction in your engineering notebook.
Note: The x and z-values are not changed here because the goal is to change and observe one axis at a time. Keeping the x and z-values the same but changing the y-values allows us to see how the 6-Axis Arm will move along the y-axis.
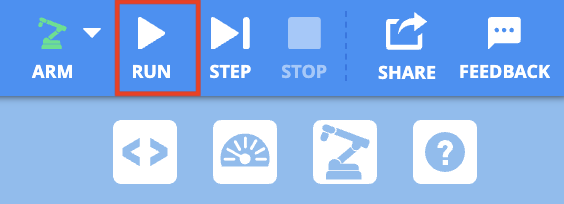
Be sure the 6-Axis Arm is connected to VEXcode. Run the project.
Observe the 6-Axis Arm as it moves along the y-axis. Notice that the 6-Axis Arm will start by moving to the Safe Position (120, 0, 100), then will execute the blocks in the project.
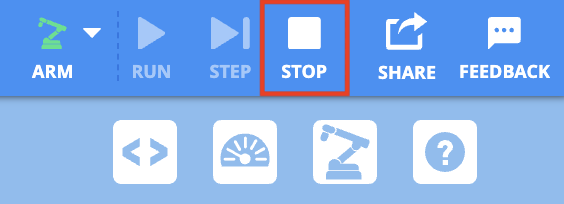
Stop the project once the 6-Axis Arm has stopped moving.
Record your observations in your engineering notebook. How did the 6-Axis Arm move in this project? Is it similar or different to your prediction? Why?
Notice that when the y-value is changed the 6-Axis Arm extends and retracts along the y-axis, as shown in the animation. The 6-Axis Arm begins in the safe position, then moves to the right along the positive y axis, and then to the left in the negative direction on the y-axis.
How does that compare to the movement of your 6-Axis Arm in this project?
Activity
Now that you have learned how to code the 6-Axis Arm to move along the y-axis, you will practice these skills. In this activity, you will code the 6-Axis Arm to move along the y-axis to find the minimum and maximum y-values that the 6-Axis Arm can move to.

- Make a prediction for the minimum and maximum y-values that the 6-Axis Arm can move to. Record the predicted values in your engineering notebook.
- Using the same project from above, change the y-values in the Move to position blocks to your predicted values.
- Run your project to test your predictions. Ensure your 6-Axis Arm is connected to VEXcode.
- Continue to predict and test different y-values. Be sure to record your predictions and results in your engineering notebook when testing your projects. What minimum and maximum values do you find?
- Compare your results to other groups' values. Are they similar or different? Which group has the largest and smallest values? Test those values and adjust your results if needed.
Check Your Understanding
Before beginning the next Lesson, ensure that you understand the concepts in this Lesson by answering the questions in the document below in your engineering notebook.
Check Your Understanding questions > (Google Doc / .docx / .pdf)
Select Next > to learn about how to code the 6-Axis Arm to move along the z-axis.