
Now that you have added the additional Tile and EXP Brain to your build, you can get started with VEXcode EXP.
In this Lesson, you will learn about:
- Check the Battery level.
- Connecting the Brain to VEXcode EXP.
- Updating the firmware of the Brain.
Check the Battery Level
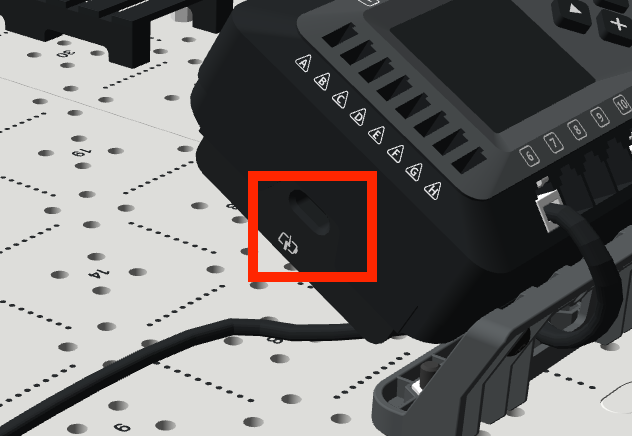
Before beginning, ensure that you have a charged Battery. You can check the Battery level by using the indicator lights on the side of the Battery.
Watch this animation to see how to check the Battery level using the indicator lights. In the animation, a hand presses the button, and the first light glows green, indicated the charge level.
- 1 light: 0-25% charge
- 2 lights: 25-50% charge
- 3 lights: 50-75% charge
- 4 lights: 75-100% charge
For Your Information
The EXP Brain must have a power source in order to turn on and connect to VEXcode EXP. However, if your Battery does not have a significant charge before beginning this Lesson, you can still plug it in and update firmware while the Battery is charging.
To charge the Battery while connected to the Brain, connect one end of a USB-C cable to a power source and the other end to the Battery.
Getting Started with VEXcode EXP
You will access VEXcode EXP as you have in the previous course, but you will now be creating EXP Brain projects rather than Arm projects.
Follow the ‘Getting Started with VEXcode EXP’ section below that matches the version of VEXcode EXP that you are using (web-based or app-based). Unsure of which version you are using? Ask your instructor.
Accessing Projects in Web-based VEXcode EXP
Follow the steps below to access web-based VEXcode EXP and open an EXP Brain project. To access the web-based version of VEXcode EXP, you must be using Google Chrome or Microsoft Edge browser on a Windows, Mac, or Chromebook.
To access VEXcode EXP, navigate to codeexp.vex.com.

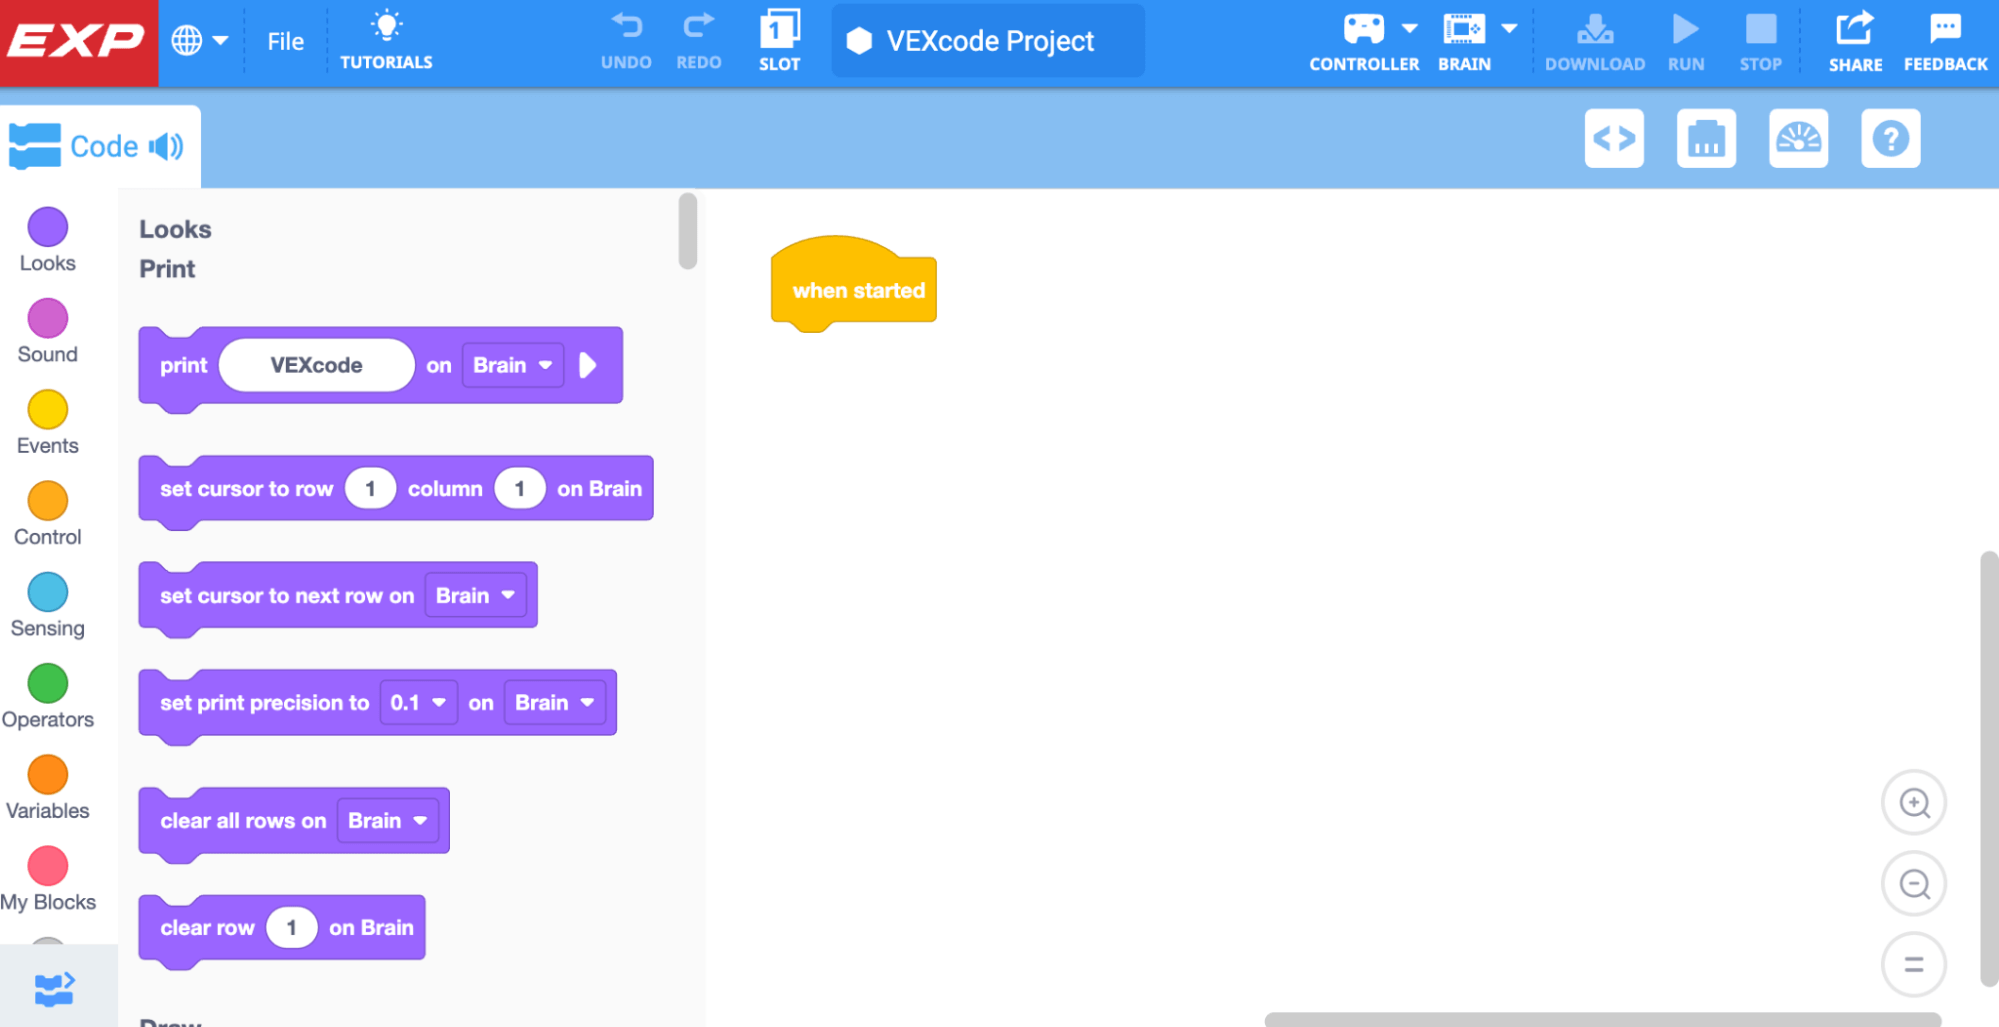
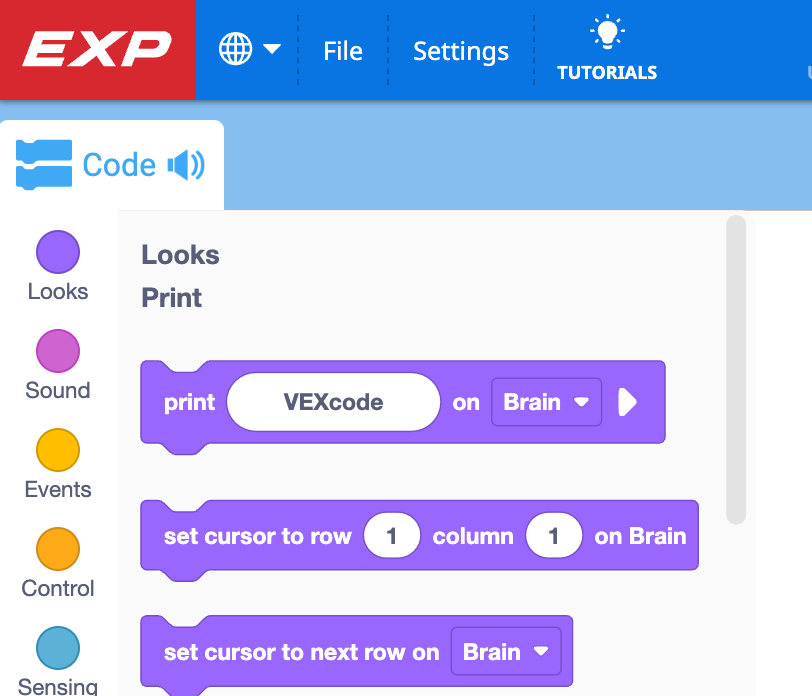
Ensure that you have an EXP Brain project open. You can verify this by looking at the icon in the top left corner.

If you do not see the EXP logo in the top left corner, follow the steps in this video to create a new EXP Brain project.
In this video clip, the CTE logo is shown in the upper left corner of VEXcode to begin. The File menu is then opened, and New Block Project is selected. A prompt appears to select EXP Brain or 6-Axis Arm. EXP Brain is selected, and a new project opens, now showing the EXP logo in the upper left corner.
Connecting the EXP Brain to Web-Based VEXcode EXP
There are additional steps to connect the EXP Brain when using the web-based version of VEXcode EXP. Follow these steps below.
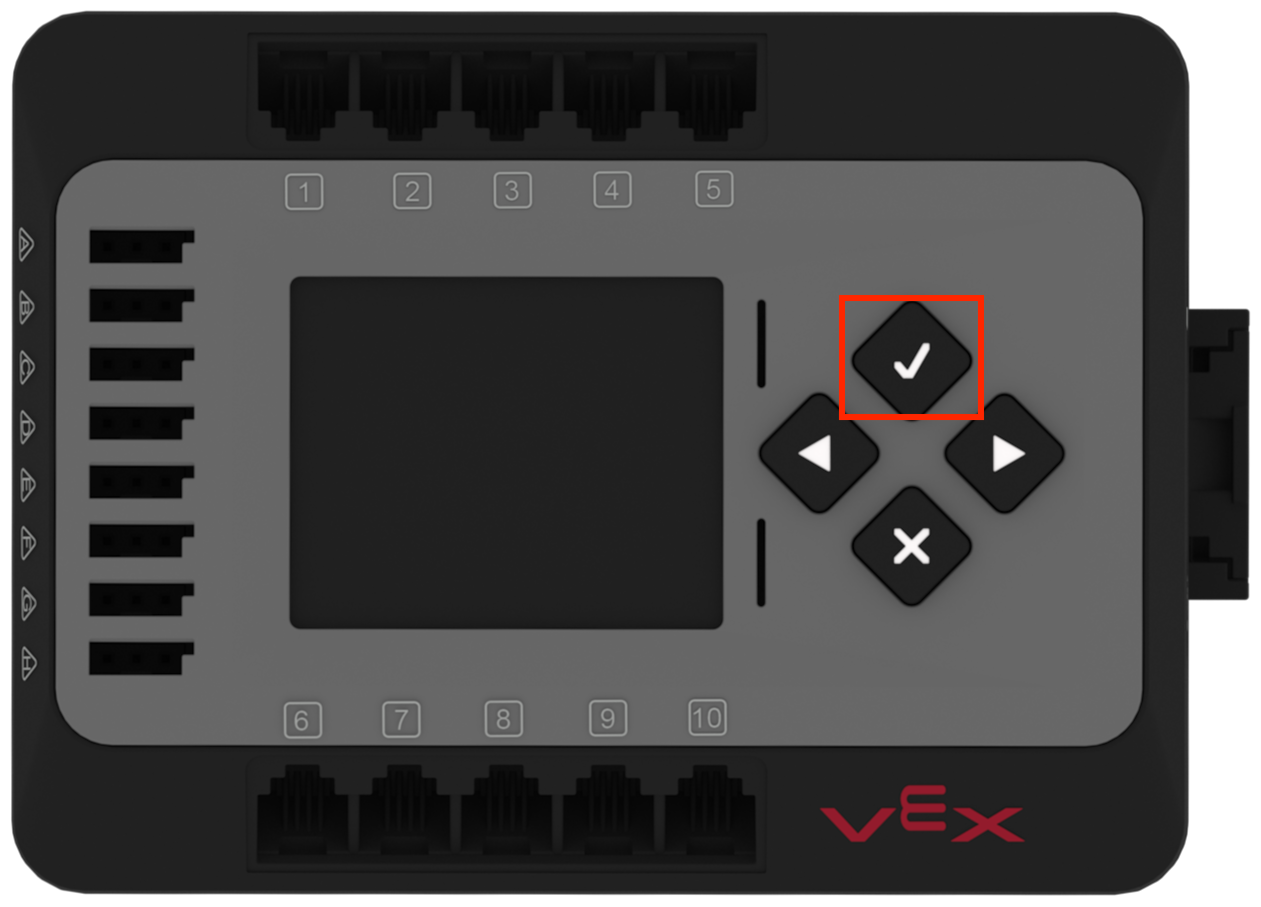
Turn on the Brain by pressing the Check button on the Brain.
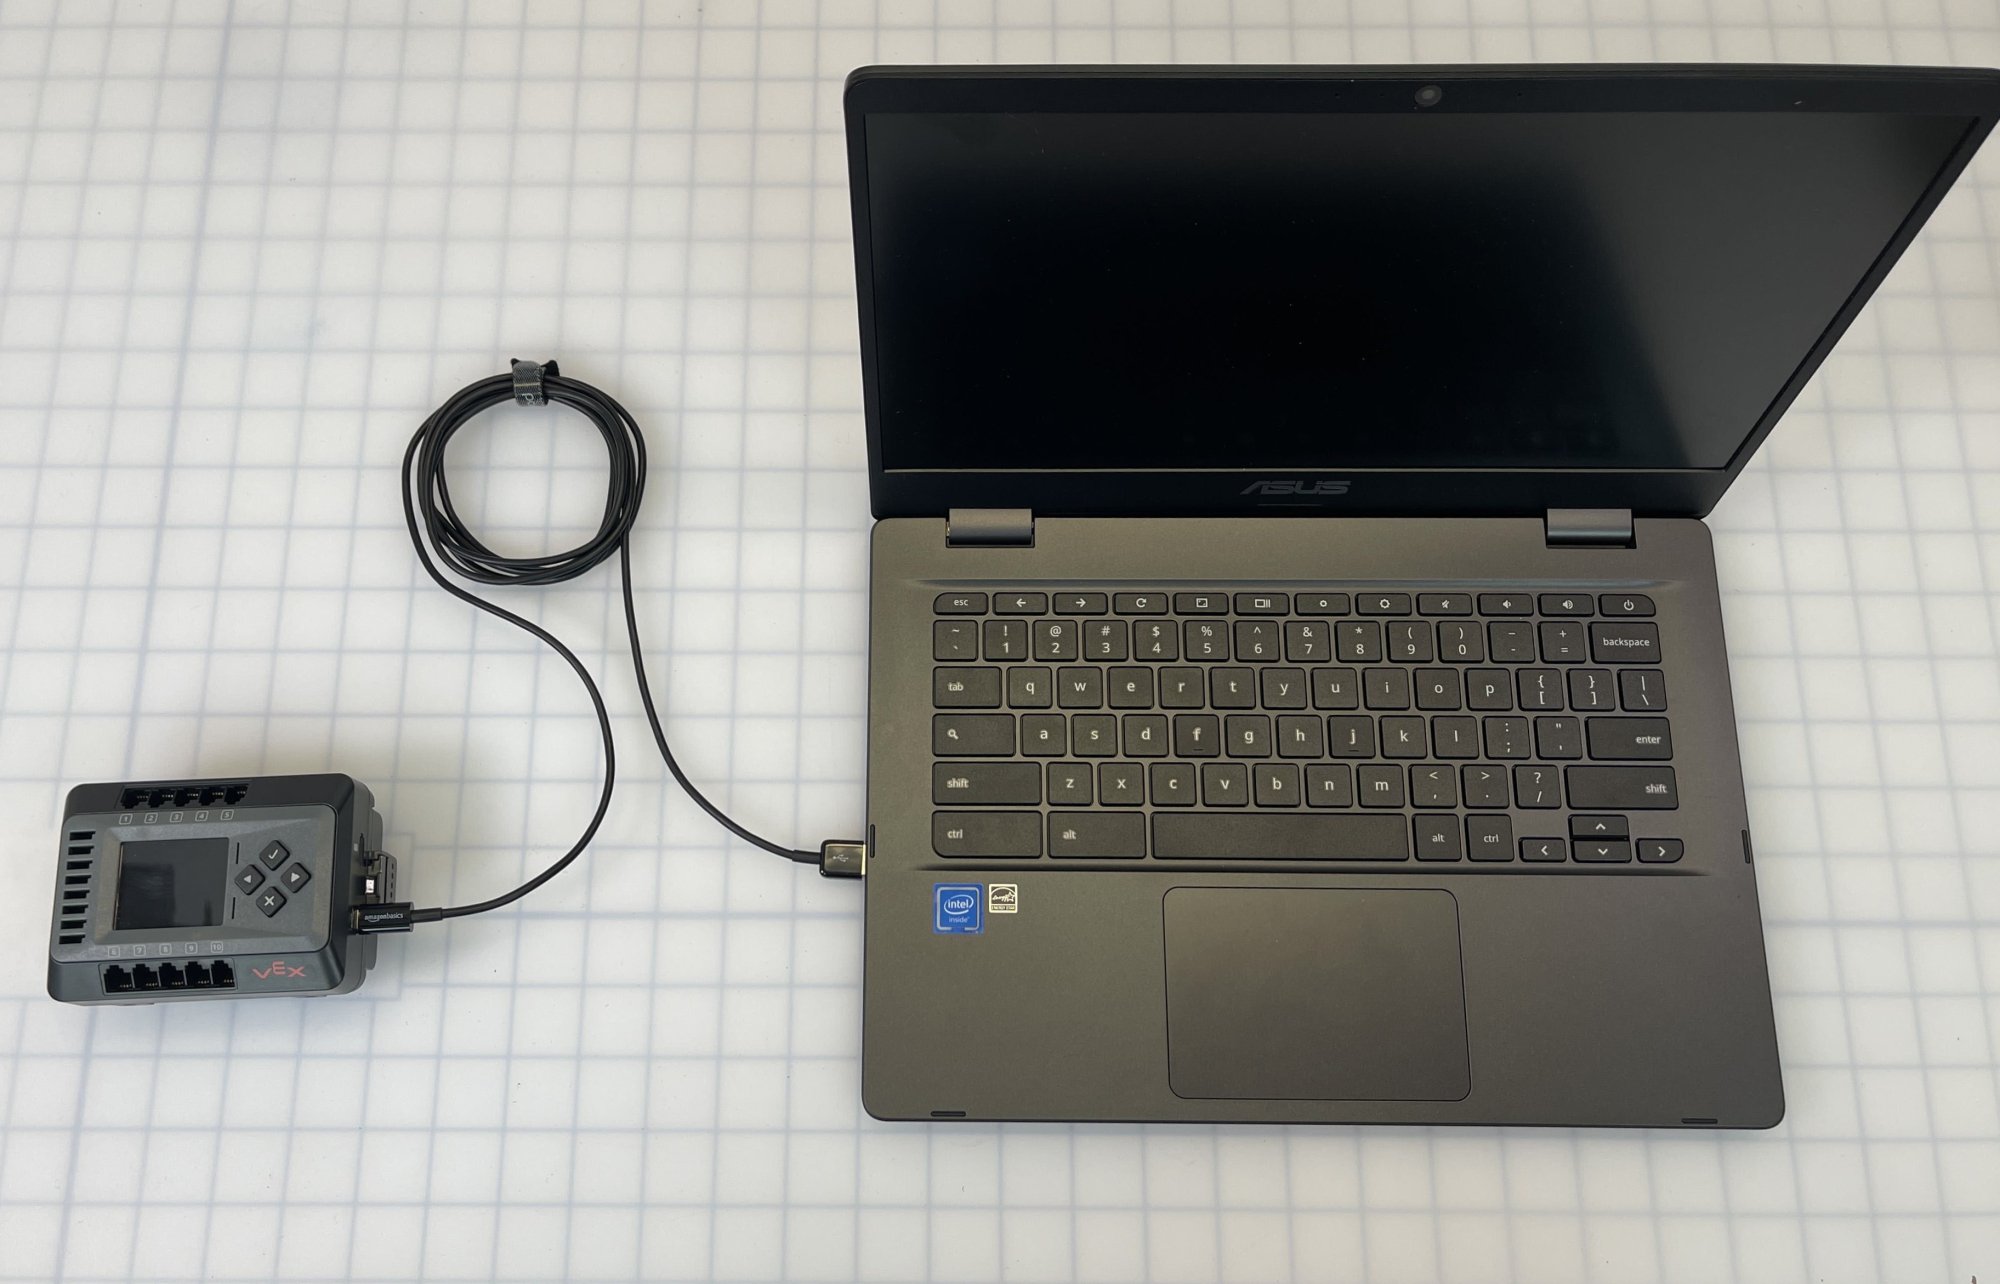
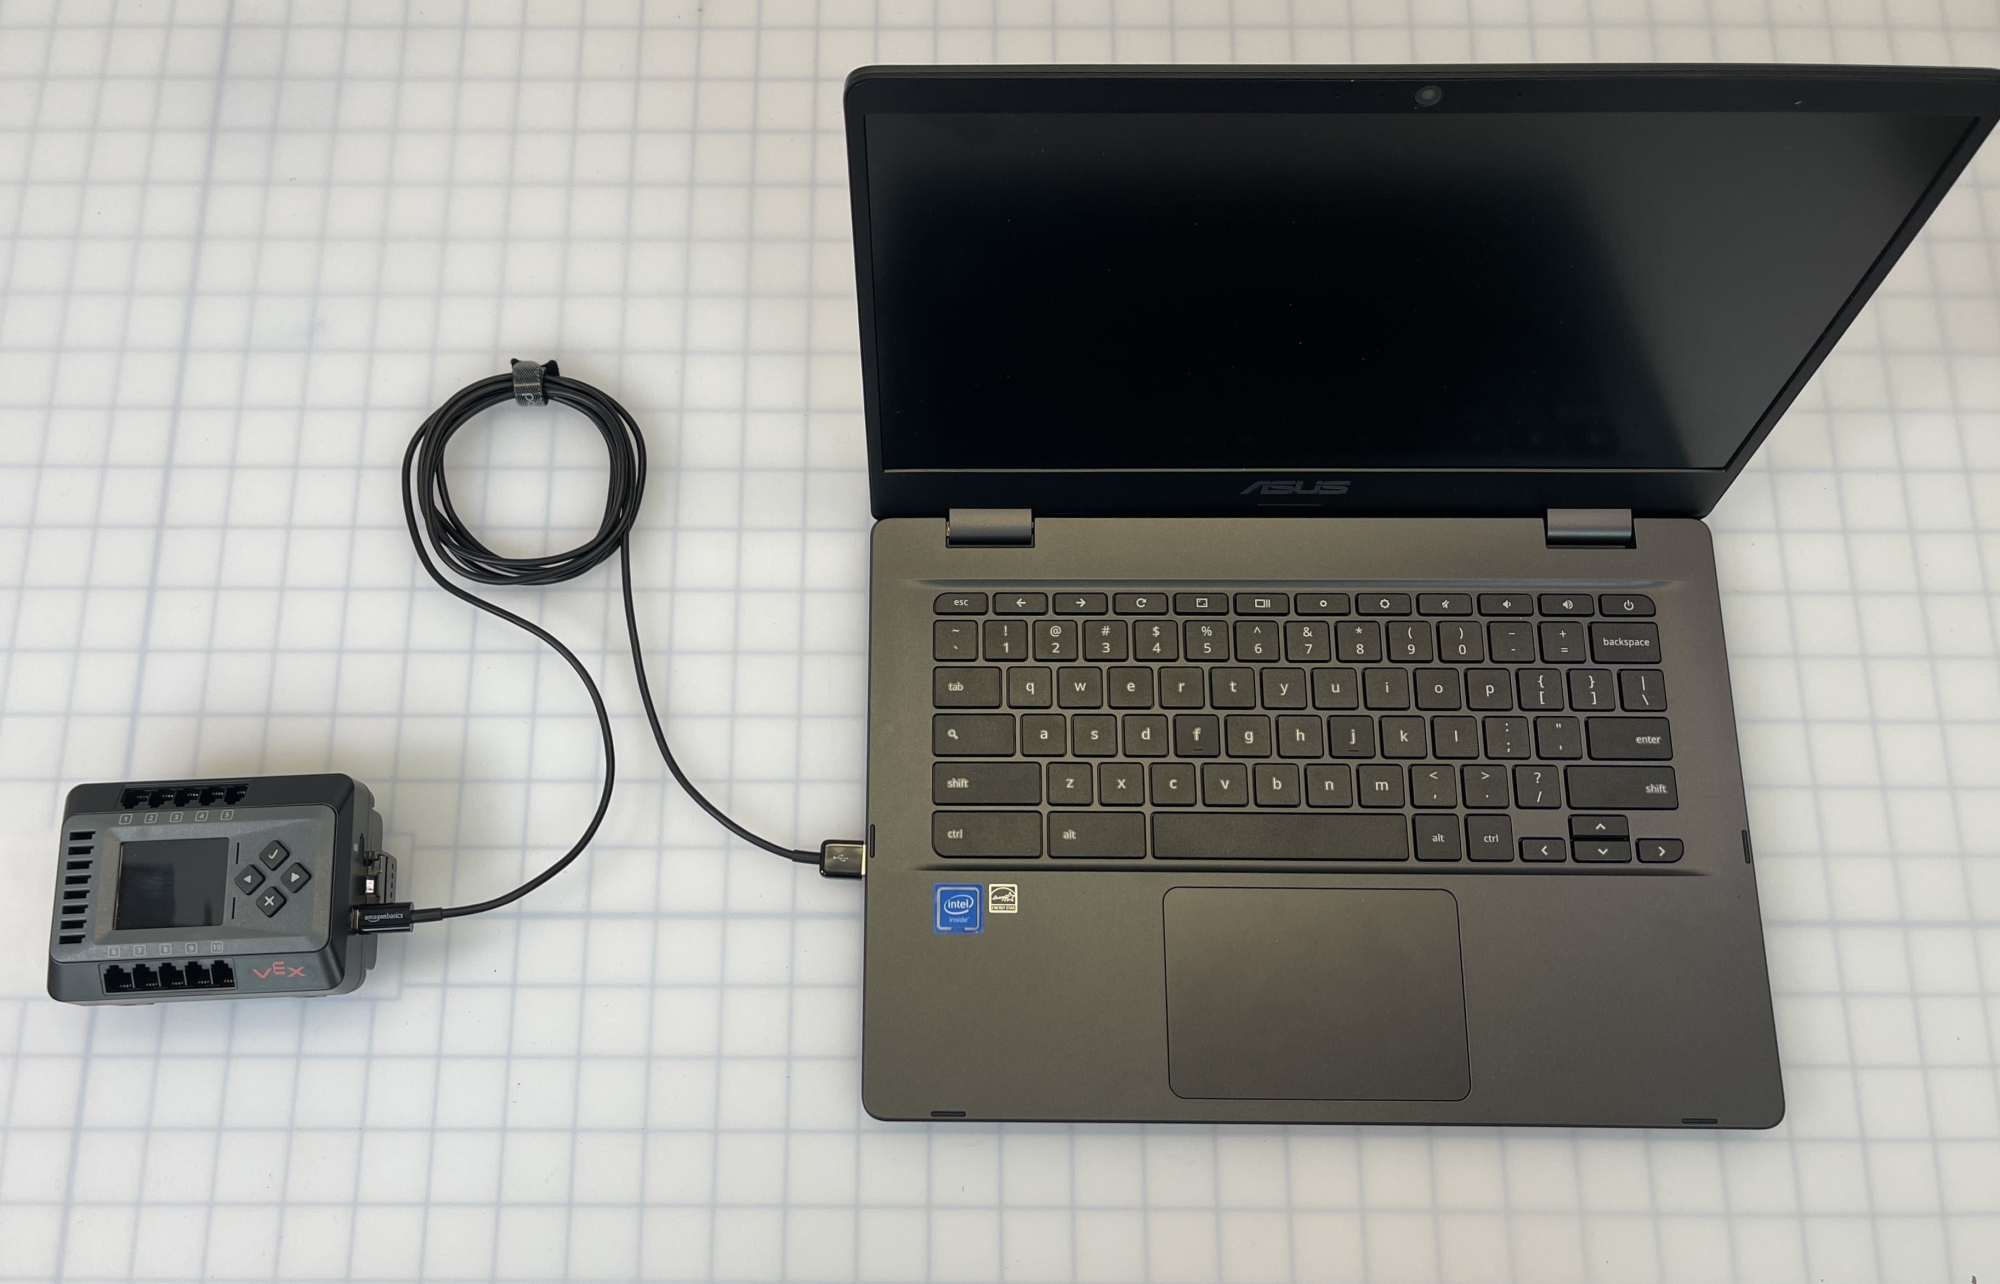
Connect the EXP Brain to your device, using the USB-C cable. This image shows the Brain not connected to a build, but the same connection step applies when connecting a Brain that is part of a CTE Workcell build.
Note: Your Brain must remain plugged into your device throughout the connection process.
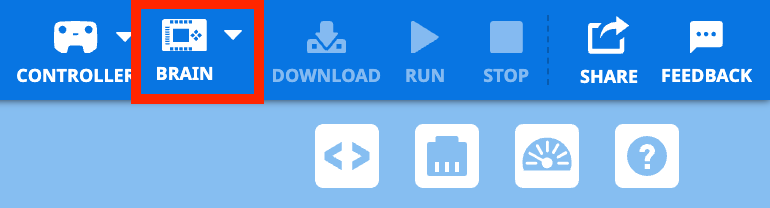
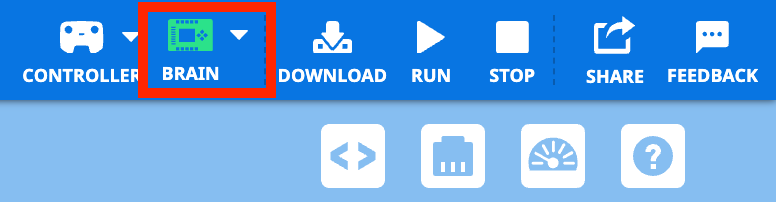
Select the Brain icon in the Toolbar.
Select Connect.

A text box will appear explaining which option to choose in the following connection window.
Select Continue on the text box to open the connection window.

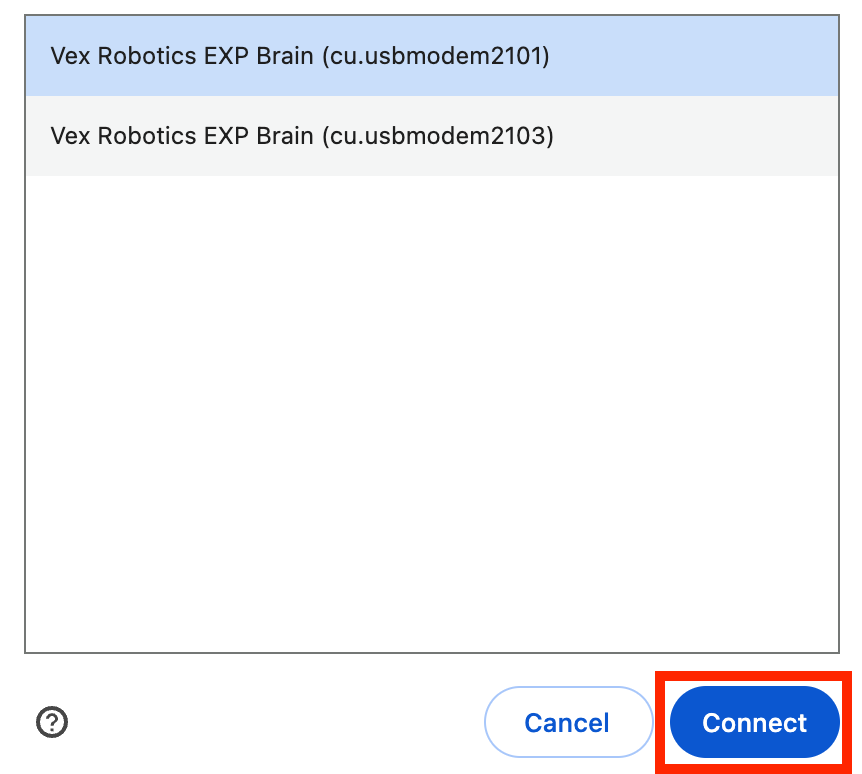
Select the EXP Brain that says Communications Port.
If Communications Port is not shown as an option, move to the next step.
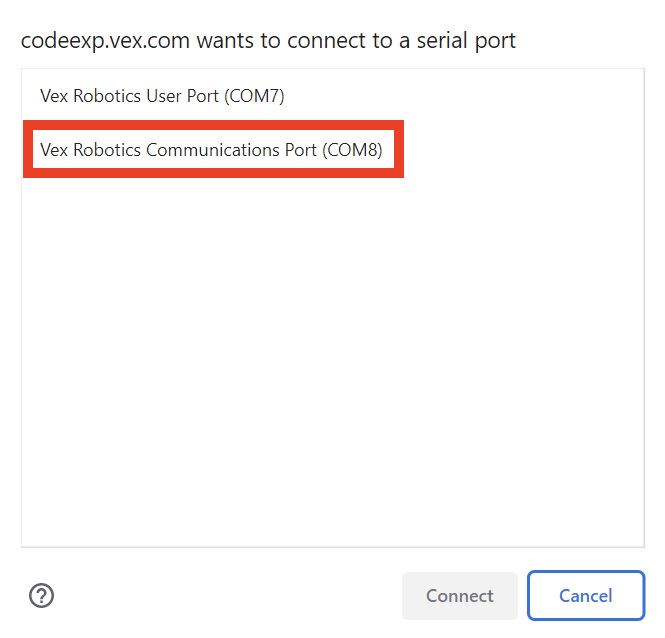
If Communications Port is not shown as an option, select the EXP Brain with the lowest ID number.

Select the Connect button, once you have chosen an EXP Brain.
Once the EXP Brain is successfully connected the Brain icon will turn green.
Note: If the Brain icon turns orange, you need to update firmware. Follow the steps at the bottom of this page to update firmware.
Accessing Projects and Connecting the EXP Brain in App-based VEXcode EXP
Follow the steps below to access VEXcode EXP and connect using the app-based version. The app-based version is available for download on Windows and Mac devices.
Turn on the Brain by pressing the Check button on the Brain.

Open VEXcode EXP.
Ensure that you have an EXP Brain project open. You can verify this by looking at the icon in the top left corner.
Connect the EXP Brain to your device, using the USB-C cable. This image shows the Brain not connected to a build, but the same connection step applies when connecting a Brain that is part of a CTE Workcell build.
Note: Your Brain must remain plugged into your device throughout the connection process.
The Brain Icon will display green once the EXP Brain is powered on and connected to the device with VEXcode EXP opened.
Note: If the Brain icon turns orange, you need to update firmware. Follow the steps at the bottom of this page to update firmware.

Updating Firmware
Many VEX devices, including the EXP Brain, contain their own internal processors and run on a special Operating System. This software is the VEX EXP Firmware and is called VEXos.
What is Firmware?
This Operating System is written entirely by VEX Robotics, and harnesses the flexibility and power of VEX hardware for the diverse needs of education. The Brain will automatically push out the latest updates to any device that is connected to it.
There are several reasons why you should update your VEX EXP Brain’s firmware with the latest VEXos, some of these include:
- Each update of VEXcode EXP will require the latest version of the VEXos firmware installed on the Brain before user programs can be downloaded.
- VEXos updates will include fixes for known bugs and add the software which is needed to operate any new devices.
- Updates allow for advanced programming features.
- The best way to ensure that your VEX system is functioning properly is to keep the software up to date.
How to Update Brain Firmware
To update Brain firmware your Brain must be powered on, wired to your computer, and connected to VEXcode EXP.
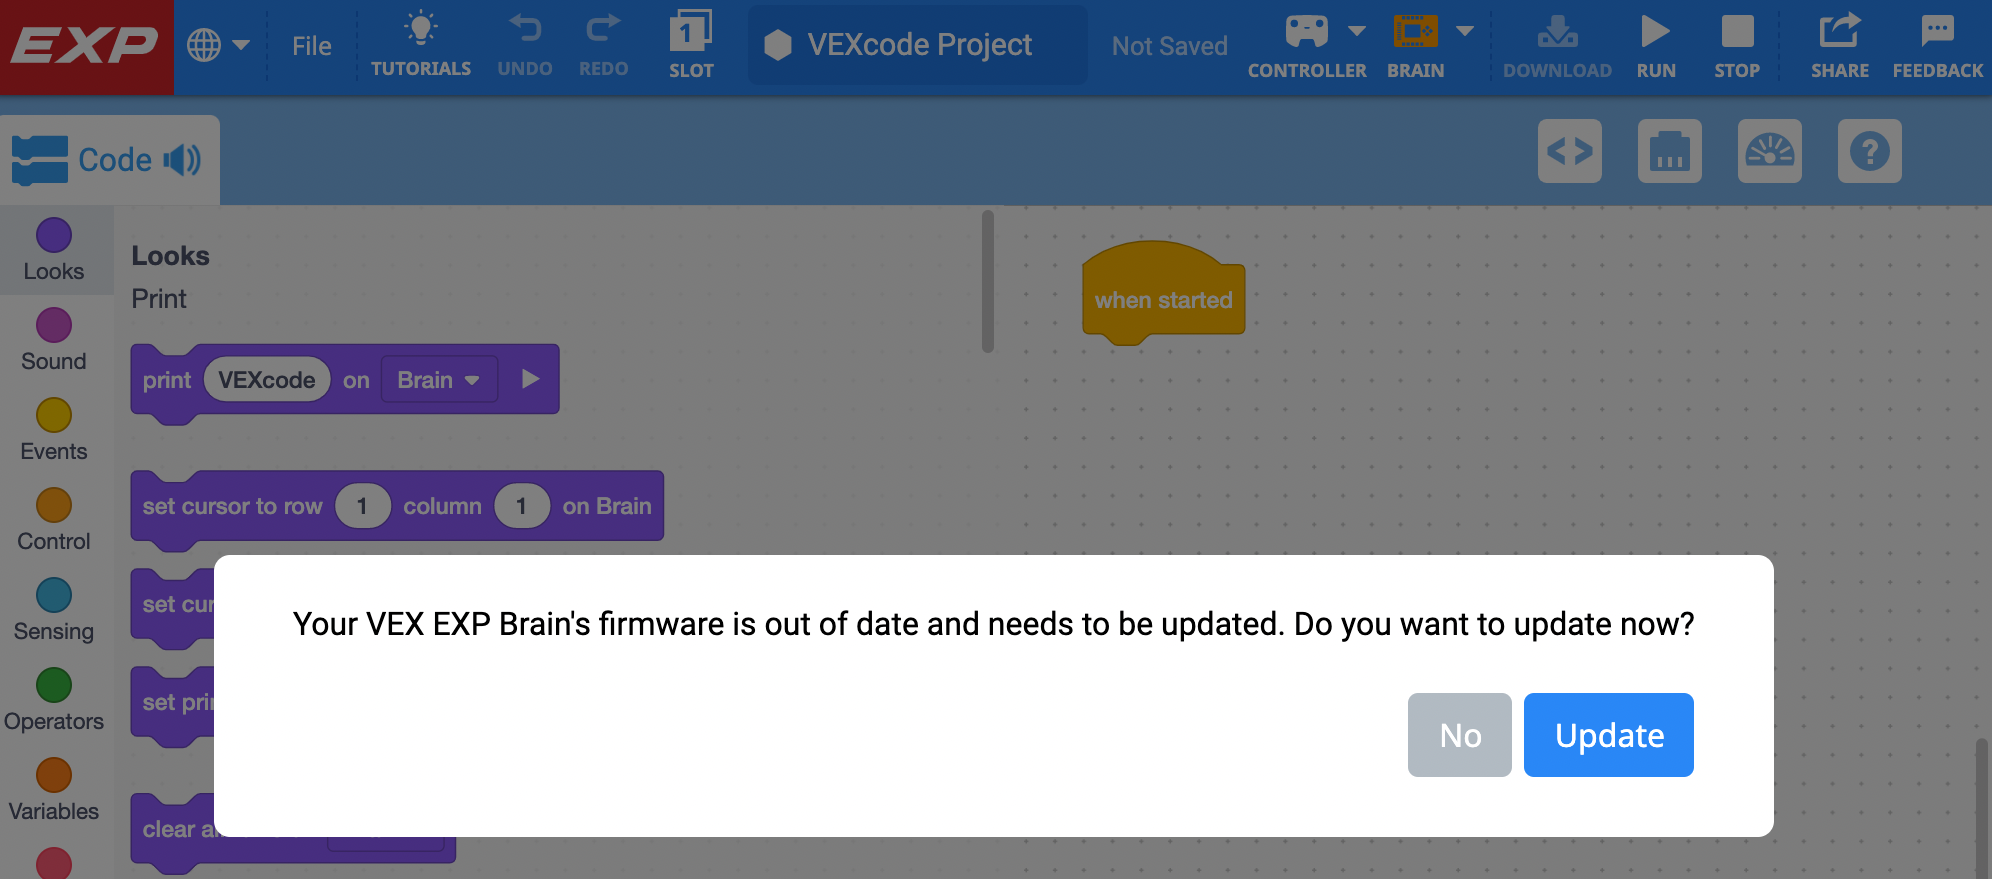
If the Brain's firmware is out of date, you will receive a prompt and the Brain icon will turn orange in the Toolbar.
Update the Brain's firmware in VEXcode EXP by selecting the Update button.
Wait while the firmware updates.
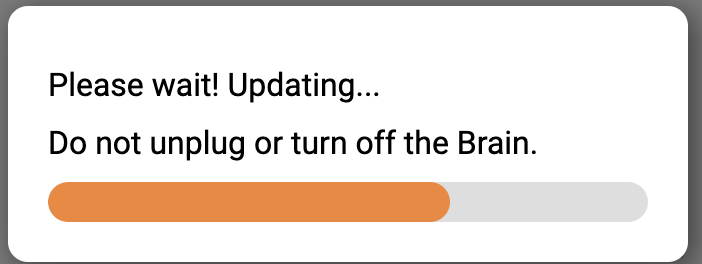
Once completed, select OK. The EXP Brain will power off and then back on, known as power cycling.
If using Web-based VEXcode EXP, you will need to reconnect your Brain to your device.
Once your firmware has been updated, the Brain icon will turn green.

Check Your Understanding
Before you begin the Mid-Unit Reflection and Goal Adjustment, ensure that you understand the concepts covered in this Lesson by answering the questions in the document below in your engineering notebook.
Check Your Understanding questions > (Google Doc / .docx / .pdf)
Select Next > to complete the Mid-Unit Reflection.