
Lesson 2: Using the Front Eye Sensor with [Wait until]
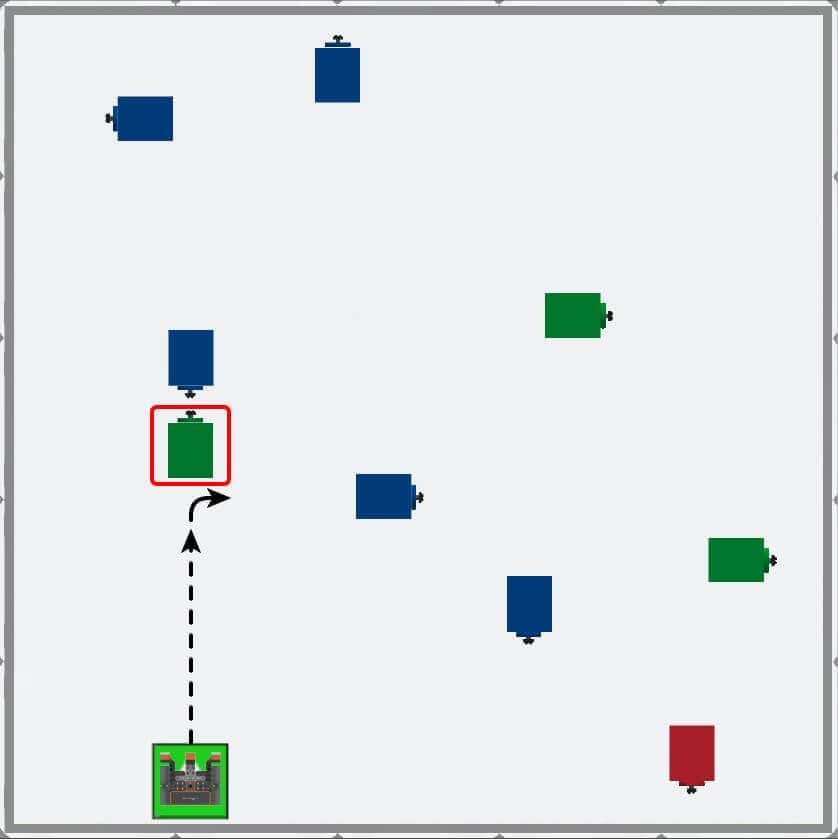
In this Lesson, you will create a project using the Front Eye Sensor with the [Wait until] block to navigate the VR Robot through the Disk Maze Playground. Your project will instruct the VR Robot to turn right when a green disk is detected, and left when a blue disk is detected by the Front Eye Sensor. In the mini challenge, you will apply these skills to drive the VR Robot to each disk in the Disk Maze Playground and finish at the red disk.

Learning Outcomes
- Identify that the [Wait until] block can be used with the Eye Sensor.
Name and Save the Project
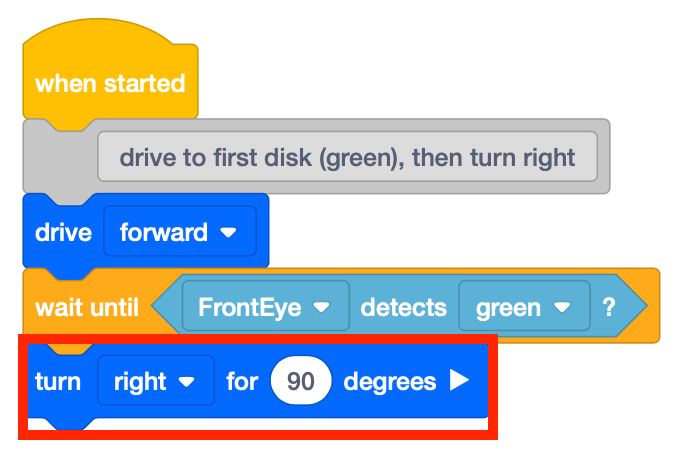
This project will use the [Wait until] block to instruct the VR Robot to turn when the Front Eye Sensor detects the first (green) colored Disk on the Disk Maze Playground.
-
Start a new project in VEXcode VR and name the project Unit7Lesson2.

-
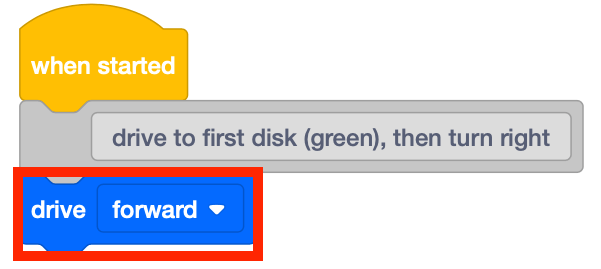
To begin, the VR Robot will need to drive toward the first disk on the Disk Maze Playground. Drag the [Drive] block into the work space. Remember that you can use VEXcode blocks, Switch blocks, or a combination of both block types to build your project.
-
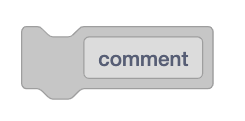
This example project will use comment blocks to remind the user what the intention is for the behaviors of the VR Robot during the following section of the project.
-
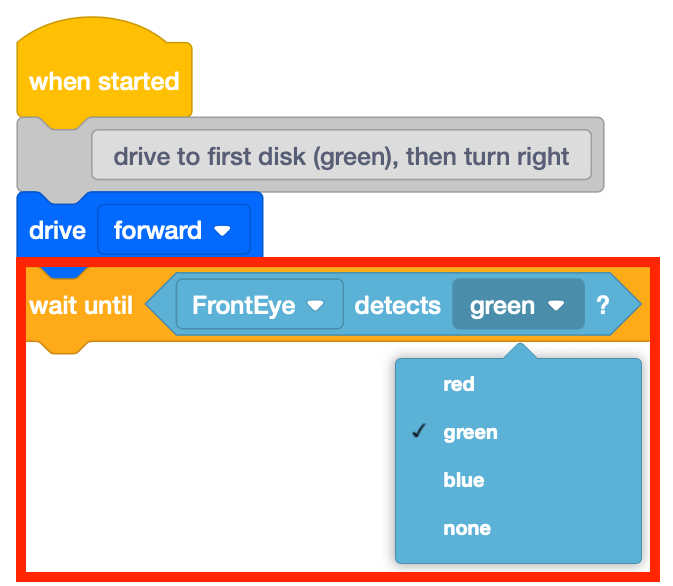
Add the [Wait until] block and place the <Color sensing> block inside. The first disk that the VR Robot will encounter will be green. Select ‘green’ as the color to be detected.
-
Add a [Turn for] block to instruct the VR Robot to turn right 90 degrees when it detects a green disk.
- Open the Disk Maze Playground if it is not already open, and run the project.
-
Watch the VR Robot drive forward to the first green disk then turn right.
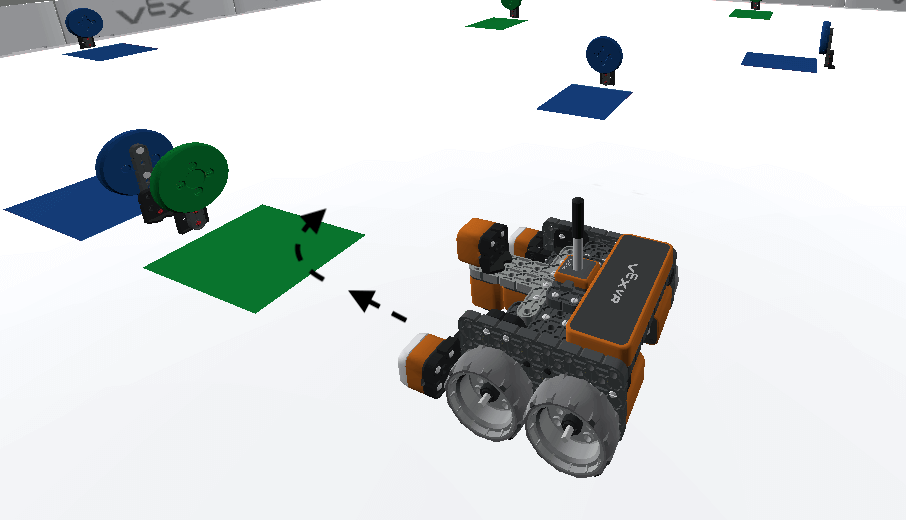
- Notice that the VR Robot drives forward until the condition of the <Color sensing> block reports TRUE. Then, it executes the next block in the stack, which is to turn right for 90 degrees.
Select the Next button to continue with the rest of this Lesson.