
In the previous Lesson you estimated coordinates of different locations on the CTE Tile. Now you will gather specific (x, y, z) coordinates in VEXcode EXP.
In this Lesson, you will learn how to use the Teach Pendant to:
- Enable manual movement.
- Gather (x, y, z) coordinates.
At the end of this Lesson, you will use those skills in the activity to manually move your 6-Axis Arm to find the (x, y, z) coordinates of three Tile locations.

Using the Teach Pendant to Gather Coordinates
The Teach Pendant within VEXcode EXP is an interface used to control the movement of the 6-Axis Arm without the need for coding. This device is essential for both gathering information needed to accurately code the 6-Axis Arm as well as understanding its movements.
Enable Manual Movement
Manual movement is when you physically move the 6-Axis Arm by hand.
Important: The 6-Axis Arm should only be moved by hand after manual movement has been enabled in the Teach Pendant within VEXcode EXP. Attempting to move the 6-Axis Arm by hand without manual movement enabled may damage the 6-Axis Arm.
Follow along with the steps below to open the Teach Pendant and enable manual movement for your 6-Axis Arm.
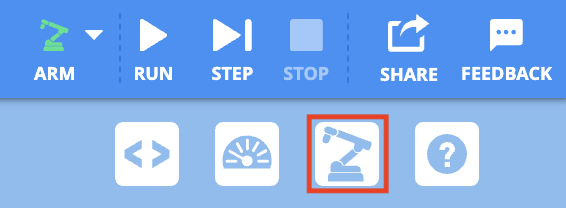
Select the Teach Pendant icon to open it. Be sure the 6-Axis Arm is connected to VEXcode.
Note: You will be prompted to connect the 6-Axis Arm in order to use the Teach Pendant, if the 6-Axis Arm is not already connected.
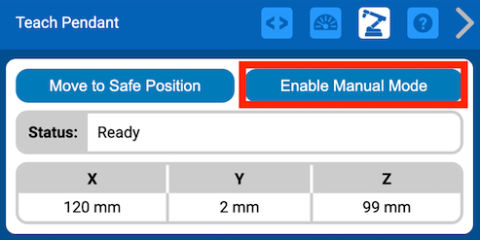
Select Move to Safe Position to begin using the Teach Pendant.
This moves the 6-Axis Arm to a consistent 'safe' position, at approximately (120, 0, 100). Once selected, the Teach Pendant features will be enabled.

Enable manual movement by selecting Enable Manual Mode.
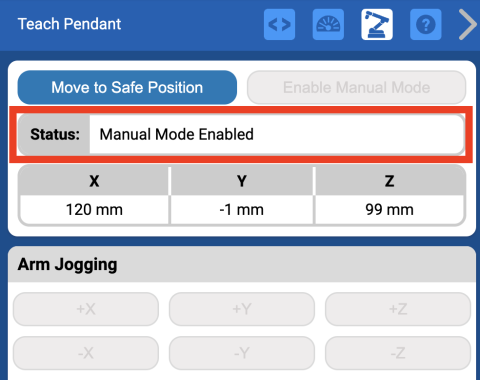
In Manual Mode, the Status bar of the Teach Pendant will show 'Manual Mode Enabled', and the jogging feature will be disabled.
Gather (x, y, z) Coordinates
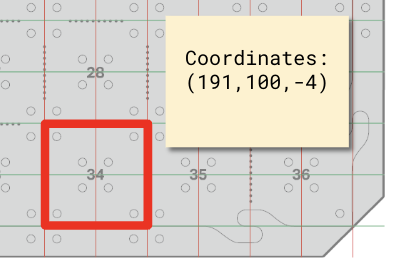
Once manual movement is enabled, (x, y, z) coordinates can be gathered by physically moving the 6-Axis Arm to the desired location. Follow along with the steps below to gather the coordinate of Tile location 34.
Physically move the end of the 6-Axis Arm so that the Magnet Pickup Tool is touching Tile location 34, as shown in this video.
The (x, y, z) coordinates are shown on the Teach Pendant Dashboard. These update in real time as the 6-Axis Arm moves (as shown in the video above).
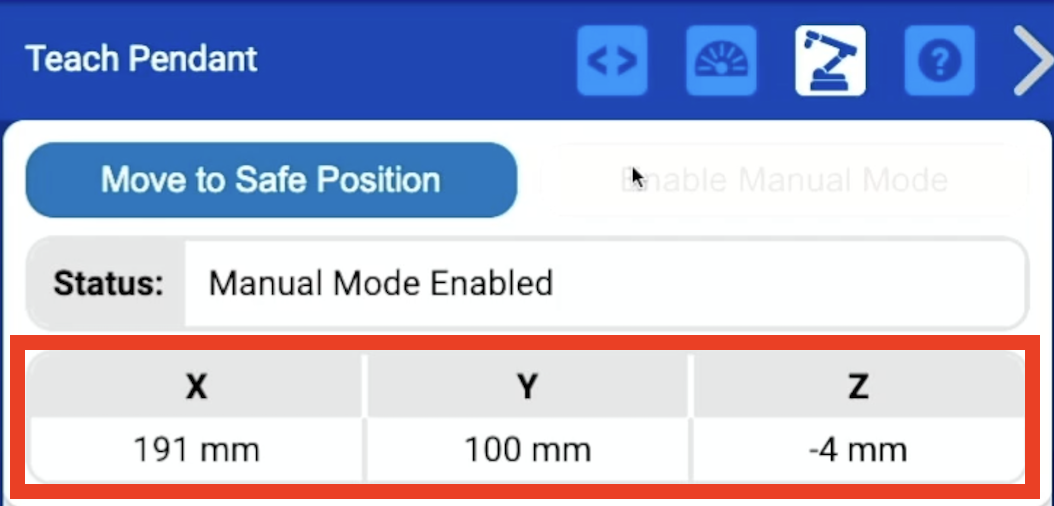
Record the (x, y, z) coordinates of Tile location 34 in your engineering notebook.
Activity
Now that you have learned how to manually move the 6-Axis Arm, you will practice recording the coordinates of multiple Tile locations. You will be gathering and recording the coordinates of the same Tile locations that you estimated in the previous Lesson. Make sure you have those estimates available when completing this activity.
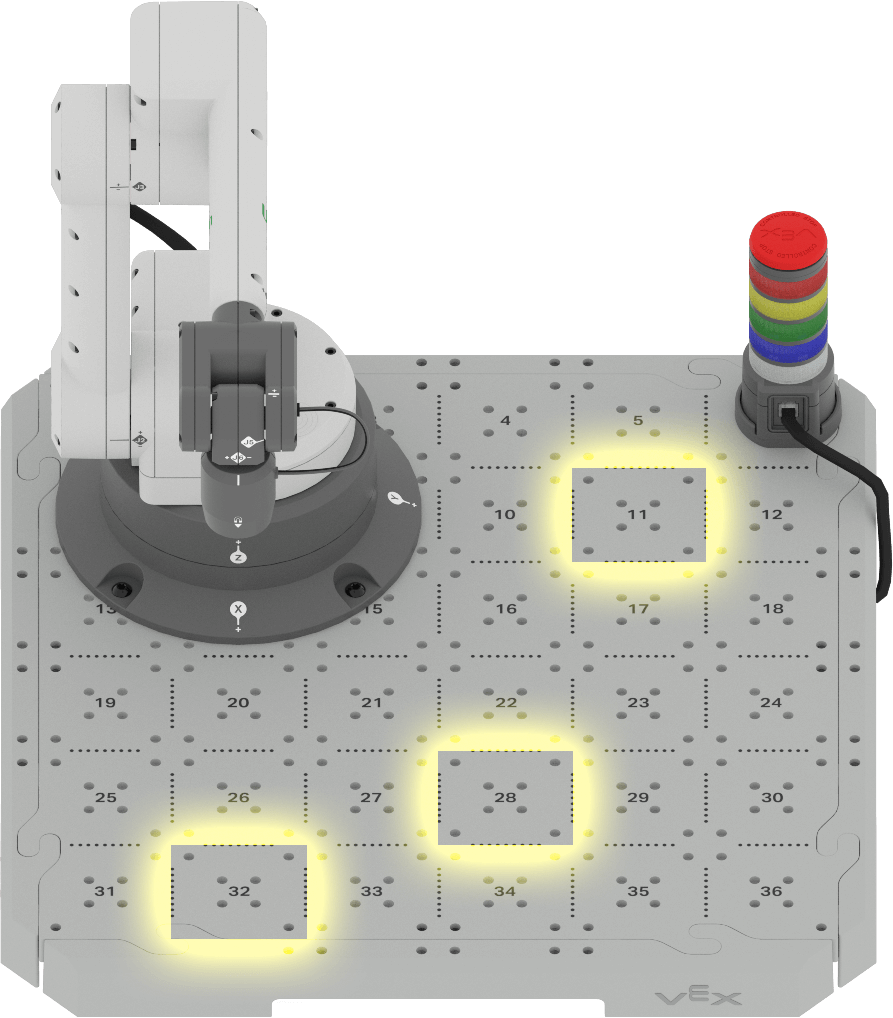
- Manually move the 6-Axis Arm and record the (x, y, z) coordinates of the following Tile locations in your engineering notebook:
- Tile location 11
- Tile location 32
- Tile location 28
- Compare your gathered coordinates to your estimates of the same Tile locations in the previous Lesson in your engineering notebook. How close were your estimates?
Check Your Understanding
Before beginning the next Lesson, ensure that you understand the concepts in this Lesson by answering the questions in the document below in your engineering notebook.
Check Your Understanding questions > (Google Doc / .docx / .pdf)
Select Next > to combine your skills in the Putting It All Together activity.