
In the previous Unit, the 6-Axis Robotic Arm was used to move objects from one location to another. However, there may be times when objects are out of reach of the 6-Axis Arm. In this Unit, we will discuss how conveyors can expand a workcell's capabilities to move larger quantities of objects across further distances.
In this Lesson, you will learn:
- What a conveyor is and how they are used to move objects
- The difference between serpentine and linear conveyors
- How the CTE Workcell Base incorporates conveyors
- How to manage cables on the CTE Workcell Base
At the end of this Lesson, you will discuss what you learned as you answer questions in your engineering notebook.
Introduction to Conveyors
Conveyors are machines that move objects or materials from one place to another. They are used in many industries like manufacturing, food processing, and mining to transport items efficiently over short or long distances. Think of them as mechanical paths or belts that carry objects. One of the most common examples of a conveyor is the airport luggage belt.
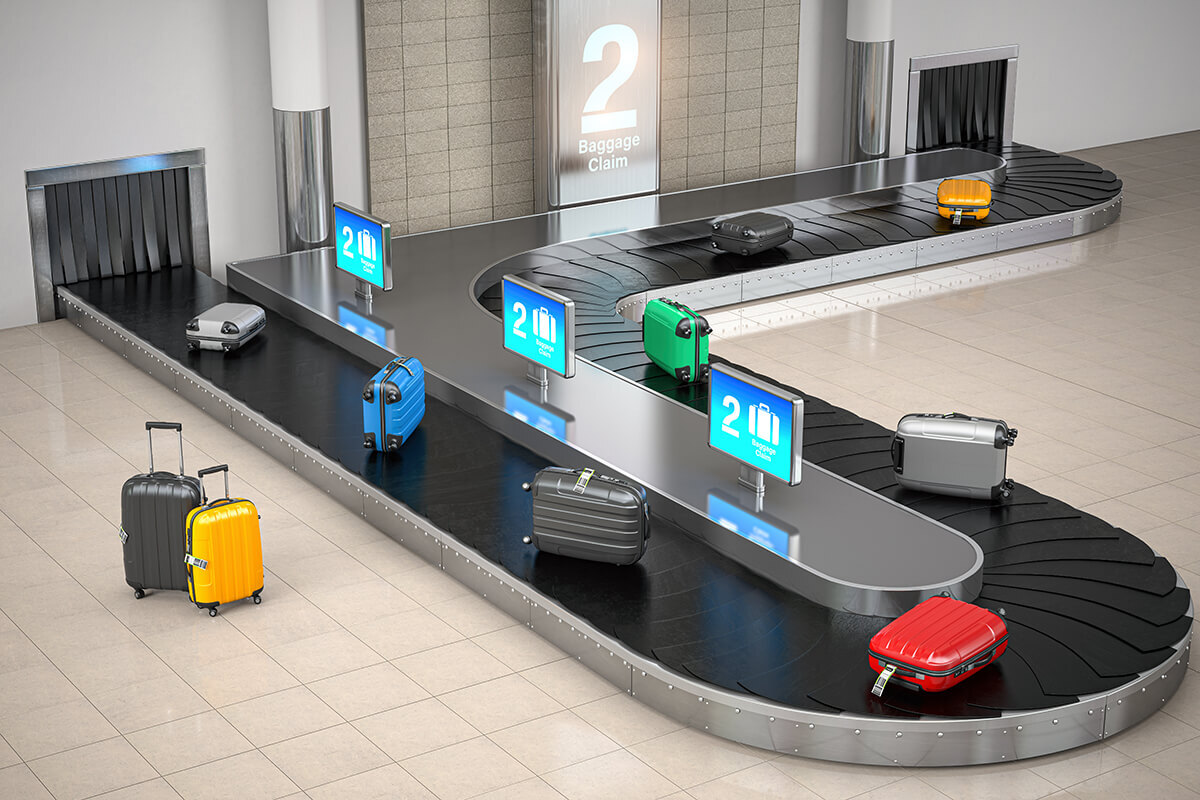
This conveyor allows the airport staff to move luggage from the aircraft to the baggage claim area without requiring a human to distribute every bag to the passengers. This helps reduce the manpower needed to complete a task and increase the efficiency of the airport.
Serpentine Conveyors
The CTE Workcell uses two types of conveyors, serpentine and linear. The serpentine conveyor, also called a snake or spiral conveyor, consists of interconnected belts and platforms arranged in a series of twists and turns, resembling a snake-like shape. These conveyors are designed to maximize the use of available space. As you can see in the image of the airport luggage above, this uses a serpentine conveyor to create the most space for passengers to retrieve their luggage while not taking up much floor space.
Linear Conveyors
Linear conveyors are straight conveyors that move items in a straight line from point A to point B. They are like a straight road or a flat escalator at the airport. They are simple and efficient for transporting things over a direct path. Within manufacturing operations, linear conveyors often serve as an intermediary between more complex sections of a larger conveyor.

Many assembly lines use linear conveyors. These allow for human workers to be aligned with one another as they work on the items that move past. Linear conveyors also allow these employees to easily move in and out of the workspace without needing to navigate the curving nature of a serpentine conveyor.
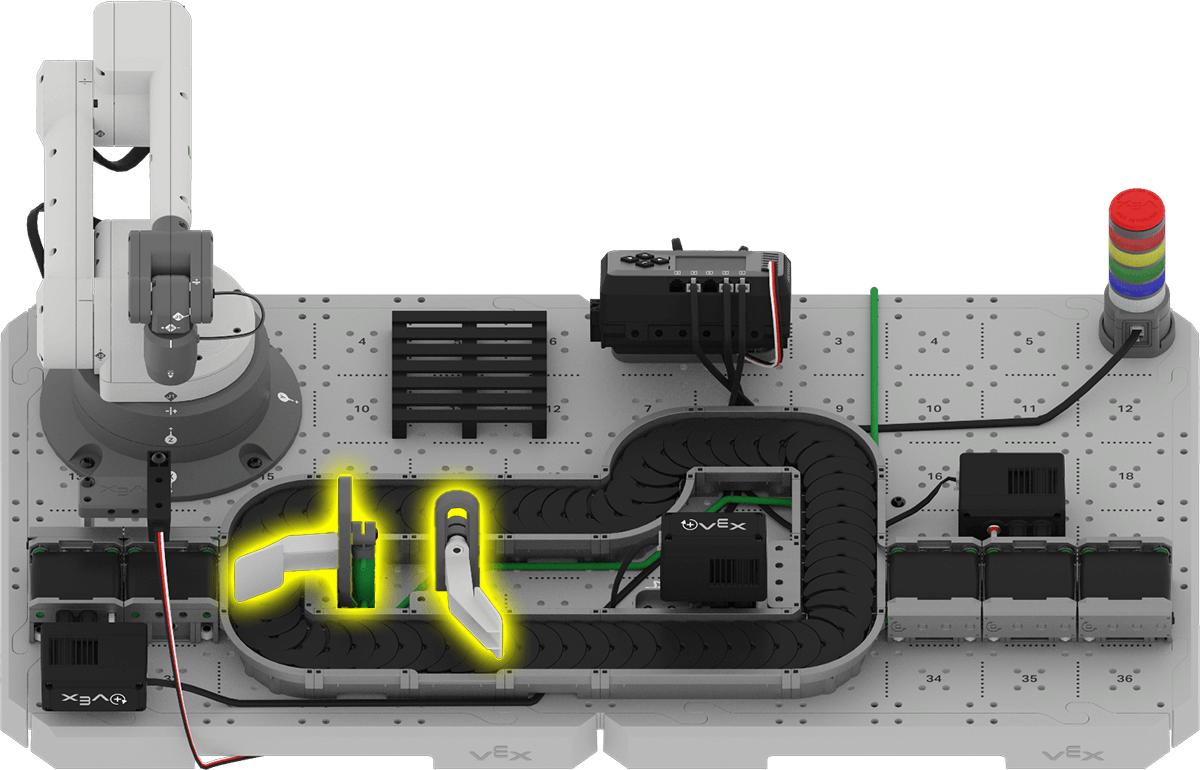
Conveyors on the CTE Workcell
The CTE Workcell Base includes three different conveyors as well as two diverters.
- Entry Conveyor: entry point for the Disk.
- Transport Conveyor: transports the Disk around the conveyor toward the exit.
- Diverter: diverts the disk from the Transport Conveyor onto the Exit Conveyor.
- Exit Conveyor: discards the Disk off of the Workcell.
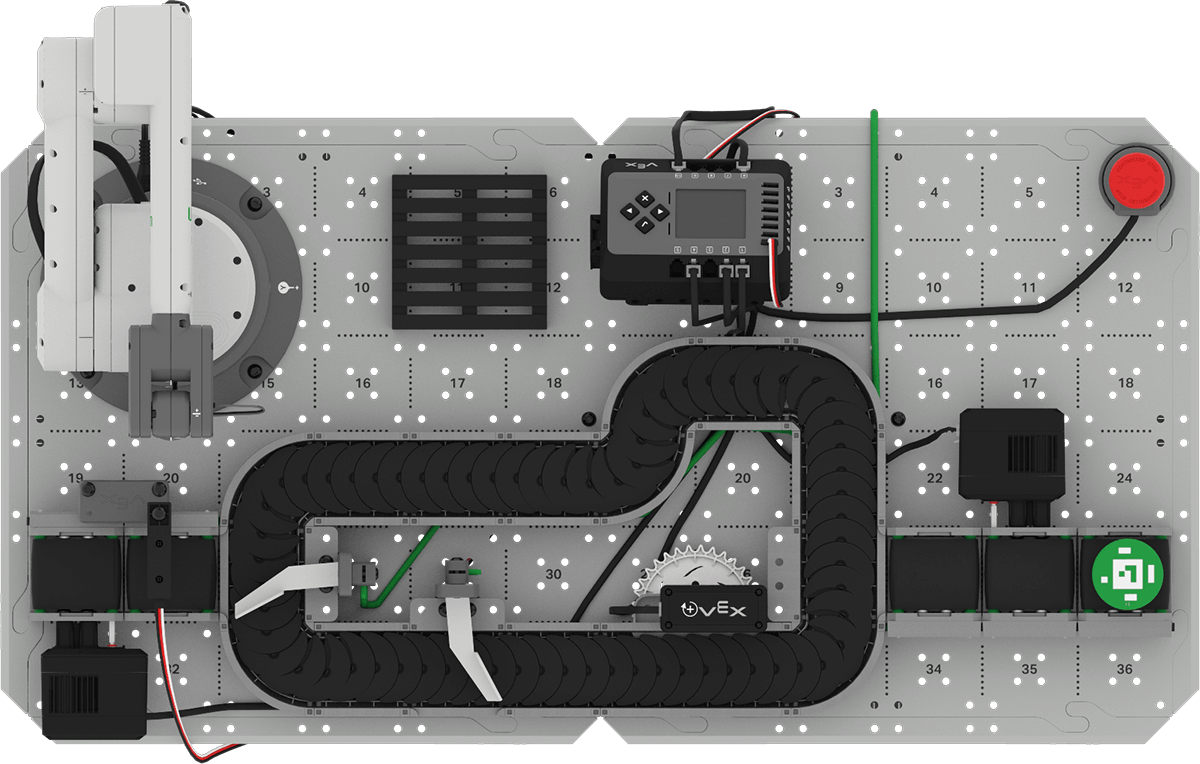
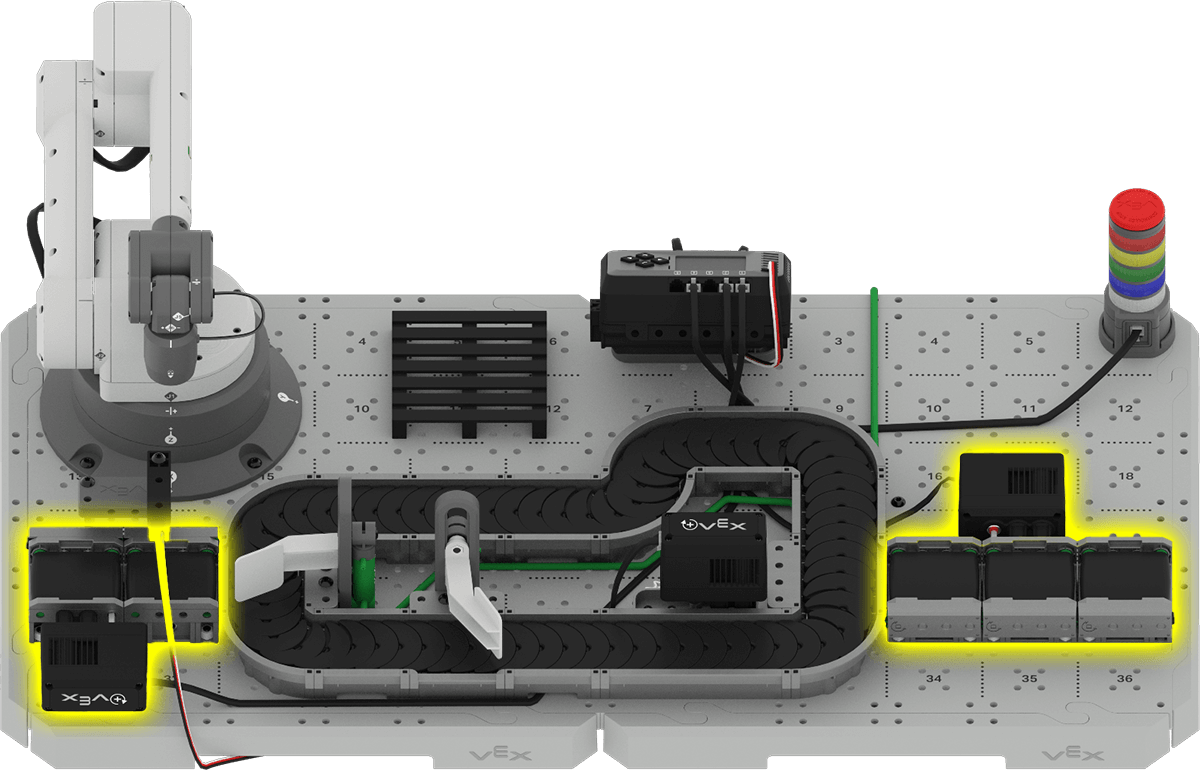
The CTE Workcell uses linear conveyors for the Entry and Exit Conveyors. These connect to the larger serpentine conveyor to move Disks around the Workcell.
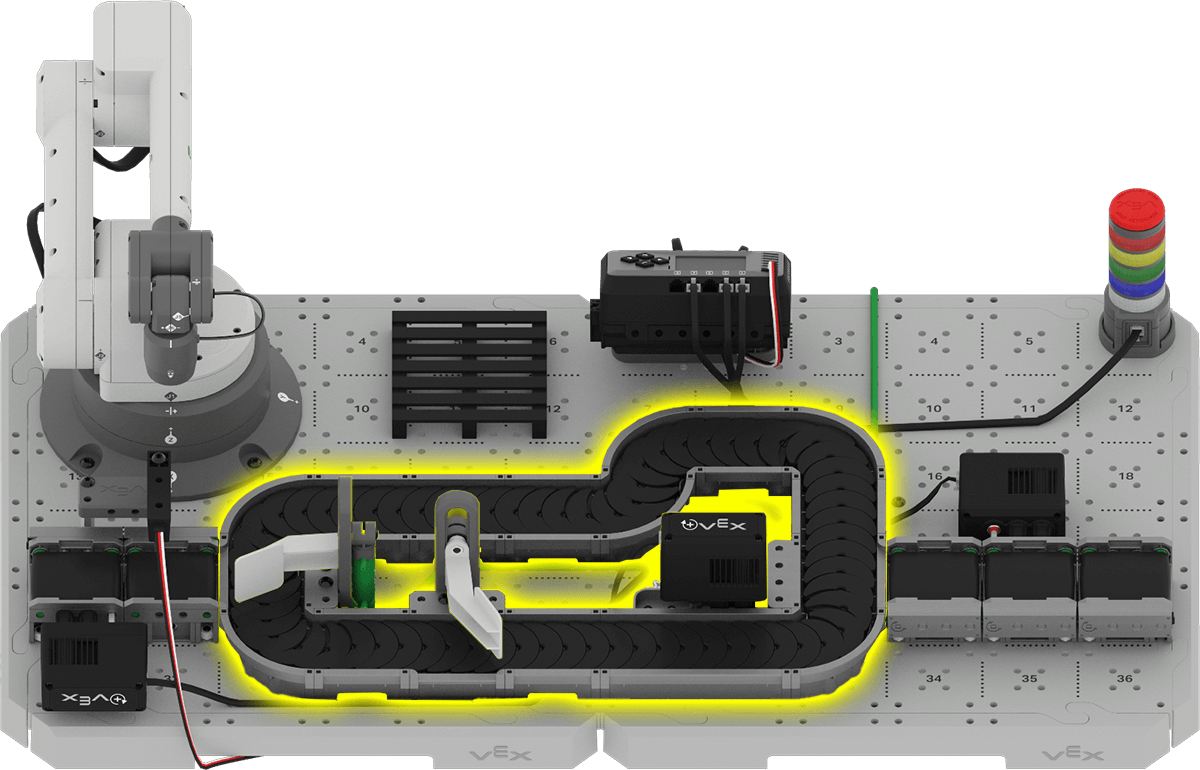
The CTE Workcell uses a serpentine conveyor in the middle of the build for the Transport Conveyor. This curving section of conveyor allows for the addition of motors and diverters and maximizes the space available on the CTE Tiles.
A diverter is a device used to move an object “onto” or “off of” a conveyor system.
On the CTE Workcell, diverters are used on the Transport Conveyor to redirect Disks from one conveyor to another at junctions where multiple conveyors intersect. You will learn more about controlling diverters in a future Unit.
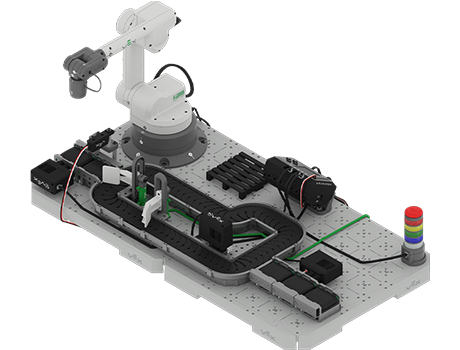
Build
Now you are ready to add conveyors and build the CTE Workcell Base that you will use in this Unit.
Managing Cables
The CTE Workcell Base adds many devices to the build. There are a total of three motors, an Object Sensor, a Signal Tower, and the 6-Axis Arm all with connections to the EXP Brain. Understanding techniques for keeping the cables organized can help ensure that no errors happen while the project is running because of a loose or unruly wire. Cable management can also help during troubleshooting because it is easier to verify that all devices are corrected to the right port on the Brain.
Most cable management is done using zip ties, which are included in your CTE Workcell Kit. Below are three techniques for managing the cables on the CTE Workcell. Use these as desired on your build.
CTE Tile Frames lift the Tiles off of the table top, allowing you to run cables underneath. Zip tie points are available on the Tile Frames to route cables underneath and along the edges of the Tiles.
Note: Make sure that all zip ties are tight enough to hold the cables, but loose enough for a small pair of scissors to snip the tie without damaging the cable.
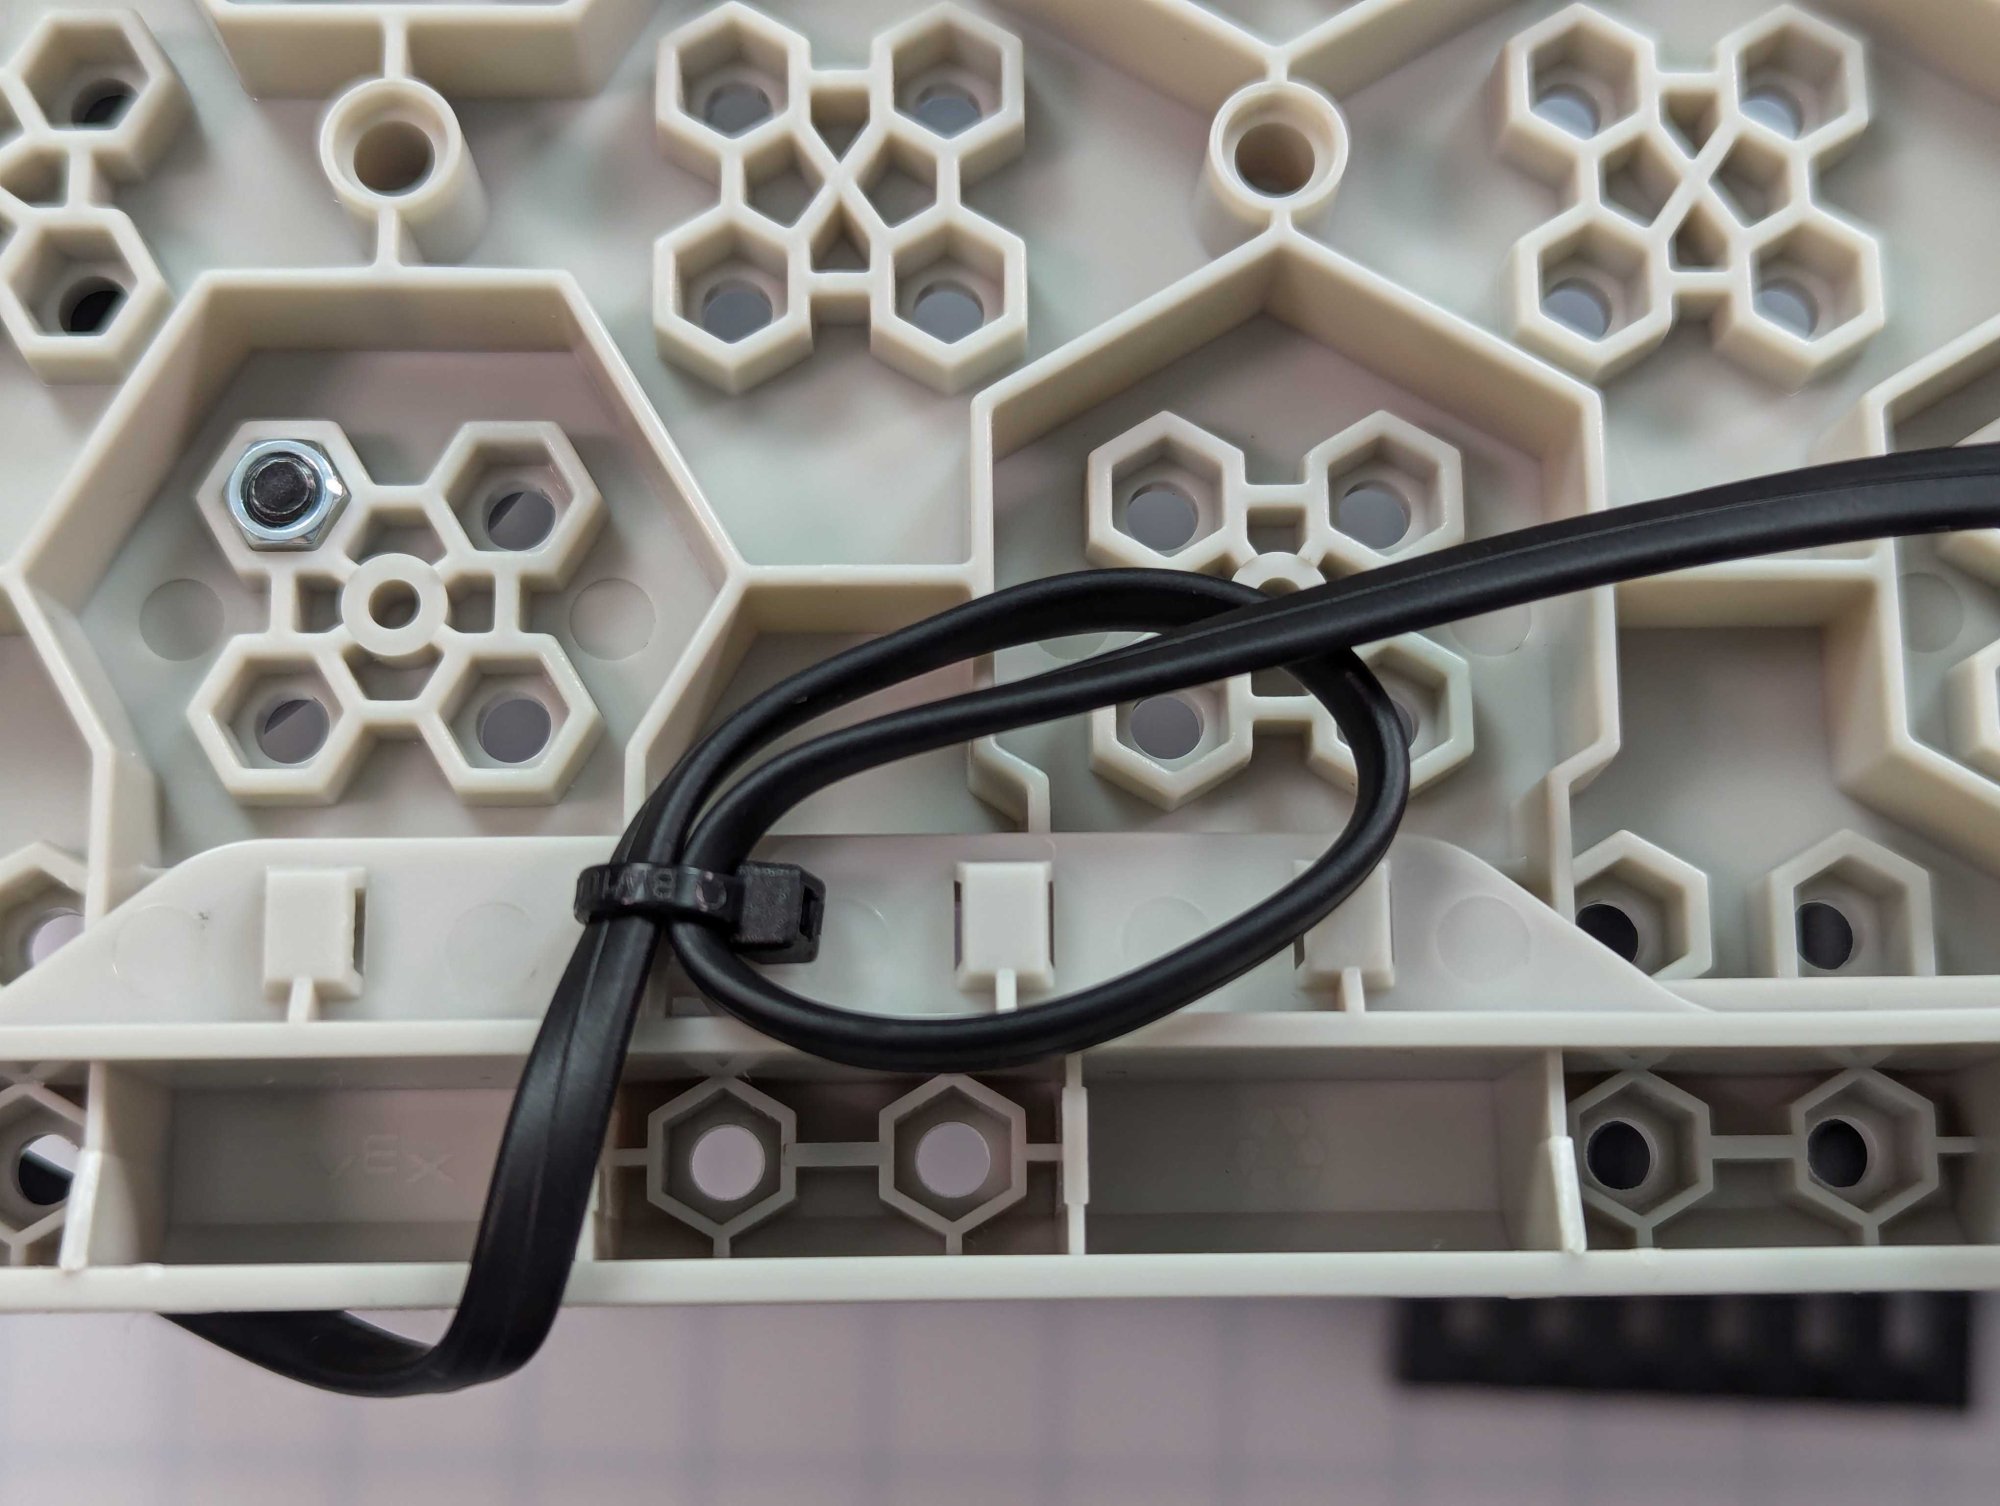
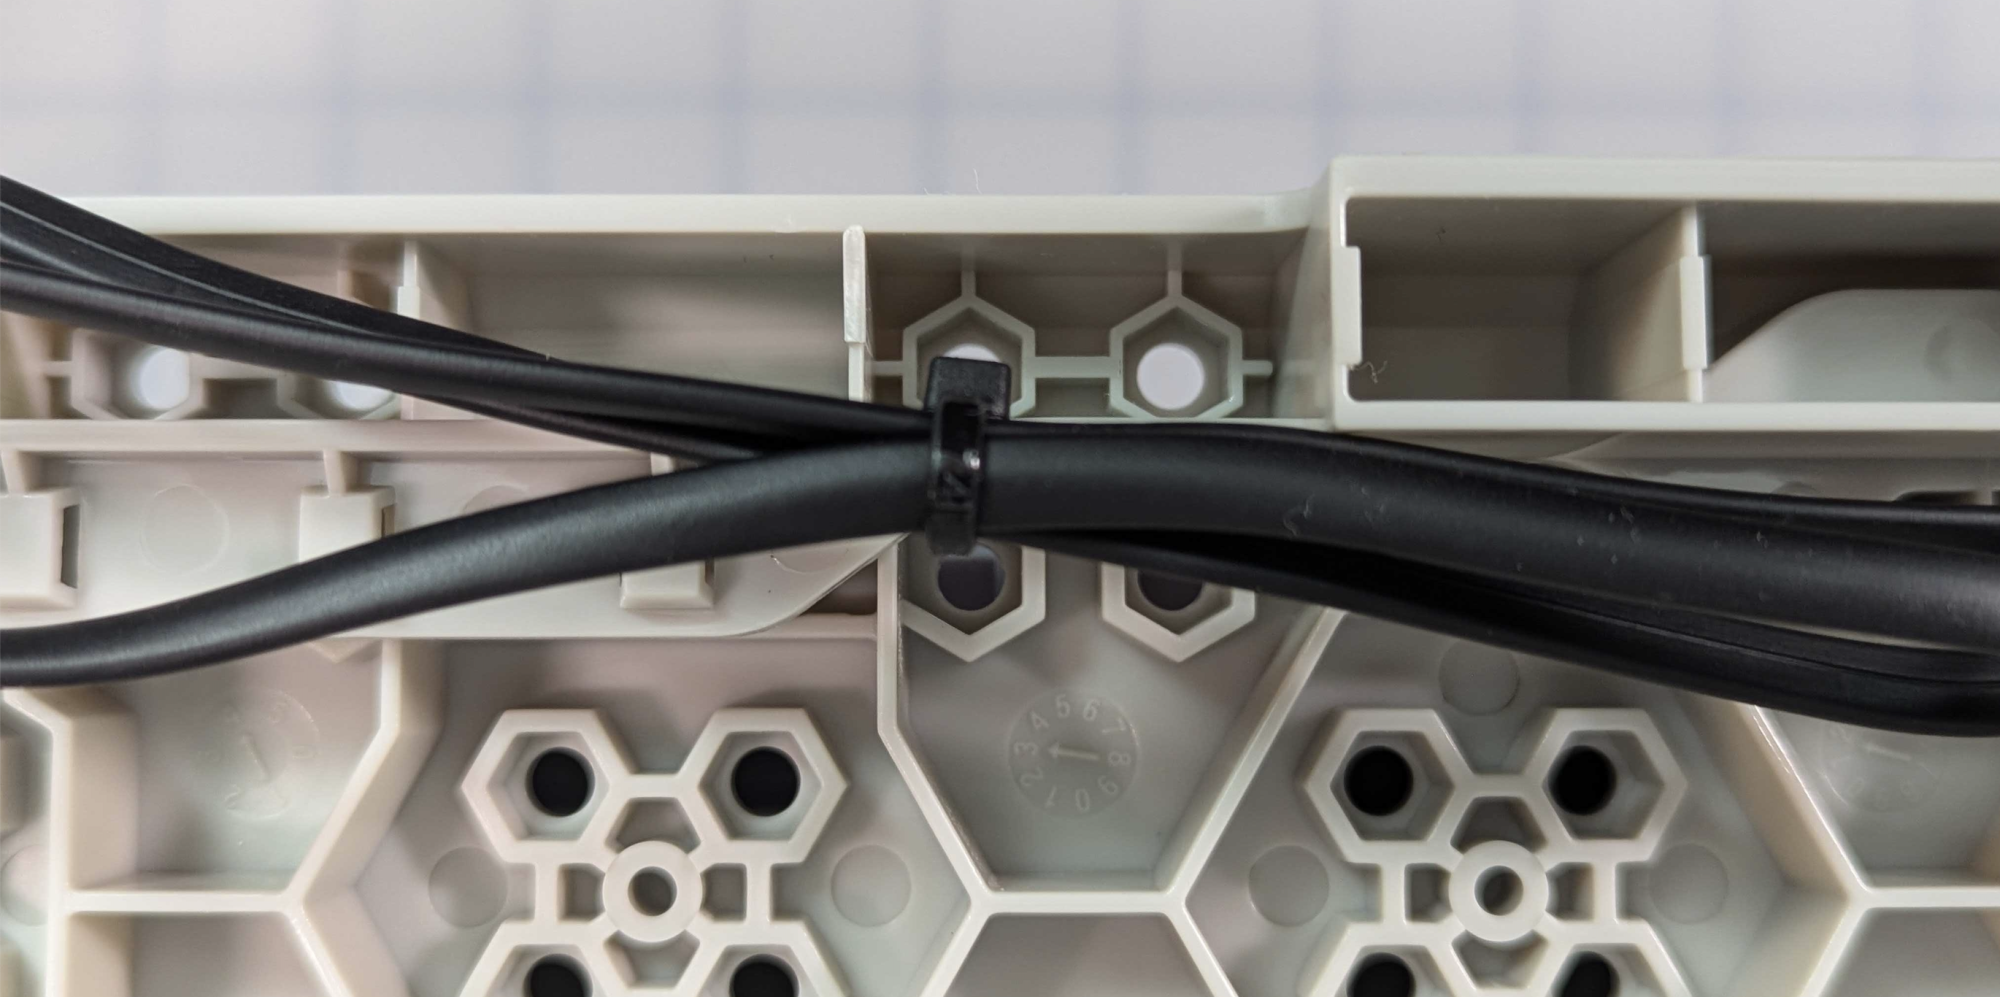
For cables that run underneath the center of a Tile, you can use a zip tie to reduce the slack. Fold the cable over on itself until the slack is lessened and zip tie the cable as shown here.
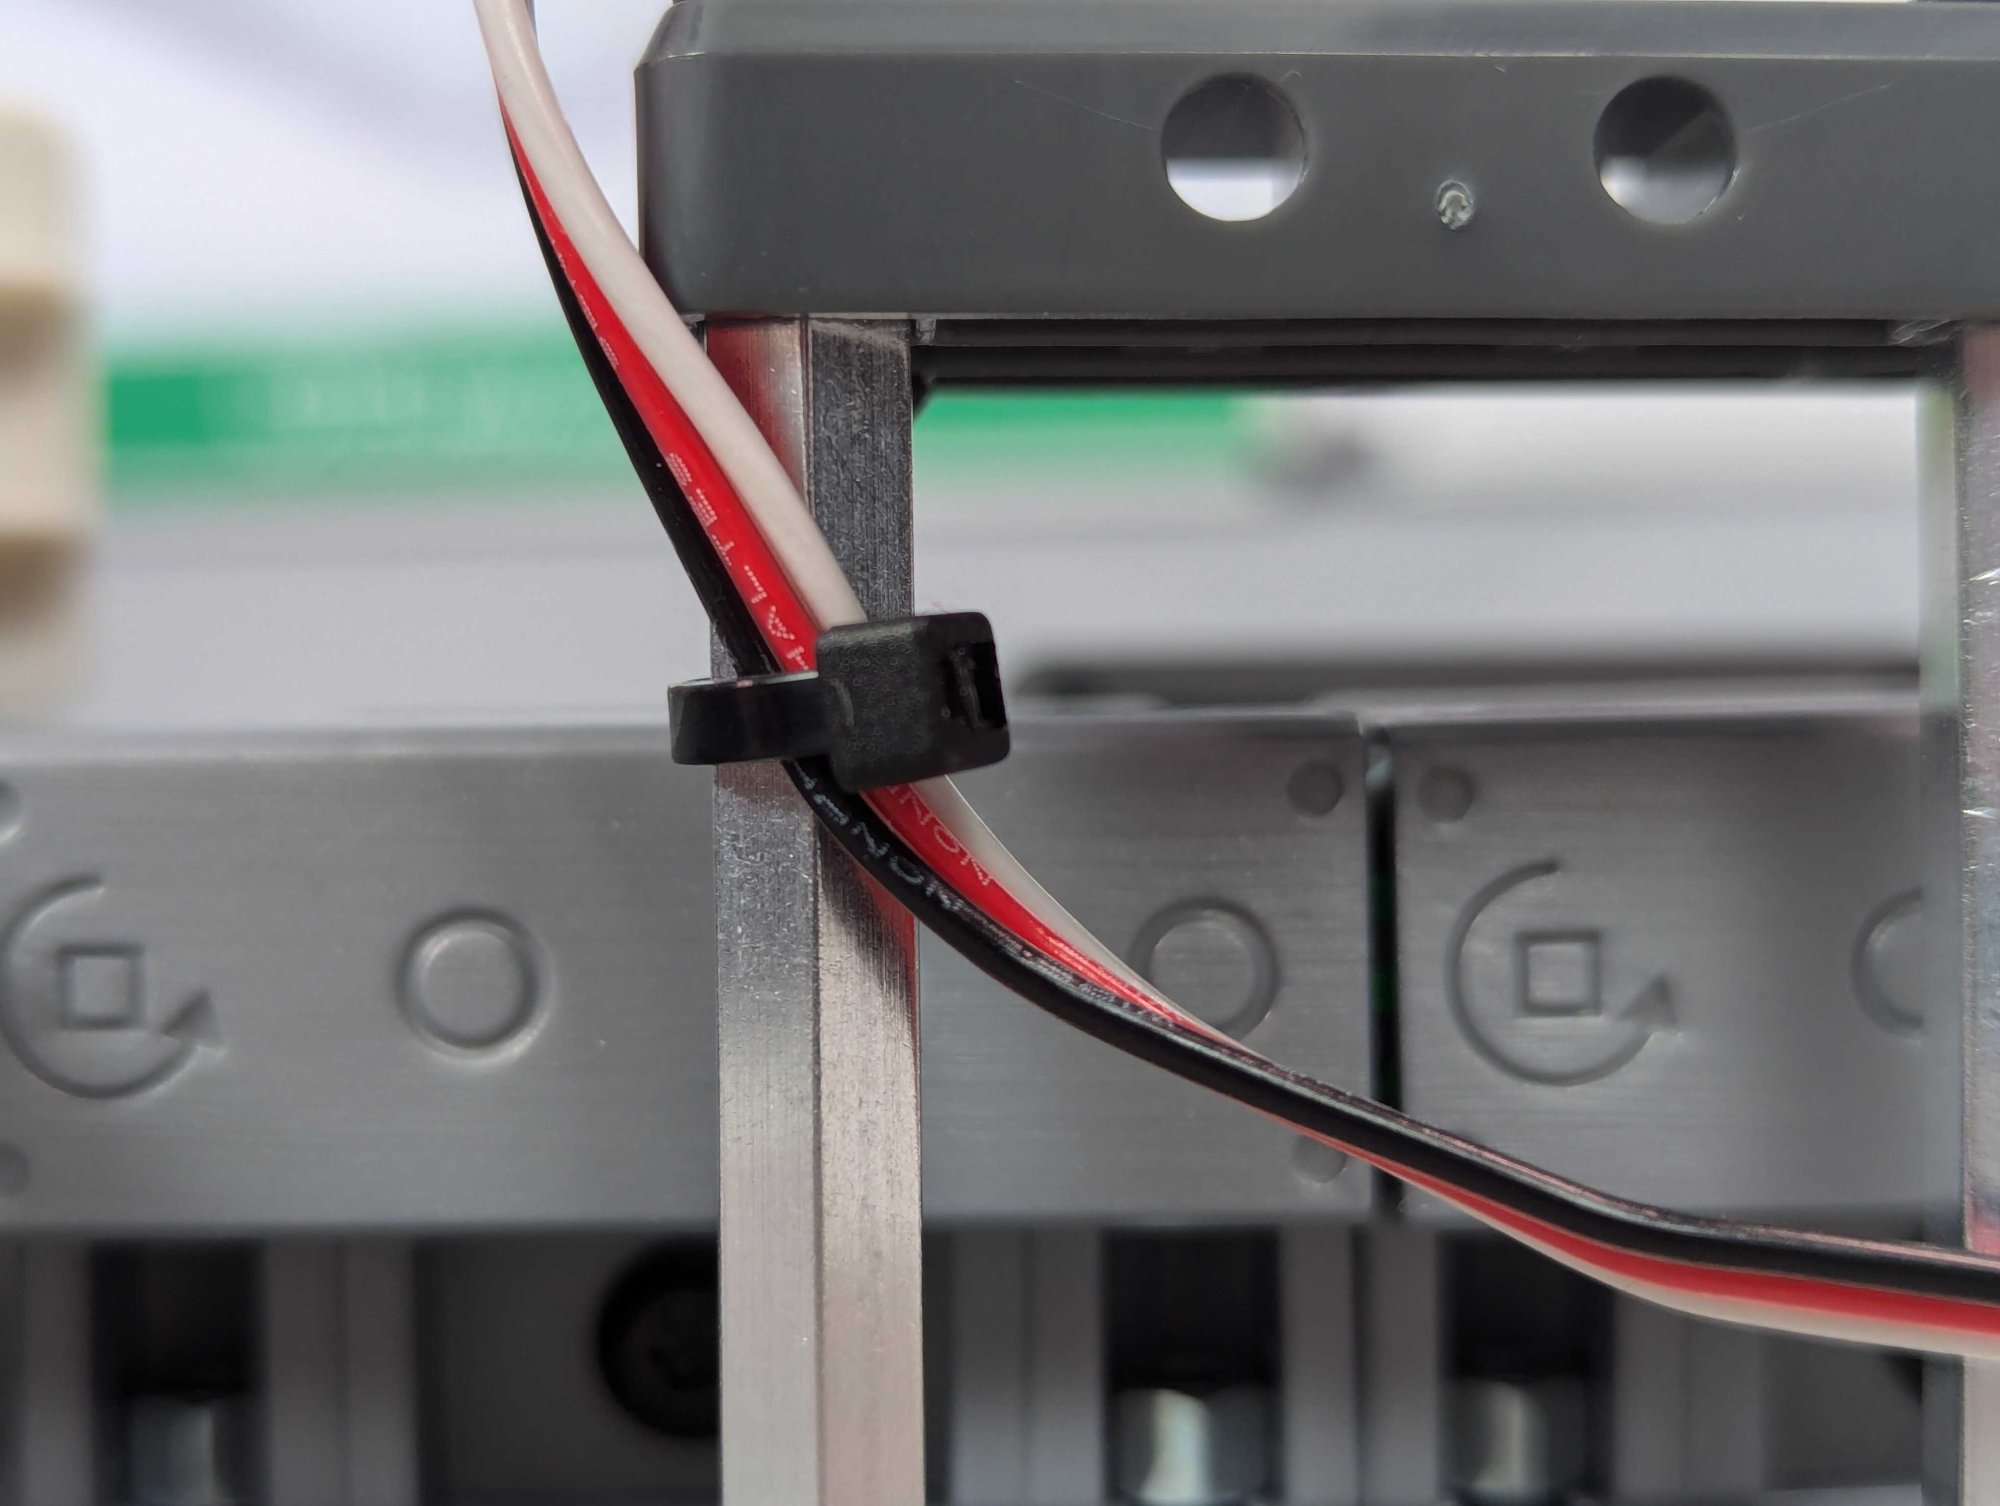
Some sensors or other devices may have cables that need to be tied down before being run under the Tile. For this, you can attach the cable to a structural piece, like the Standoff shown here.
Note: Be sure that the cable and the zip tie do not cause any interference with the remaining devices or other structural components.
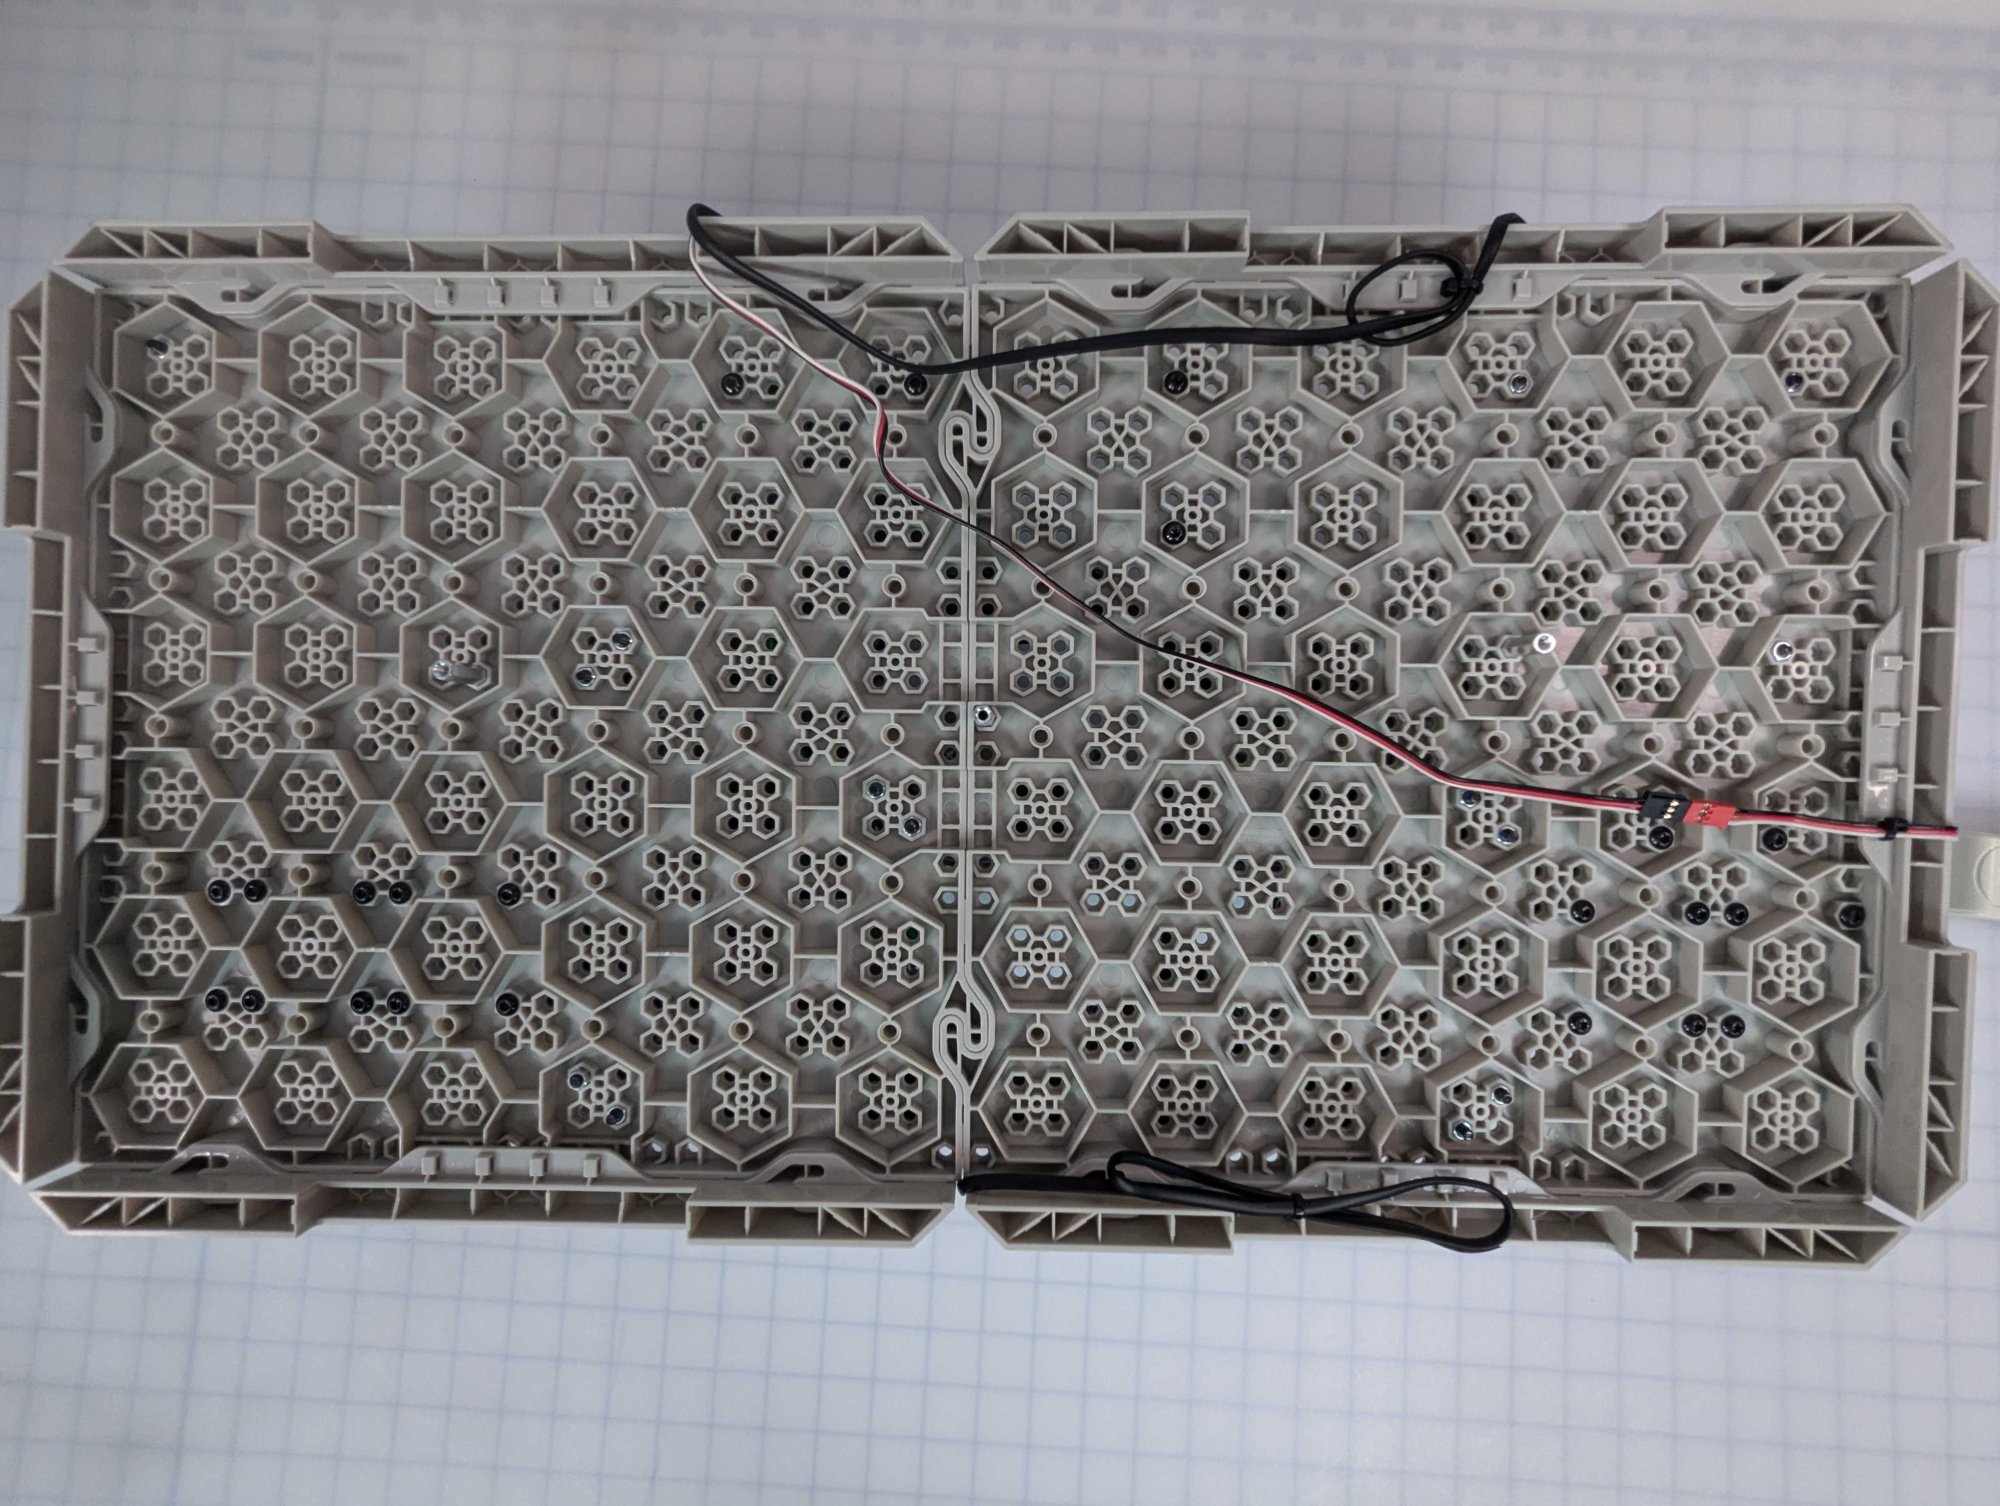
All together, these methods can keep your CTE Workcell organized and clear for future builds. See here an example of how the underside of the CTE Workcell Base looks with neat and tidy cables.
Check Your Understanding
Before you move on to the next Lesson, ensure that you understand the concepts covered in this Lesson by answering the questions in the document below in your engineering notebook.
Check Your Understanding questions > (Google Doc / .docx / .pdf )
Select Next > to move on to the next Lesson.