
Programming Loops in VEXcode IQ
The Builder in each group should get the hardware required. The Recorder should get the group's engineering notebook. The Programmer should open VEXcode IQ.
| Quantity | Materials Needed |
|---|---|
| 1 |
VEX IQ Super Kit |
| 1 |
VEXcode IQ |
| 1 |
Engineering Notebook |
| 1 |
Using Loops (Tutorial) |
| 1 |
Repeating Actions example project |
This activity will give you the tools to program your robot with repeating behaviors.
You can use the Help information inside of VEXcode IQ to learn about the blocks. For guidance in using the Help feature, see the Using Help tutorial.
Step 1: Preparing for the activity
Before you begin the activity, do you have each of these items ready? The Builder should check each of the following:
- Are all the motors and sensors plugged into the correct port?
- Are the smart cables fully inserted into all of the motors and sensors?
- Is the Brain turned on?
- Is the battery charged?
- Is the Radio inserted into the Robot Brain?
Step 2: Let's start programming with loops.
Start by watching the Using Loops Tutorial video in VEXcode IQ. 
VEXcode IQ contains many different example projects. You’ll use one of them in this exploration. For help and tips on using example projects, check out the Using Examples and Templates tutorial.
Then, open the Repeating Actions example project. 
The Programmer should complete the following steps:
- Open the File menu.
- Select Open Examples.
- Use the filter bar at the top of the application and select 'Control'.
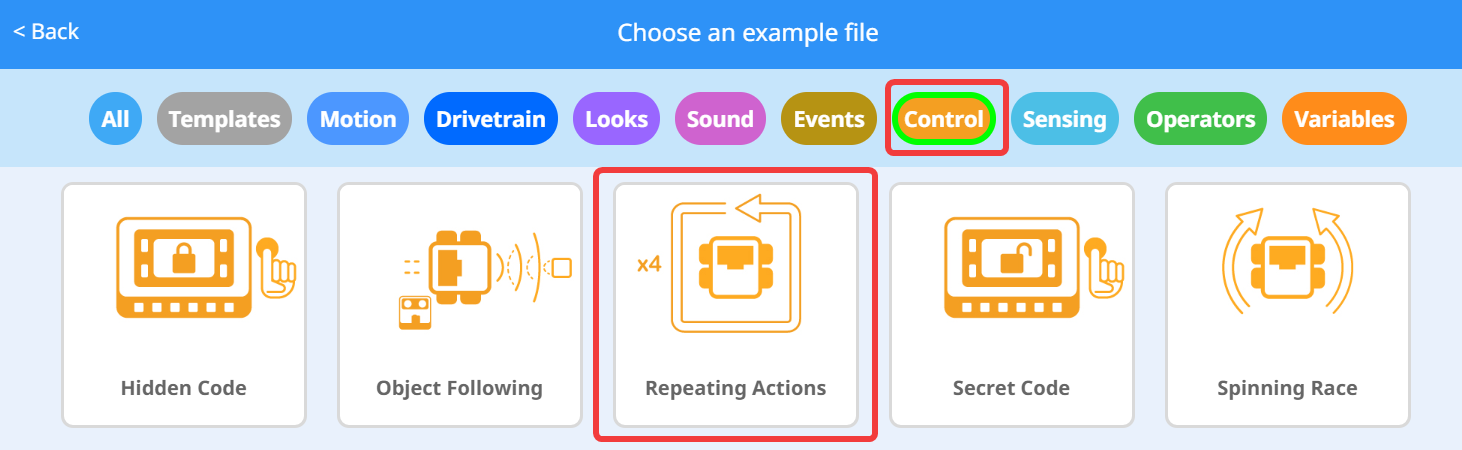
- Select and open the Repeating Actions example project.
- Save your project as 'Repeating Actions'.

- Check to make sure the project name 'Repeating Actions' is now in the window in the center of the Toolbar.
What is this project actually doing? 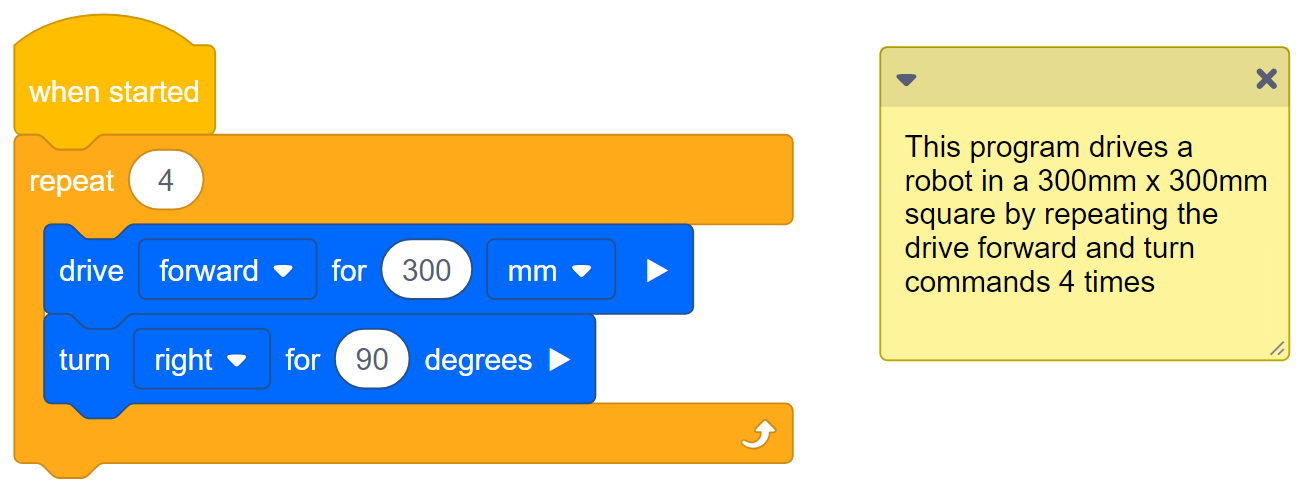
Do the following in your engineering notebook:
Predict what the project will have the Clawbot do. Explain each and every action that the robot will complete.
Step 3: What is the difference between [Forever] and [Repeat]?
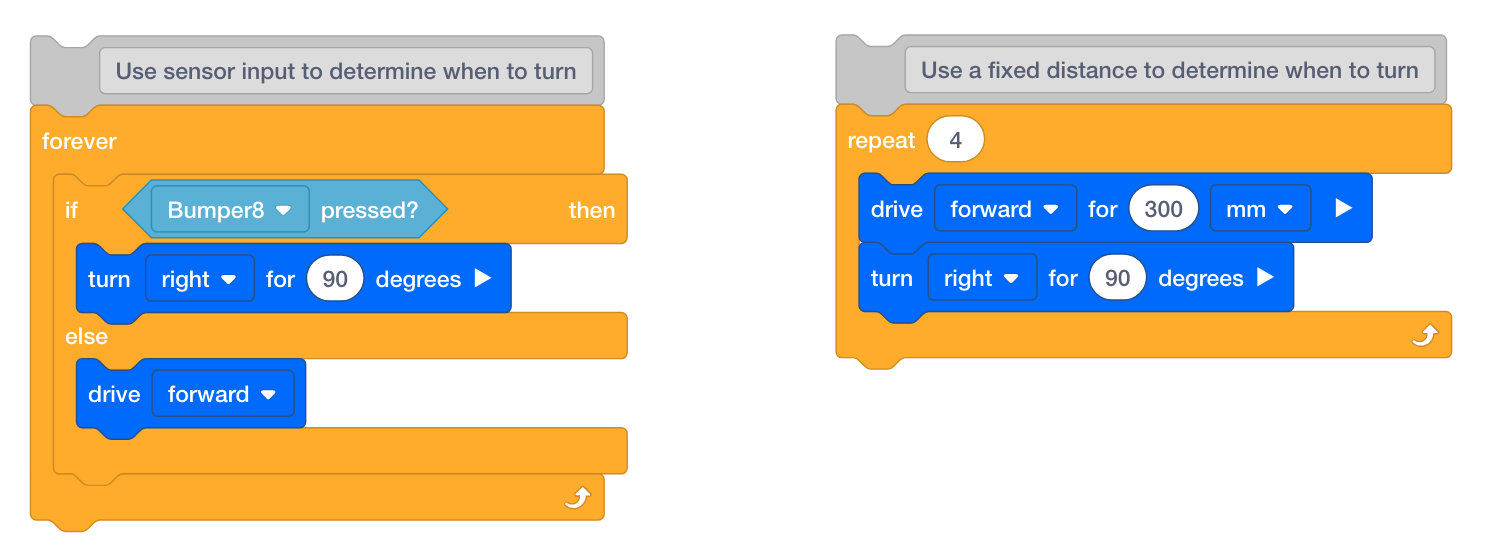
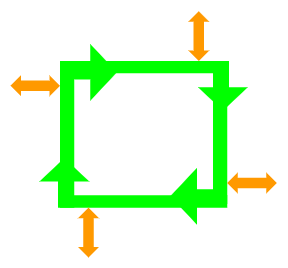
- Look over the Repeating Actions example project again. It's also the stack of blocks shown on the right above.
Notice that the [Repeat] block only has the movements repeating 4 times. Repetitive movements rarely need to repeat forever so a [Repeat] block is used when only a certain number of repetitions is needed.
If the [Repeat] block was replaced with the [Forever] block, the robot would just repeat in a square forever. - A [Forever] block is often used with a conditional statement in order to continuously check to see if the condition is true. In the stack of blocks above attached to the [Forever] block, notice how the robot will drive forward until it meets the condition of bumping into something with the bumper switch. If the bumper switch is pressed, the robot will turn. Otherwise, it will continue driving forward.
This is a practical use-case of the [Forever] block. Imagine a self-driving sweeper that continues to drive forward until it runs into something, then it turns.
Step 4: The Stop and Go Challenge!
- Have your Clawbot drive in a square.
- Before each turn:
- The claw must be opened and closed.
- The arm must be raised and lowered.
- The Touch LED must show at least one color.
- At least one sound must play.
- The Clawbot cannot drive along a side of the square more than once.
- You can use the Repeating Actions example project as a starting point but save it as StopAndGo before making any changes.

In your engineering notebook, plan the following:
- Have the Driver and Recorder plan out your solution and predict what each block in your project will have the Clawbot do.
- Have the Programmer Download and run your project to test it before submitting it.
- Have the Builder make changes to the project as needed and communicate with the Recorder to take notes about what was changed during testing.