
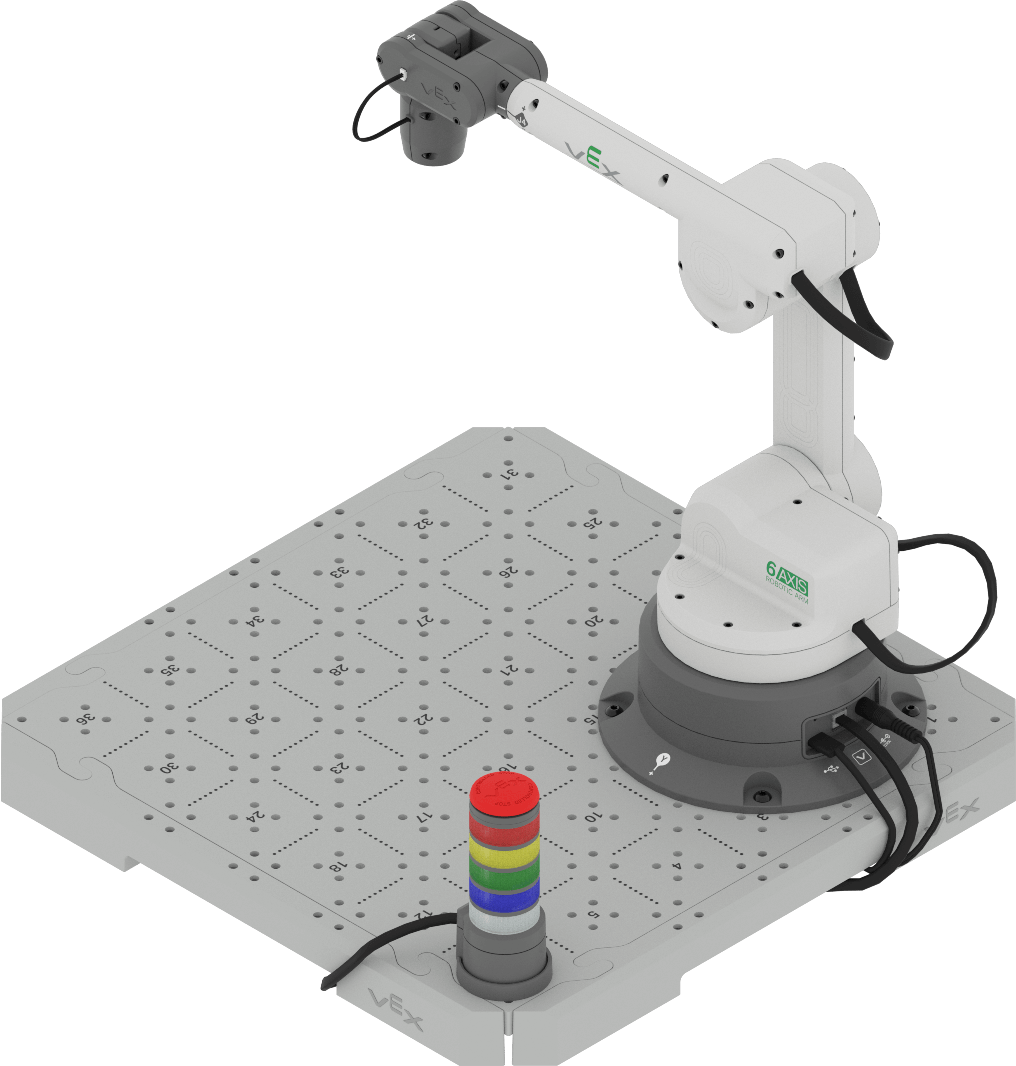
On this page, you will attach the 6-Axis Arm and Signal Tower to the CTE Tile and plug in all necessary cables. You will also set up VEXcode EXP, which will allow you to control the movements of the 6-Axis Arm.
Build
Watch this video to learn how to use 3D build instructions.
This video shows examples of build instructions from other VEX platforms. However, the information about how to use these 3D instructions still applies to the VEX CTE 6-Axis Robotic Arm.
Connecting the Cables of the Robotic Arm
To use the 6-Axis Arm with VEXcode EXP, it first needs to be connected to a device, as well as a power source.
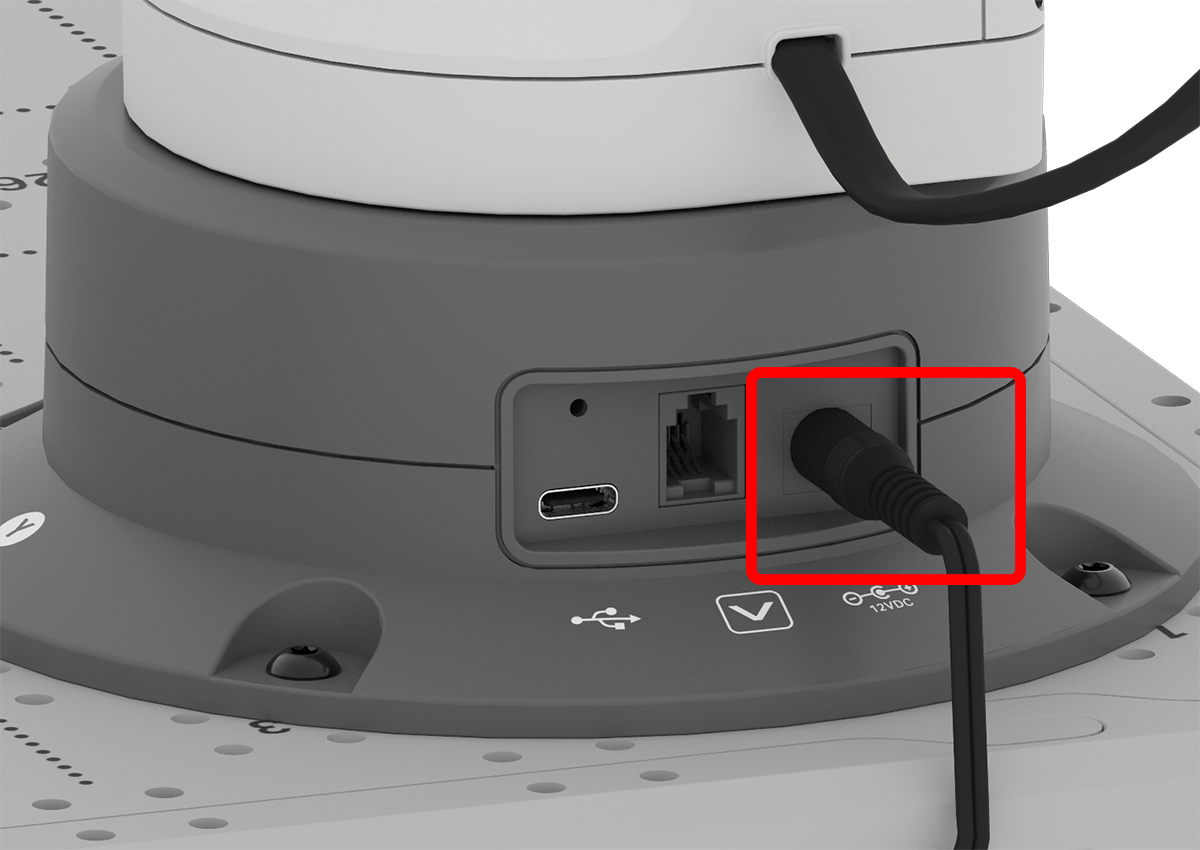
Connect the power cable to the base of the 6-Axis Arm and the other end to a power source.
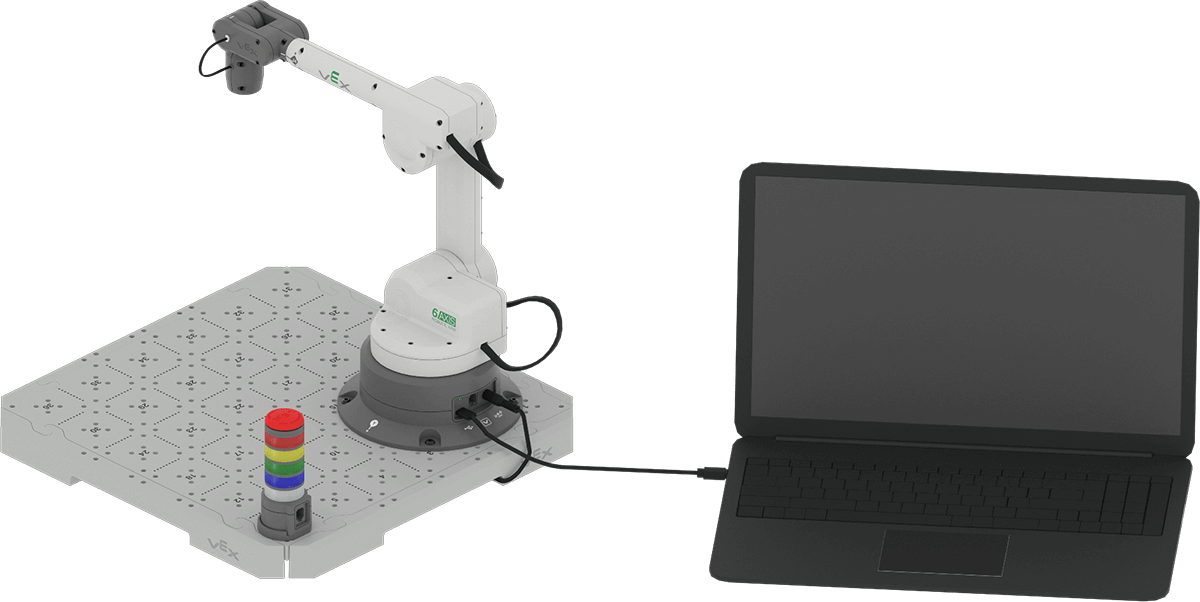
Connect one end of the USB cable to the base of the 6-Axis Arm and the other end to a computer.
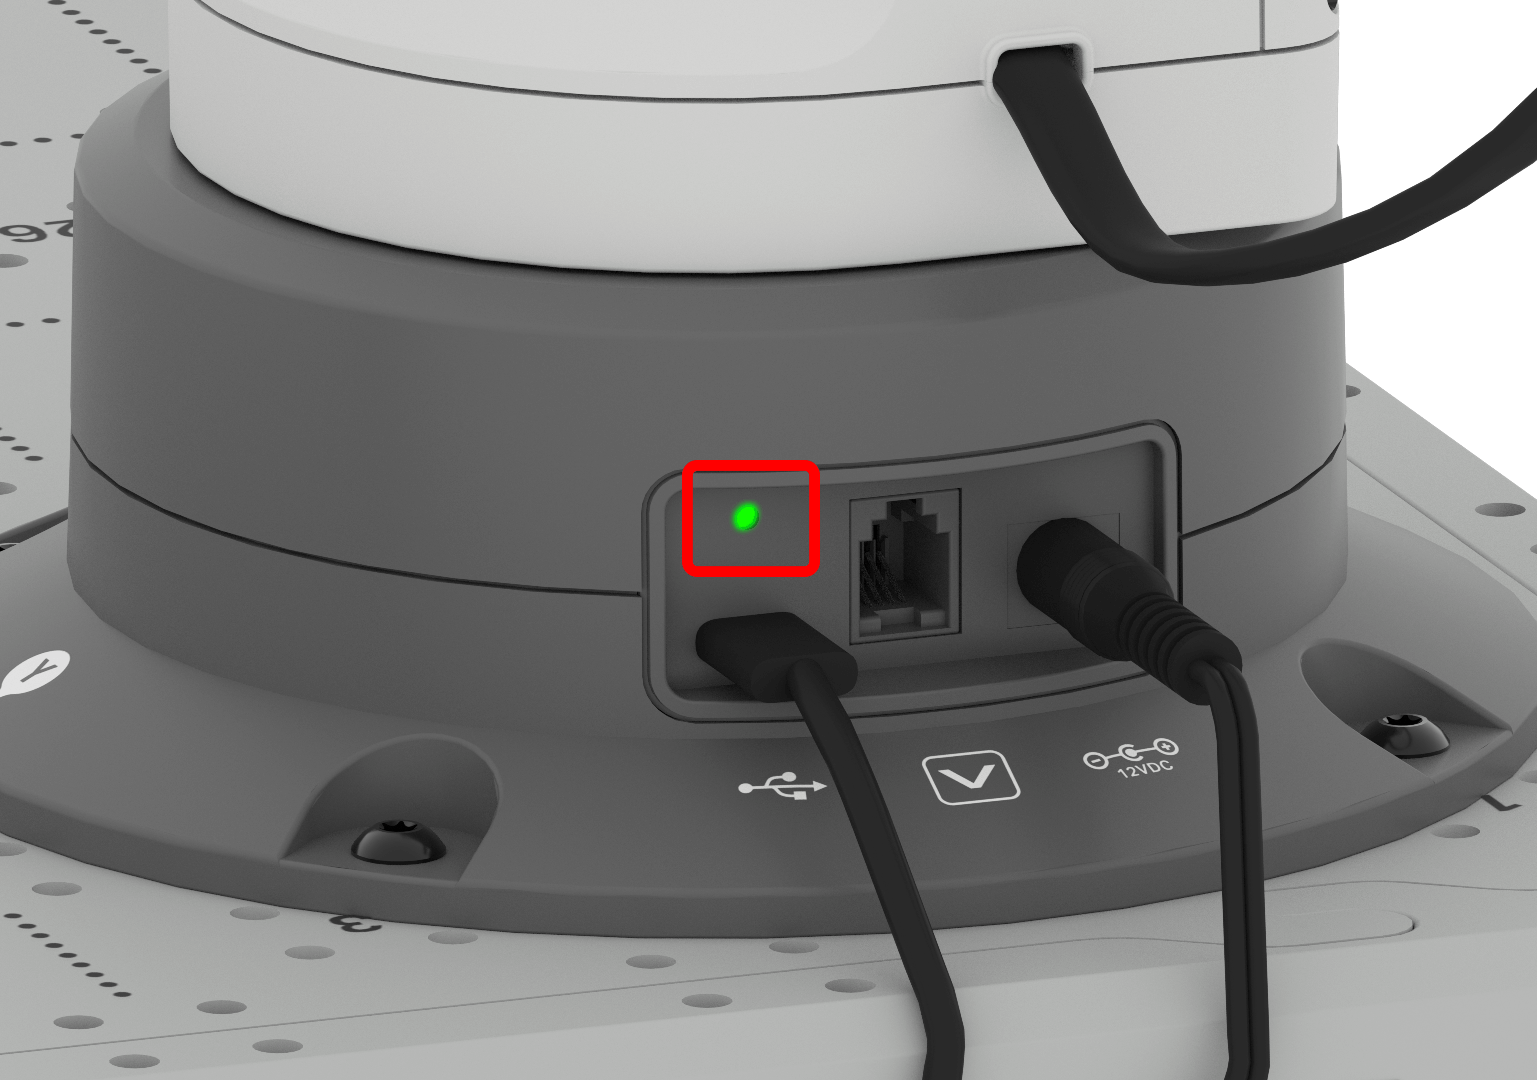
Once the 6-Axis Arm is powered and connected to a computer, the indicator light will glow green.
Getting Started with VEXcode EXP
Follow the ‘Getting Started with VEXcode EXP’ section below that matches the version of VEXcode EXP that you are using (web-based or app-based). Unsure of which version you are using? Ask your instructor.
Accessing VEX CTE Projects in Web-based VEXcode EXP
Follow the steps below to access web-based VEXcode EXP and open a VEX CTE project. To access the web-based version of VEXcode EXP, you must be using Google Chrome or Microsoft Edge browser on a Windows, Mac, or Chromebook.
To access VEXcode EXP, navigate to codeexp.vex.com.
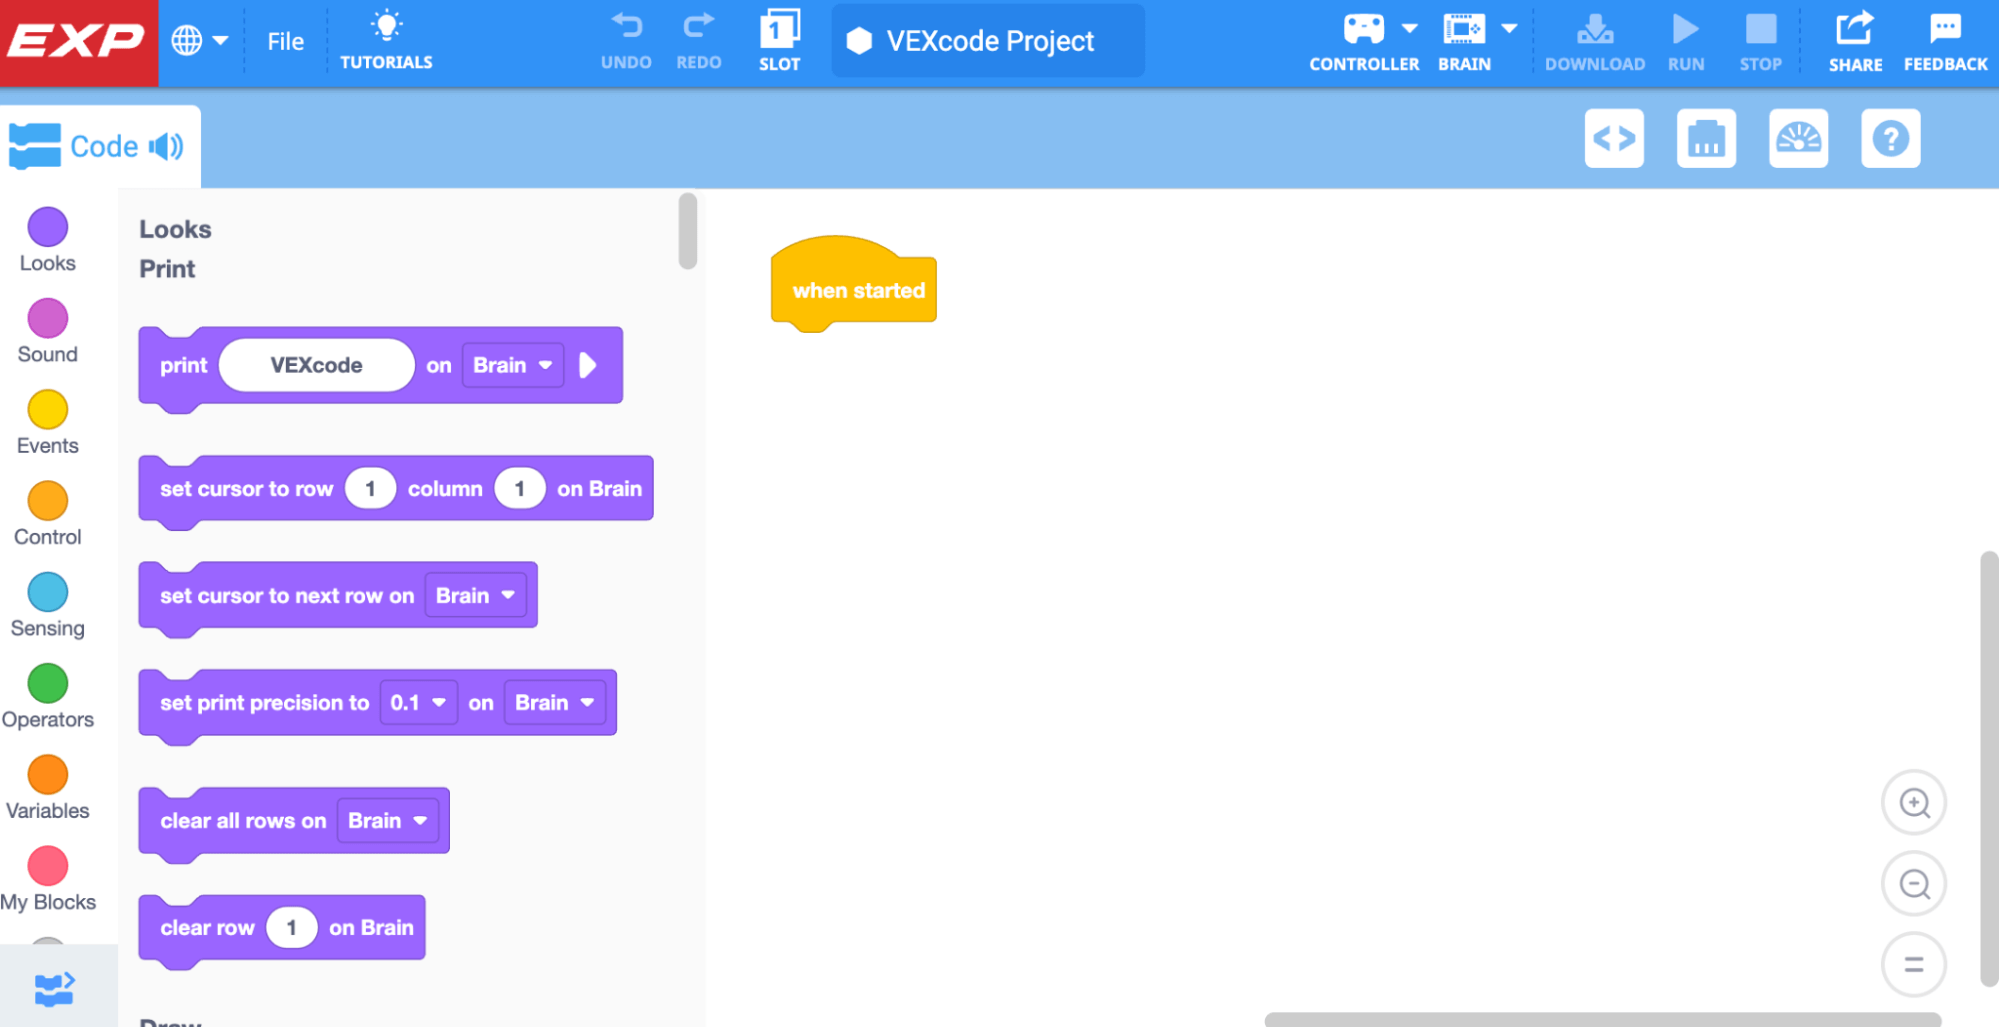
Create a new Arm project by following the steps in this video. The steps shown in the video are:
- Open the File Menu
- Select ‘New Blocks Project’
- Select the Arm Icon
Connecting the 6-Axis Arm to Web-Based VEXcode EXP
There are additional steps to connect the 6-Axis Arm when using the web-based version of VEXcode EXP. Follow these steps below.
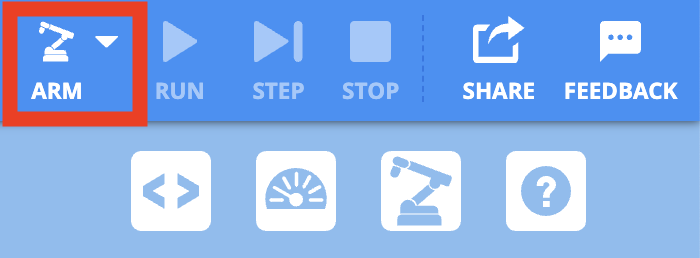
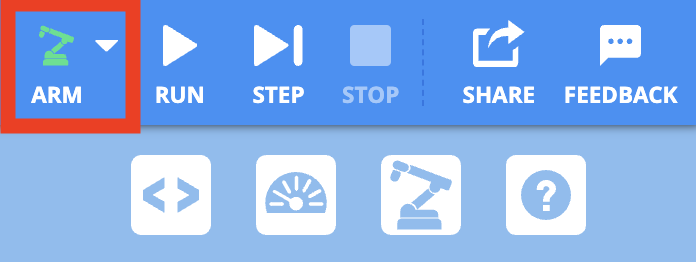
To connect the 6-Axis Arm, select the ARM icon in the Toolbar.
Select Connect Arm.

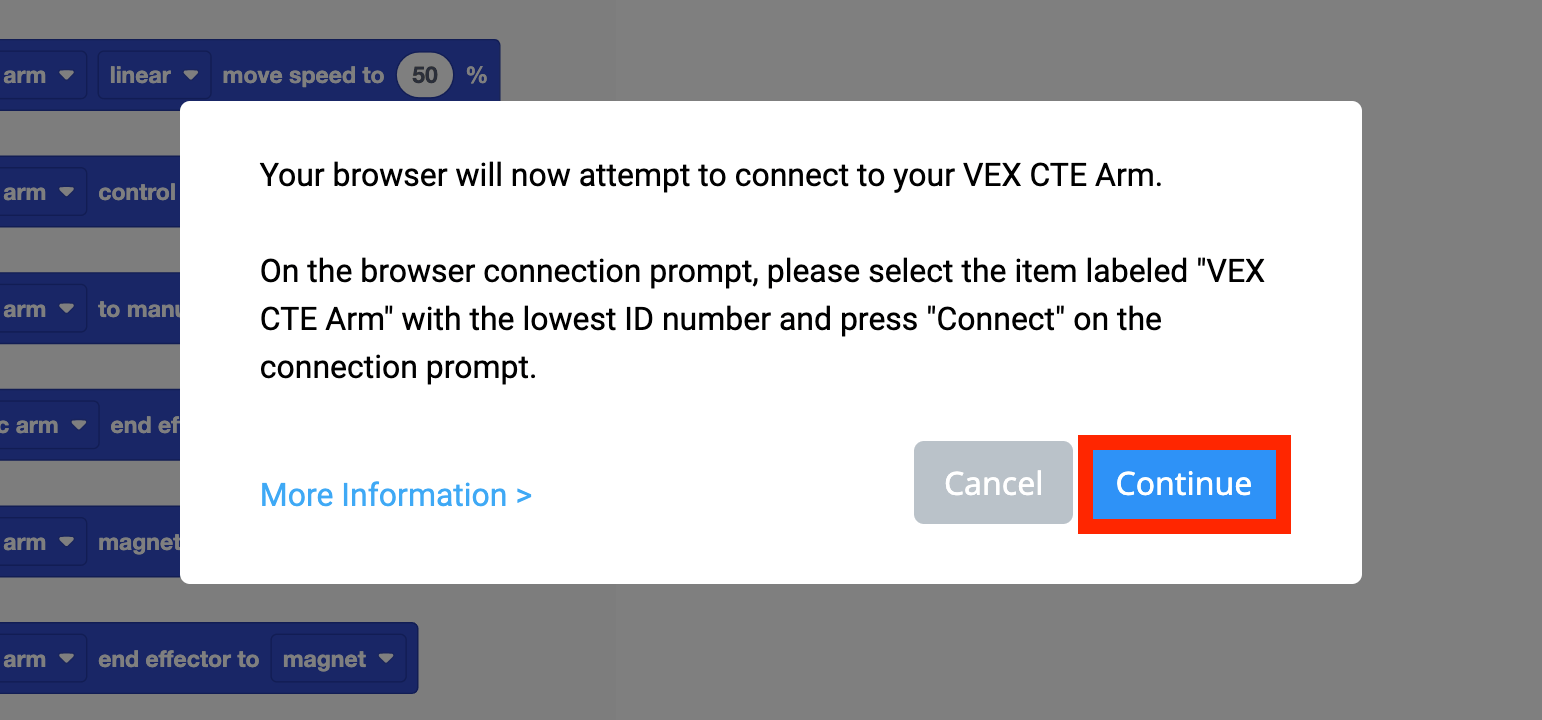
A text box will appear explaining which option to choose in the following connection window.
Select Continue on the text box to open the connection window.
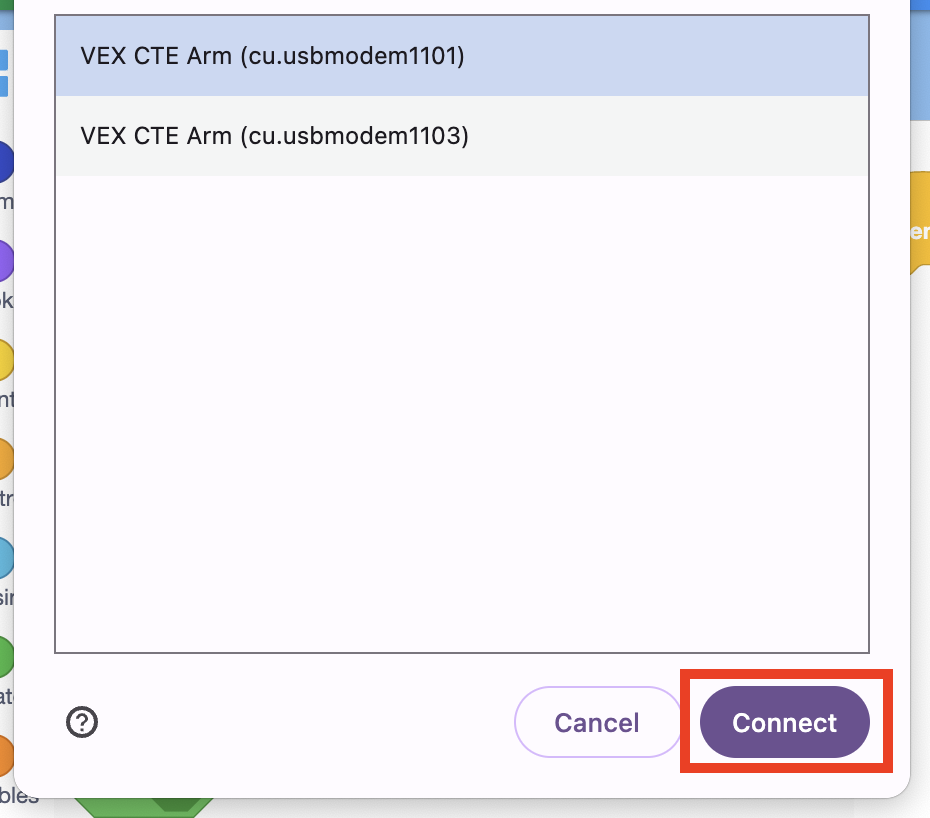
Select the 6-Axis Arm that says Communications Port.
If Communications Port is not shown as an option, move to the next step.

If Communications Port is not shown as an option, select the 6-Axis Arm with the lowest ID number.
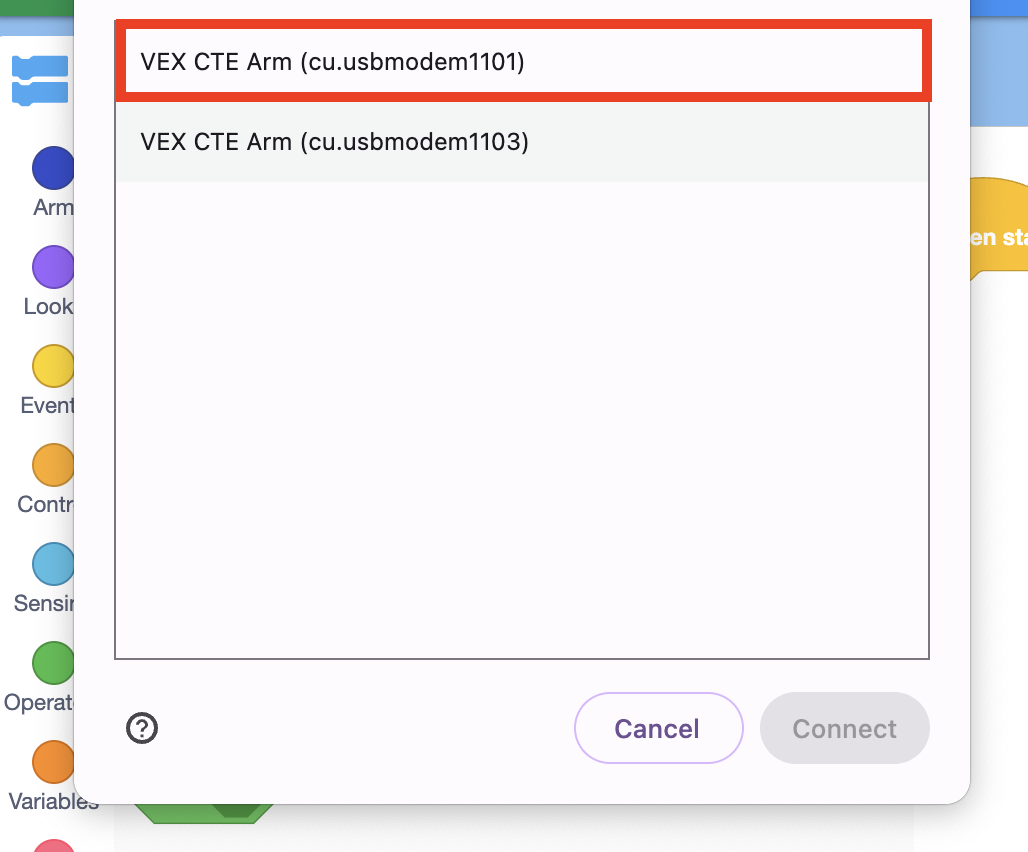
Select the Connect button, once you have chosen a 6-Axis Arm.
Once the 6-Axis Arm is successfully connected the Arm icon will turn green.
Accessing CTE Projects and Connecting the 6-Axis Arm in App-based VEXcode EXP
Follow the steps below to access VEXcode EXP and connect using the app-based version. The app-based version is available for download on Windows and Mac devices.
Open VEXcode EXP.

Create a new Arm project by following the steps in this video. The steps shown are:
- Open the File Menu
- Select ‘New Blocks Project’
- Select the Arm Icon
The Arm Icon will display green once the 6-Axis Arm is powered on and connected to the device with VEXcode EXP opened.

Check Your Understanding
Before you begin the Mid-Unit Reflection and Goal Adjustment, ensure that you understand the concepts covered in this Lesson by answering the questions in the document below in your engineering notebook.
Check Your Understanding questions > (Google Doc / .docx / .pdf)
Select Next > to complete the Mid-Unit Reflection.