
Designing to Dribble
| Quantity | Materials Needed |
|---|---|
| 1 |
VEX V5 Classroom Starter Kit |
| 3 |
Cones or cups |
| 1 |
V5 Controller 276-4820 |
| 1 |
Stopwatch |
| 1 |
Soccer ball or similar sized ball |
| 1 |
Roll of tape |
| 1 |
Engineering Notebook |
Step 1: Creating a Dribbling Course
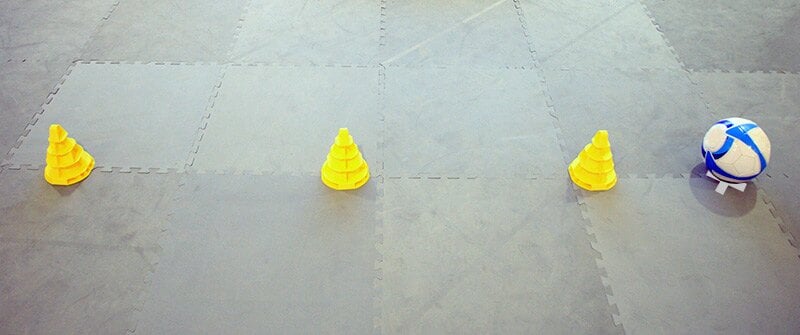
Set all three cones (or cups) in a straight line. Ensure there is enough space between each cone for the robot to fit through. Spacing cones farther apart will decrease the difficulty. Pick a spot on the outside of the course (by one of the cones on an end) and use tape to make an "X" on the ground in that location. Place the soccer ball (or a similar sized ball) on the "X".
Step 2: Preparing Your Robot
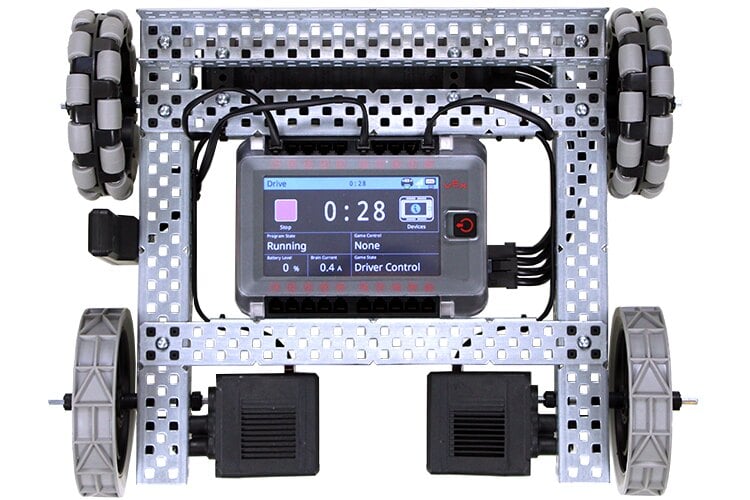
Power on the V5 Robot Brain, make sure it is paired with the V5 Controller, and run the Drive project on the V5 Robot Brain so that you’re able to wirelessly drive your robot with the controller.
Step 3: Dribbling Through the Course: Part 1
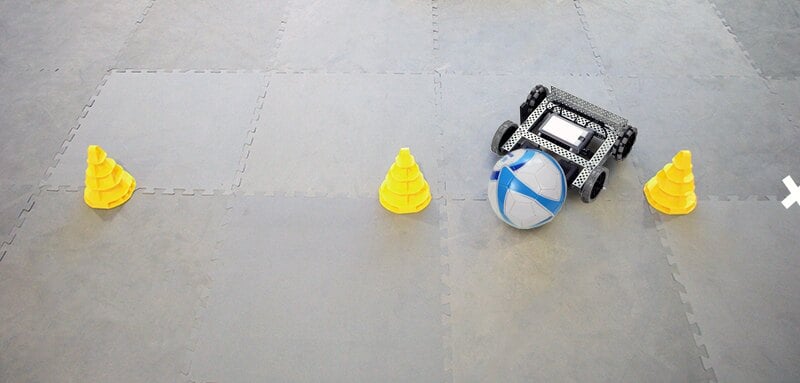
Position your robot next to the ball. No part of the robot should be touching the ball prior to starting. Your goal is to dribble (push) the ball between the first and second cones, and then between the second and third cones. After that, you need to dribble the ball around the third cone and make one more pass through the course by dribbling the ball through both sets of cones once more. Use a stopwatch to time how quickly you're able to complete the course. The stopwatch should be started when you first touch the ball with your robot. The stopwatch should be stopped once the ball has fully passed through the final set of cones on the second pass through the course. Run through the course multiple times to see how your time improves with practice. Record your results in your engineering notebook.
Respond to the questions below in your engineering notebook:
- What was your best time through the course?
- What strategies did you use to help improve your times?
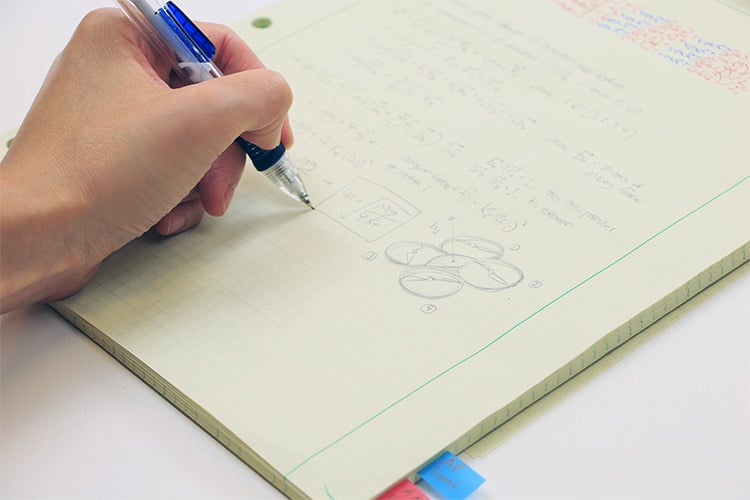
Step 4: Designing For a Purpose

Inside your engineering notebook, sketch some ideas for attachments that could be added to your VEX V5 Speedbot that would improve its ability to dribble the ball. Share your design ideas with others as you iterate on your designs.
Keep in mind that you're developing this technology through creativity in order to make your robot better at playing soccer. Innovations in technology like this often start because of the need to make technologies better. There are many creative ways to make your robot better at soccer. Choose the ones that you think are your best.
Respond to the questions below in your engineering notebook:
- What positive feedback did you receive on your designs?
- What negative feedback from others did you receive on your designs?
- What feedback did you incorporate into your designs? Explain how you did that.
- Did sharing your designs with others help improve them? Why or why not?
Step 5: Building Your Design
Review your sketches and pick the one you believe will best improve your robot's ability to dribble the ball. Build the chosen design and attach it to your robot.
Step 6: Dribbling Through the Course: Part 2
Position your robot with your newly designed attachment on the X. No part of the robot should be touching the ball prior to starting. Using a stopwatch, dribble the ball through the course following the same path as you did in your earlier trials without the attachment. The stopwatch should be started when you first touch the ball with your robot. The stopwatch should be stopped once the ball has fully passed through the final set of cones on the second pass through the course.
Respond to the questions below in your engineering notebook:
- Did your design help improve the time it took for you to complete the course? Why or why not?
- What about your design could you change to further improve it? Explain how and why that would improve it.
- Did you encounter anything unexpected when using your attachment? If so, what?