Exploration of Velocity - Part 2
Step 1: Add a Connector Pin to the Wheel Hub.

- The Builder should add a 1x1 Connector Pin to one of the wheel hubs so that you can easily see how fast the motor and wheel are turning.
Step 2: Drive Forward for 15 inches at Different Velocities
-
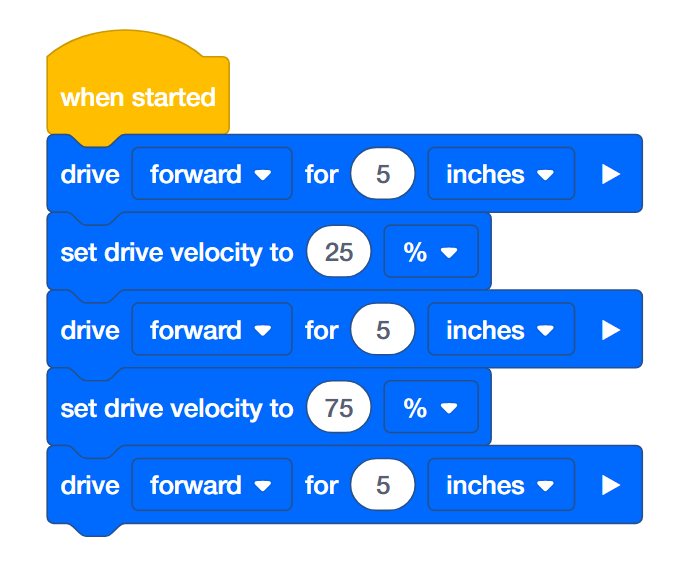
The Programmer should build this project in VEXcode IQ.

-
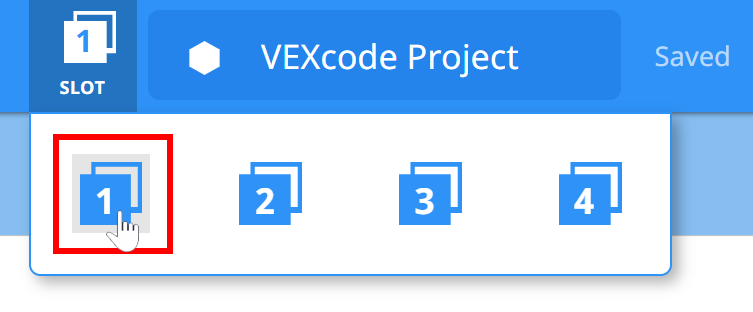
Click on the Slot icon. You can download your project to one of the four available slots in the Robot Brain. Click on the number 1.

-
The Programmer should connect the robot to your computer or tablet. The Brain icon in the toolbar turns green once a successful connection has been made.

-
Then, click the Download button on the toolbar to download the Drive Velocity project to the Robot Brain.

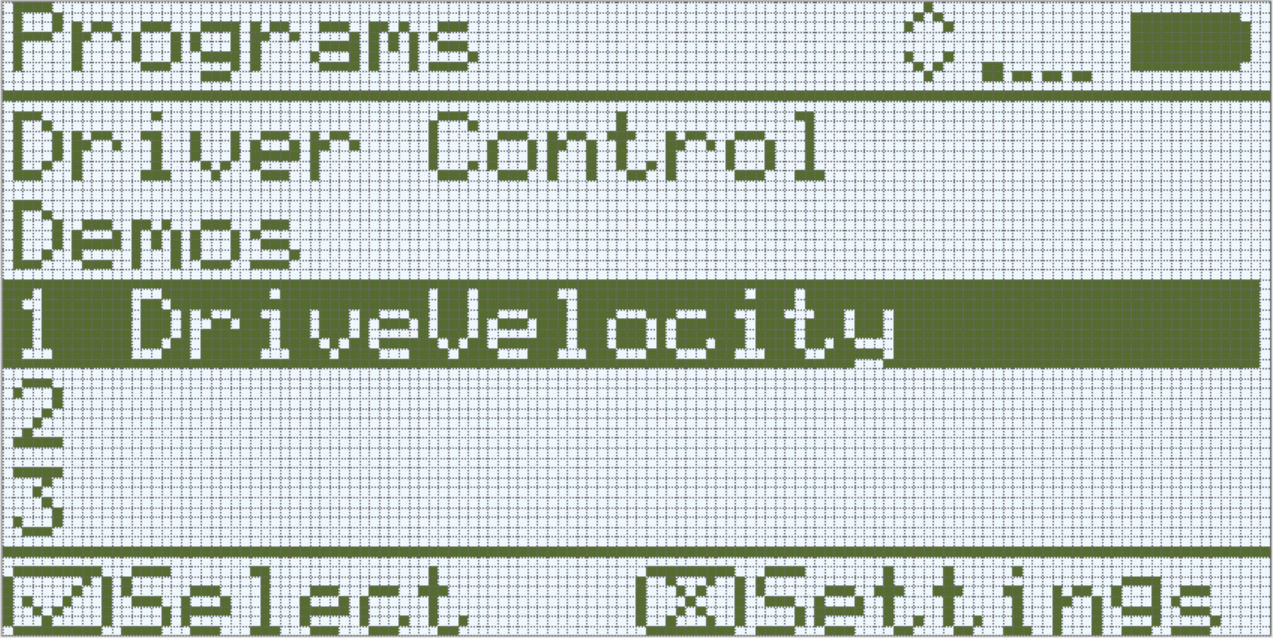
- The Operator should check to make sure your project has downloaded to the Autopilot’s Brain by looking at the Robot Brain’s screen. The project name should be listed in slot 1.
- The Driver should now run the project on the Autopilot robot by making sure the project is highlighted and then press the Check button.
Step 3: Drive Forward and in Reverse at Different Velocities

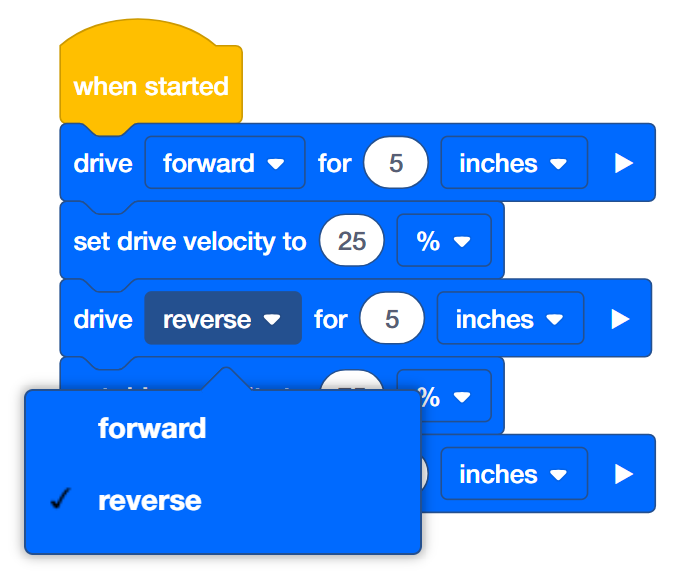
- The Programmer should change the second drive for block to drive in reverse instead of forward.
- The Programmer should then download the project.
- The Driver should now run the project on the Autopilot robot by making sure the project is highlighted and pressing the Check button.